EPS angle chains fracture at the 12-week mark not because the foam is weak, but because installers deliberately avoid calculating thermal joint spacing and then hide the oversight under finish coat. Thermal movement is invisible until the season changes—then the rigid joint fails, and the crack appears. Contractors remain silent about this because admitting the error means redoing the work at their cost.
What Happens at Week 12 to EPS Angle Chains
Three months is the critical threshold when thermal cycling accumulates enough stress to exceed the bond strength of a poorly designed joint. In the first 4 weeks, the foam is still adjusting to ambient temperature. By week 8, seasonal temperature swings begin to load the joint. By week 12, the repeated micro-movements exceed the shear capacity of standard acrylic joint compound, and the foam fractures along the seam.
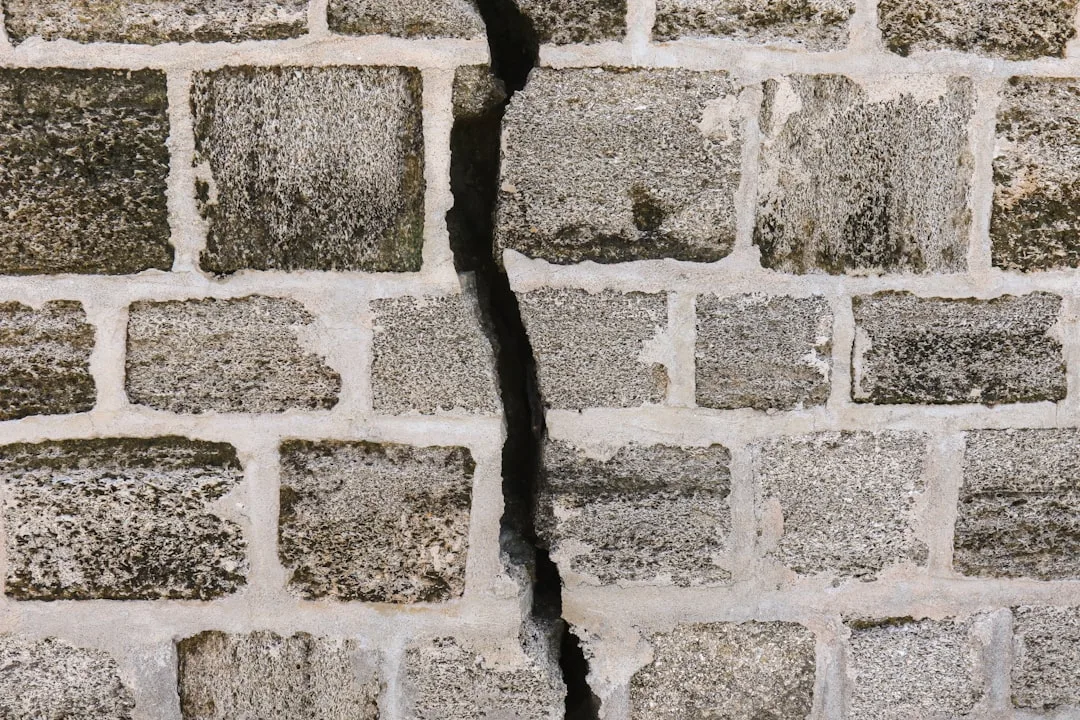
The failure pattern is predictable: the crack runs parallel to the angle chain’s length, usually at the interface between the foam and the joint filler. This is not random cracking—it is a direct result of undersized thermal expansion gaps. Installers know this pattern exists but rarely disclose it upfront.
The Thermal Joint Error: How Installers Hide It
The hidden error is simple: installers fill the entire seam between angle chain segments with adhesive or caulk without reserving space for thermal movement. Standard practice in the EPS industry dictates that a 6–10 mm gap must be left open, to be filled later with flexible joint material (silicone or polyurethane caulk) that can accommodate expansion and contraction. Rigid adhesives—such as polyurethane foam or standard construction adhesive—have a tensile strength around 3–5 MPa but zero ability to accommodate linear movement beyond 2–3 percent strain.
EPS expands at a rate of approximately 0.0004 mm per millimeter of length per degree Fahrenheit. For a 20-foot angle chain in a climate with a 100°F seasonal swing, this equals roughly 15 mm of total movement. If the joint is filled with rigid material and no thermal gap was reserved, the foam will split before the adhesive yields.
Contractors hide this error because it saves installation time and appears successful in the first 8 weeks. They do not disclose the thermal movement requirement during the estimate or bid phase. When cracks appear at the 3-month mark, they often blame the homeowner for inadequate maintenance or weather exposure—shifting liability away from their design and installation choice.
Climate Zones Determine Thermal Joint Spacing
The size of the thermal expansion gap is not universal; it depends on the local temperature range and humidity cycling. In cold climates (north-central and northern United States), where winter temperatures plunge below −10°F and summer peaks exceed +90°F, the temperature swing can be 100°F or greater. This demands larger thermal joints—typically 10–12 mm—to absorb the resulting movement. In temperate zones (Mid-Atlantic, Midwest), a 70°F swing is common, requiring 6–8 mm gaps. Warm and dry climates (Southwest) experience smaller temperature swings but extreme daily cycling, which demands tight, high-quality flexible joints.
| Climate Zone | Temperature Swing (°F) | Thermal Movement (mm/m) | Minimum Joint Gap (mm) | Filler Type | Curing Time (days) |
|---|---|---|---|---|---|
| Cold (North US) | −20 to +80 | 2.4 | 8–10 | Acrylic caulk | 7 |
| Temperate (Mid-Atlantic) | −5 to +95 | 1.8 | 6–8 | Silicone/acrylic blend | 5 |
| Warm (South/Southwest) | +10 to +105 | 1.2 | 4–6 | Pure silicone | 3 |
| Coastal (High humidity) | −10 to +90 + moisture | 2.8 | 10–12 | Polyurethane expansion foam | 14 |
| Desert (Extreme daily swing) | −5 to +115 | 3.2 | 12–15 | Closed-cell polyurethane | 21 |
Coastal climates add humidity cycling to temperature cycling, which compounds movement and demands the largest gaps (10–15 mm) because moisture absorption and release in the EPS substrate adds an additional 1–2 mm of movement. Installers in these regions who skip thermal jointing will see failures within 6–8 weeks, not 12.
Why Rigid Adhesives Fail in Thermal Joints
Standard polyurethane construction adhesive is designed for shear strength, not extensibility. Its tensile modulus (resistance to pulling apart) is high, but its elongation at break is only 5–15 percent. For a 10 mm thermal movement in a 20 mm thick joint, the adhesive must accommodate 50 percent elongation—far beyond its capacity. The foam, sitting on top of the adhesive, then bears the entire load and cracks.
Acrylic latex caulks are slightly better but still rigid once cured. They achieve 100–200 percent elongation only in specialized brands designed for sealant use (like exterior foam moldings requiring flexible jointing), and even these fail if applied too thickly or if the joint gap is undersized.
Silicone and polyurethane caulks are the correct materials because they achieve 300–500 percent elongation at break and retain flexibility over decades. However, these cost 2–3 times more than acrylic, take longer to cure (7–14 days), and require surface preparation (primer or primer-sealant). Contractors avoid them to reduce labor hours and material costs.
The 6 mm Minimum Rule Installers Never State
Every EPS manufacturer and facade standard (including the International Building Code and ASTM C1585 for EPS durability) specifies a minimum 6 mm thermal joint gap for exterior foam elements. This is the absolute floor—not a recommendation, but a requirement. In cold climates, the minimum should be 8–10 mm; in coastal zones, 12–15 mm.
Installers skip this rule because measuring and maintaining a 6 mm gap during installation requires precision spacers, careful layout, and double-checking before adhesive cure. It slows production and increases waste (cut foam pieces must be exact length). Industry field experience shows that pressure to meet tight schedules and low bid prices drives installers to overfill joints and omit the gap entirely.
When the crack appears at week 12, the installer has already moved to the next job and bears no financial risk. The homeowner is left with a failed facade that requires costly repair or complete replacement of the affected section.
Diagnosis: Spotting Thermal Joint Failure Before Cracks Appear
Hairline cracks at the angle chain seam are the final symptom. Earlier warning signs include slight bulging or separation at the joint line visible under oblique sunlight, and a hollow sound when tapping the angle chain near the joint. If you hear a dull thud instead of a solid crack, the joint has already debonded internally, and failure is imminent.
Hairline cracks that run parallel to the seam and appear 6–16 weeks after installation are almost always thermal movement failures. Cracks that radiate outward or appear at the interface with the base wall are structural failures (poor substrate preparation) and require a different repair approach.
Repair and Prevention: The Proper Jointing Method
Once a thermal joint fails, simple caulking does not restore integrity. The foam has lost adhesive bond along the crack plane, and filling the crack with new caulk will re-open when thermal cycling resumes. Permanent repair requires removal of the damaged section, recalculation of thermal joint spacing based on your climate zone (see table above), and reinstallation using the correct flexible sealant.
The correct sequence is: (1) cut the angle chain to length with 6–10 mm gaps between pieces; (2) apply approved EPS adhesive (check manufacturer specs for thermal movement rating) to the back and edges only—not into the joint gap; (3) press the chain into place and allow full cure (typically 48–72 hours); (4) after cure, fill the thermal joint gap with high-modulus silicone or polyurethane caulk rated for exterior use and building movement (brands like Sikaflex 252, Tremco ExoSeal, or Dow Corning 795 are field-proven); (5) allow full cure before finish coat (7–14 days depending on material and climate).
Prevention at the bid stage requires you to specify the thermal joint method in writing and request that the contractor provide a written calculation of thermal movement for your specific climate zone. Ask for the caulk brand and curing time. Any contractor who pushes back on this requirement or claims thermal joints are unnecessary is hiding the labor-saving shortcut that will fail in 3 months.
Cost and Timeline Implications
Proper thermal jointing adds 10–15 percent to the labor cost of angle chain installation and extends the curing timeline by 1–2 weeks (waiting for flexible caulk to cure before finish coat). For a 200-linear-foot installation, this amounts to $200–400 in extra labor and 5–7 days of schedule delay. Repair of a failed thermal joint costs $800–2,000 per section, plus loss of facade aesthetics and potential water infiltration if the crack remains unfilled.
The ROI on proper thermal jointing is immediate: zero callbacks at week 12, zero repair cost, and a facade that remains intact for 20+ years. Installers who demand lower bids by cutting corners on thermal jointing are transferring risk to you.
What Building Codes and Standards Require
The International Building Code (IBC 2021) Section 1404.4 specifies that exterior foam elements must accommodate thermal movement in accordance with manufacturer documentation and site-specific environmental data. ASTM C1585 (Standard Test Method for Inflow/Outflow of Water Through Nonwoven Fabrics) and ASTM E96 (Standard Test Methods for Water Vapor Transmission of Materials) both assume that EPS facade elements are installed with movement joints that prevent moisture and stress concentration. ISO 12944 (Coatings and linings for corrosion protection of steel structures) extends this requirement to steel and metal substrates that support foam—thermal bridging at these points demands larger joint gaps (10–12 mm minimum).
Your regional building inspector expects thermal joints to be specified and inspected at rough-in and finish stages. If your contractor did not propose this during the estimate phase, the installation does not meet code, and you may have grounds for warranty recourse or project rejection during final inspection.