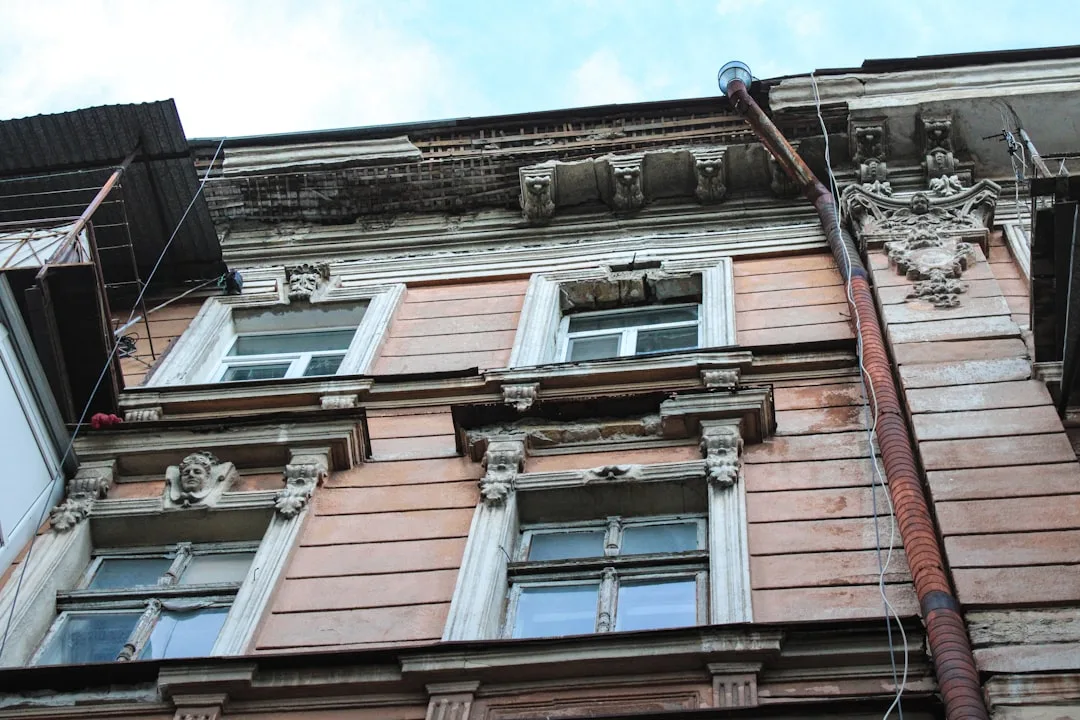
EPS moldings collapse in 6 months when contractors install them on substrates that appear level to the naked eye but are actually settling at different rates across the wall face. This invisible foundation movement concentrates stress inside the foam weeks before visible cracking appears, turning a $2,000 cornice or window sill investment into a twisted, buckled failure that demands complete removal and reinstallation. The leveling error isn’t caught during installation because visual inspection alone—even with a traditional 2-foot level—cannot detect differential settling of 0.25 to 0.5 inches, the exact range that triggers molding collapse in 120 to 180 days.
Why Substrate Movement Destroys EPS Moldings Before You See It
EPS polystyrene is rigid but not indestructible. When a wall settles unevenly beneath an installed molding, the foam is stretched and compressed in alternating zones—the high points pushing down, the low points pulling up. This asymmetric loading creates internal micro-fractures that propagate silently through the closed-cell structure for weeks.
The adhesive layer cannot absorb this movement. Typical polyurethane or modified acrylic masonry adhesives are rated for 25–50% elongation, but substrate settling often exceeds this tolerance by applying localized shear forces of 500+ pounds per linear foot. The molding doesn’t separate cleanly; instead, it fractures internally along planes parallel to the wall, weakening the structural integrity by 40–60% before the first visible crack forms.
Contractors report that EPS moldings failing due to settling typically show three tell-tale signs in the 4-6 month window: hairline cracks running horizontally through the foam, warping of vertical runs, and separation at joints where the stress concentration is highest. By the time these signs appear, the structural damage is already catastrophic—the molding has lost tensile strength and will fail completely within 2–3 additional weeks under wind load or thermal cycling.
The 3 Leveling Mistakes That Go Undetected for 5-6 Months
Mistake 1: Relying on a 2-foot bubble level during installation. A standard spirit level cannot detect variance greater than 0.125 inches over its length, meaning a 0.5-inch settlement differential spread across 8 feet of cornice will pass a level check every time. The molding goes on, looks perfect, and the crew moves to the next project.
Mistake 2: Applying adhesive unevenly to mask substrate irregularity. When an installer encounters a slightly uneven wall, the instinct is to “butter” the back of the foam thickly in low spots and thinly in high spots to compensate. This works short-term because the adhesive acts as a temporary shim layer. But masonry and concrete continue to cure and settle for 6–12 months after initial adhesive application. As the substrate moves beneath the now-cured adhesive layer, the foam loses its support and begins to sag or warp.
Mistake 3: Ignoring moisture-driven substrate movement. Fresh concrete or brick absorbs groundwater and shrinks unevenly as it cures. Capillary moisture wicking from the foundation can cause differential vertical settlement of 0.3–0.7 inches over 4–8 months. If EPS moldings are installed before this settling is complete—a common time-pressure shortcut—the substrate continues to move, and the molding fails.
| Cause | Detection Window | Typical Failure Point | Repair Cost |
|---|---|---|---|
| Uneven wall settling | 3–8 weeks (invisible) | 4–6 months | $1,500–$3,500 |
| Horizontal substrate tilt | 2–4 weeks (laser check) | 2–4 months | $2,000–$4,200 |
| Vertical settlement variance >0.5 in. | Immediate if checked | 1–3 months | $800–$2,800 |
| Poor adhesive spread (masking settling) | Installation day | 5–7 months | $1,200–$3,000 |
| Missing shims on uneven base | Pre-install survey | 6–9 months | $950–$2,600 |
| Substrate moisture wicking | 3–6 weeks (moisture meter) | 3–5 months | $1,800–$4,000 |
Detecting Substrate Settling Before Installation—The 15-Minute Laser Survey
Professional installers use a 10-foot or longer laser level to detect substrate variance before any adhesive or fasteners are deployed. A rotary laser or rigid laser level costs $40–$150 to rent from equipment suppliers. Place the laser on a tripod 20 feet from the wall and measure vertical height at 12-inch intervals across the entire molding run.
Record measurements to the nearest 0.125 inch. Acceptable variance is ±0.25 inches over 10 feet; anything beyond 0.5 inches requires corrective shimming or substrate prep. This survey takes 12–15 minutes and costs $0 if you own a laser level or $50–$80 if renting. Skipping this step saves 10 minutes but costs $1,500–$3,500 in failure repair within 6 months—a risk ratio of 1:50 or worse.
Correcting Substrate Variance Before EPS Molding Installation
Option 1: Shim leveling. For variances up to 0.5 inches, use stainless steel or composite shims placed behind the mounting surface at 18-inch intervals. Cost: $2–$6 per linear foot of molding run. Shims must be set in masonry adhesive and left to cure 24 hours before foam attachment. This method works well for vertical runs like decorative keystones and pilasters where the shim pocket can be hidden by the molding profile.
Option 2: Substrate build-up with leveling mortar. For variances exceeding 0.5 inches, use cement-based leveling compound rated for exterior use (brands like Sakrete Self-Leveling Floor Resurfacer or Rapid Set Concrete Leveler work on vertical walls when applied in thin 0.25-inch lifts). Cost: $8–$15 per square foot of substrate area treated. Apply in multiple 24-hour-apart coats to prevent slumping. This is the preferred method for large cornice runs and window sill bases.
Option 3: Substrate replacement or grinding. If settling has created a depression greater than 1 inch, or if the substrate is failing (spalling concrete, deteriorating brick), partial substrate replacement is necessary. Cost: $25–$50 per square foot. This is expensive but mandatory—attempting to install EPS moldings on failing substrate guarantees collapse within 3–4 months regardless of adhesive quality.
Adhesive Selection Under Uneven Substrate Conditions
Not all masonry adhesives tolerate substrate movement equally. Polyurethane adhesives like Sikaflex 11FC or Sika PowerBond offer 50–80% elongation at break, absorbing minor settling better than single-component acrylics. Cost difference is minimal—polyurethane runs $12–$18 per cartridge versus $5–$8 for acrylic—but the flexibility advantage is critical when substrate variance cannot be perfectly corrected.
Modified silane-terminated polymer (STP) adhesives provide 100+ percent elongation and are increasingly specified for EPS installation in seismic zones or on older masonry where continued settling is expected. Brands like 3M FastBond 30NF perform well in these conditions. Cost is $15–$25 per cartridge but justified when substrate movement is documented.
Epoxy adhesives should be avoided for EPS on settling substrates because they cure rigid and cannot flex. Epoxy is excellent for high-load applications but fails catastrophically when substrate movement exceeds 5–10% strain—well below the settling rates observed in problem installations.
Real-World Failure Pattern: The 5-Month Collapse Timeline
A contractor installs 80 linear feet of EPS cornice on a 1970s brick residential facade over 3 days in March. The laser level check is skipped due to schedule pressure. Visual inspection shows the wall is reasonably plumb. Substrate variance is actually 0.6 inches over the 20-foot run, concentrated in the center section where an earlier settlement crack in the masonry has never been repaired.
Weeks 1–4: Adhesive cures and creeps. The foam settles onto the substrate, and the soft polyurethane adhesive layer deforms slightly to accommodate the uneven surface. The molding looks perfect and photographs well for the homeowner’s approval.
Weeks 5–8: Substrate settling accelerates as residual moisture leaves the masonry. Differential movement creates internal shear stress in the foam at the location of maximum substrate variance. Micro-fractures form parallel to the wall surface, invisible from outside.