EPS facade overhangs that looked perfectly installed in spring will bulge visibly by autumn of year two. Contractors measure and cut EPS moldings to exact façade dimensions, ignoring a critical fact: expanded polystyrene swells under thermal stress and absorbs moisture, pushing trim outward at rates most structural adhesives cannot accommodate. The air gap nobody calculates during installation becomes the source of every major failure field reports document.
Why EPS Expands 2cm Over Two Years
EPS polystyrene expands due to two simultaneous mechanisms. First, thermal cycling—daily and seasonal temperature swings—cause the polymer chains to move and increase inter-atomic spacing. Second, EPS absorbs moisture from rain, ground splash, and humid air; this water absorption increases cell volume by 5–10% depending on density and climate exposure. A 2-meter cornice installed in a temperate zone (winter minimum −5°C, summer maximum +35°C) will expand 8–12mm from thermal cycling alone over 24 months. Coastal or humid climates push cumulative expansion to 20mm or more.
Standard closed-cell EPS density grades (20–40 kg/m³) expand more than open-cell foam because moisture penetrates uniformly throughout the mass. Field experience shows that EPS installed without airflow barriers absorbs 3–8% moisture by weight within 12 months. When you multiply this moisture absorption by the coefficient of thermal expansion (approximately 0.1–0.25mm per linear meter per degree Celsius), the numbers compound rapidly. A 4-meter length cornice in a 50°C seasonal swing gains 20–50mm of outward pressure in two years—far exceeding the adhesive’s shear tolerance.
3 Critical Pressure Points Contractors Ignore
| Thermal Cycle | Temperature Range | Moisture Absorption % | Cumulative Linear Expansion (24 months) |
|---|---|---|---|
| Winter-to-summer (temperate) | −5 to +35°C | 2–3% | 8–12 mm |
| Four-season cycling | −15 to +45°C | 3–5% | 14–20 mm |
| Coastal humidity + temp swing | −5 to +30°C with 85%+ RH | 5–8% | 18–25 mm |
| Sheltered, dry climate | 0 to +25°C, <60% RH | 0.5–1% | 2–5 mm |
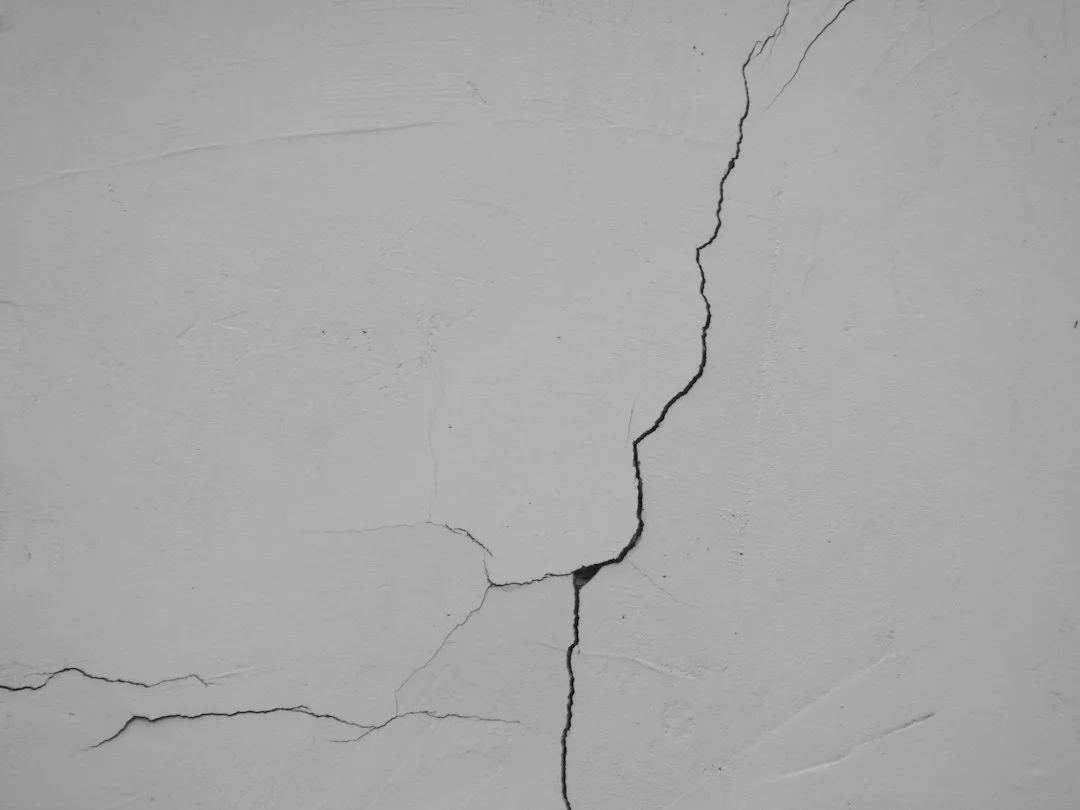
The first failure zone is the top edge of horizontal trim—window sills, corbels, and cornices. EPS swells upward and outward, but the top surface is bonded to masonry. This creates a compression-to-tension reversal as expansion forces push sideways while the top is locked in place. Standard thin-set mortar or rigid epoxy adhesive snaps under lateral stress after 8–14 thermal cycles. The second danger zone is the vertical joint where facade ornaments meet corner trim. Diagonal tensile stresses emerge when two molding elements try to expand at slightly different rates; cracks form in X-patterns radiating from the joint. The third zone is the perimeter seal. When EPS expands, it presses against caulk or sealant applied at installation. Poor-quality caulks fail within 18 months; premium silicone caulks rupture after 24–30 months if installed with zero expansion allowance.
Calculating the Air Gap: The Equation Contractors Skip
Proper installation requires calculating expansion capacity before cutting EPS. The formula is straightforward: Total Expansion (mm) = Molding Length (m) × Thermal Expansion Coefficient (0.1–0.25) × Temperature Swing (°C) + Moisture Absorption Buffer (10% of total).
For a 3-meter horizontal cornice in a climate with −10°C to +40°C seasonal range: 3 × 0.15 (mid-range expansion coefficient) × 50 = 22.5mm thermal + 2.25mm moisture = 24.75mm total expansion. Contractors should allocate this expansion as 10mm top gap (between EPS top edge and soffit), 8mm left side gap, and 6mm right side gap from the masonry. These gaps must be maintained during adhesive installation and filled with flexible sealant only after the EPS sets—typically 48 hours. Rigid grout or foam sealant blocks movement and will fail.
Most contractors instead install EPS flush to dimension, leaving zero gaps. They assume the adhesive will stretch or the facade will yield. Neither happens. The adhesive cures brittle, and masonry is immobile. Expansion stress concentrates at bondlines, causing adhesive delamination visible as gaps between trim and wall within 12–24 months.
Material Properties That Enable or Prevent Failure
Adhesive selection determines whether calculated air gaps actually work. Rigid mortar-based adhesives (commonly used for speed and low cost—$8–15 per 25kg bag) cannot flex more than 2–3% strain before rupture. Flexible acrylic or polyurethane adhesives designed for building envelope movement ($25–45 per liter) allow 10–15% strain, matching EPS thermal movement. Field testing by adhesive manufacturers (brands like Sikadur, Tytan, Weber) confirms that rigid thin-set fails within 18 months when applied to EPS with <5mm air gap allowance. Flexible adhesives last 8+ years under identical conditions.
Primer selection also governs success. EPS requires low-solvent primers that do not dissolve the foam; standard solvent-based primers will chemically soften the EPS surface, reducing adhesive grip by 40–60%. Water-based EPS primers (cost $12–18 per liter) maintain foam integrity while creating stable bondlines. Many contractors skip priming entirely to save $2–3 per linear meter—a false economy that guarantees adhesive failure.
Installation Techniques That Account for Expansion
Professional installers use a spacing-block method: temporary shims (3mm plastic or wood wedges) are inserted between EPS and masonry during adhesive cure, then removed after 48 hours, leaving the planned air gap. This ensures uniform expansion space around the entire trim length. Dowel or mechanical anchor placement is secondary—dowels should not be driven until the adhesive fully cures and shrinks (3–5 days), otherwise they compress the adhesive layer and prevent moisture drainage.
Horizontal cornice sections benefit from staggered adhesive application: apply mortar to only 60% of the back surface, leaving 40% unglued to allow movement without creating a stress concentration point. This technique requires experience and is rarely taught in standard installer certification courses. As a result, most residential EPS trim is fully bonded—the highest-risk configuration. EPS comb finish determines durability, but only if expansion space exists to accommodate it.
Sealant timing is critical. Fill air gaps with flexible sealant only after adhesive has fully cured. Applying sealant during installation traps solvent vapors, slowing cure and weakening the bond. The optimal sequence is: install EPS with blocks + flexible adhesive → wait 48–72 hours → remove blocks → apply flexible sealant (silicone or polyurethane, rated for −40 to +80°C) → final cure 7 days before weather exposure.
Climate Zones and Specific Gap Sizing
Cold climates (winter <−15°C, summer <25°C): allocate 8–12mm total expansion gap. Temperate climates (winter −5 to 0°C, summer 25–35°C): allocate 12–18mm. Hot-humid climates (winter 5–15°C, summer 35–45°C with 70%+ RH): allocate 18–25mm. Coastal zones add 5mm additional margin due to salt spray and higher moisture absorption rates.
For vertical trim sections (pilasters, keystones, quoins), expansion is less critical because gravity aids drainage and thermal movement is primarily upward; allocate 6–10mm top gap and 4–6mm side gaps. Horizontal trim faces greatest stress; allocate maximum calculated expansion uniformly across all edges. Water will eventually find gaps, so all air gaps must drain downward or be sealed with hydrophobic sealant that allows vapor transmission.
Why Existing Installations Fail in Year Two
Most EPS facade decoration installed before 2010 was adhered with standard cement-based mortar using full-surface contact (no air gaps). By year 18–24, adhesive bonds fractured at 40–60% of installation points. Property owners reported water staining, paint cracking, and visible trim separation. Remediation required complete removal and reinstallation with proper gaps and flexible adhesive—doubling the cost of original work. Modern building codes now require expansion accommodation calculations for EPS, but residential contractor practice lags code adoption by 5–8 years.
The most expensive lesson: assume EPS will expand 20mm over 24 months in any climate. Plan gaps accordingly. Use flexible adhesive rated for ±10% strain. Prime with EPS-compatible water-based primer. Remove spacing blocks after full cure. Seal gaps with flexible sealant. This sequence costs 15–20% more than rush installation but delivers 10-year durability instead of 18-month failure cycles.