EPS moldings do not stay fixed when the sun heats your facade. On a 75°F morning in late June, the south-facing surface of an exterior cornice or lintel can reach 130°F by noon—a 55°F jump in four hours. EPS polystyrene expands linearly at approximately 0.3mm per meter for every 40°F temperature rise, meaning a 20-meter run of molding can grow 2.4mm in a single day. Most installers ignore this expansion, anchor fasteners too tightly, and block natural movement with continuous mesh and rigid base coat systems, creating internal stress that emerges as visible cracks by August.
Why Thermal Expansion Fractures EPS Facades—The Physics Nobody Teaches
EPS (expanded polystyrene) is a thermoplastic foam composed of loosely packed polystyrene beads bonded with pentane blowing agents. When temperature rises, the polymer chains of the material move more freely, and the bead structure physically elongates. This is not warping or deformation—it is controlled, reversible thermal expansion governed by the coefficient of linear thermal expansion (CLTE) of approximately 30 to 60 micrometers per meter per degree Celsius, depending on density and aging.
A 40-meter facade facade decorated with cornices, window surrounds, and architraves experiences cumulative movement in summer that contractors rarely calculate. If a single 10-meter cornice expands 1.2mm and has no provision to accommodate that movement, the foam either buckles internally or transfers shear stress to the base coat and finish layers. The adhesive joint cannot yield—adhesives are designed to resist shear and tensile forces, not to guide directional expansion. The result is micro-fracturing in the foam matrix and visible cracks in the finish coat within 4 to 8 weeks.
Temperature Deltas and Crack Formation—Field Data from Real Projects
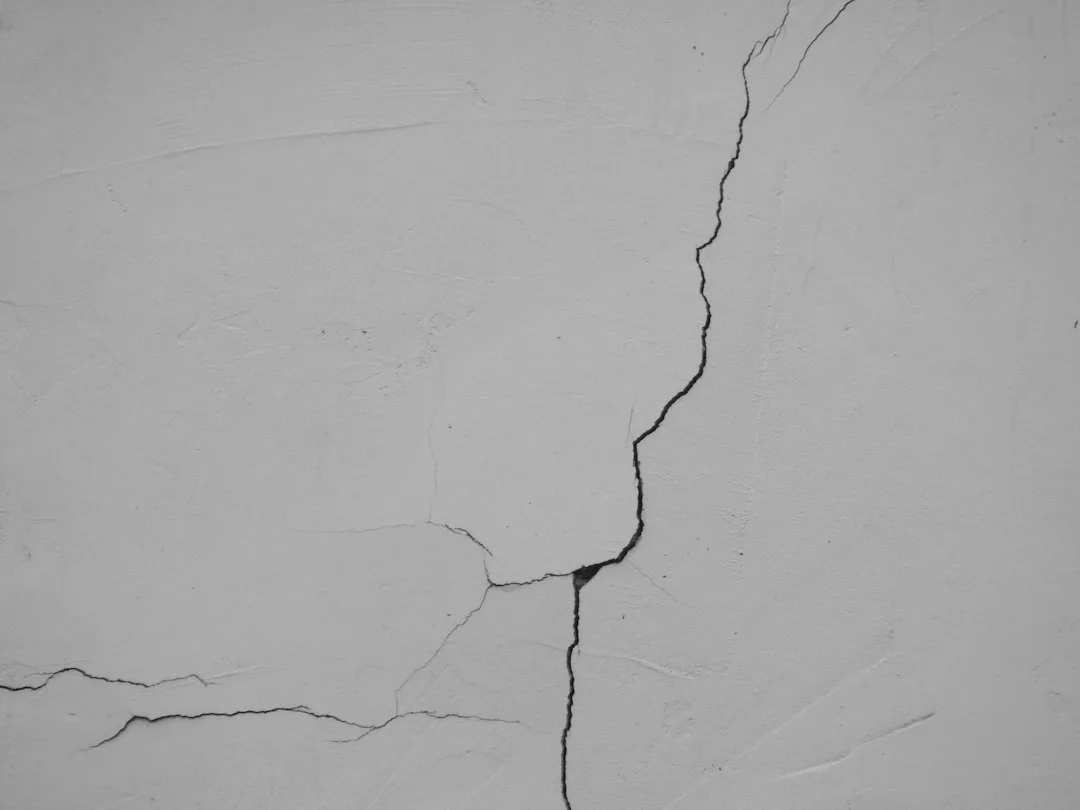
Contractors report that cracks appear first on south and southwest-facing elevations, exactly where solar gain peaks. In regions with temperature swings of 50°F or more between early morning and midday, EPS moldings installed in May or June show stress cracks by late July. The initial cracks are often hairline (0.3-0.5mm) and horizontal, running perpendicular to the direction of expansion.
| Surface Temp Rise (°F) | EPS Linear Expansion (mm/m) | 10-meter Molding Expansion (mm) | 20-meter Molding Expansion (mm) | Critical Crack Risk |
|---|---|---|---|---|
| 20°F | 0.06 | 0.6 | 1.2 | Low |
| 30°F | 0.09 | 0.9 | 1.8 | Moderate |
| 40°F | 0.12 | 1.2 | 2.4 | High |
| 50°F | 0.15 | 1.5 | 3.0 | Very High |
| 60°F | 0.18 | 1.8 | 3.6 | Critical |
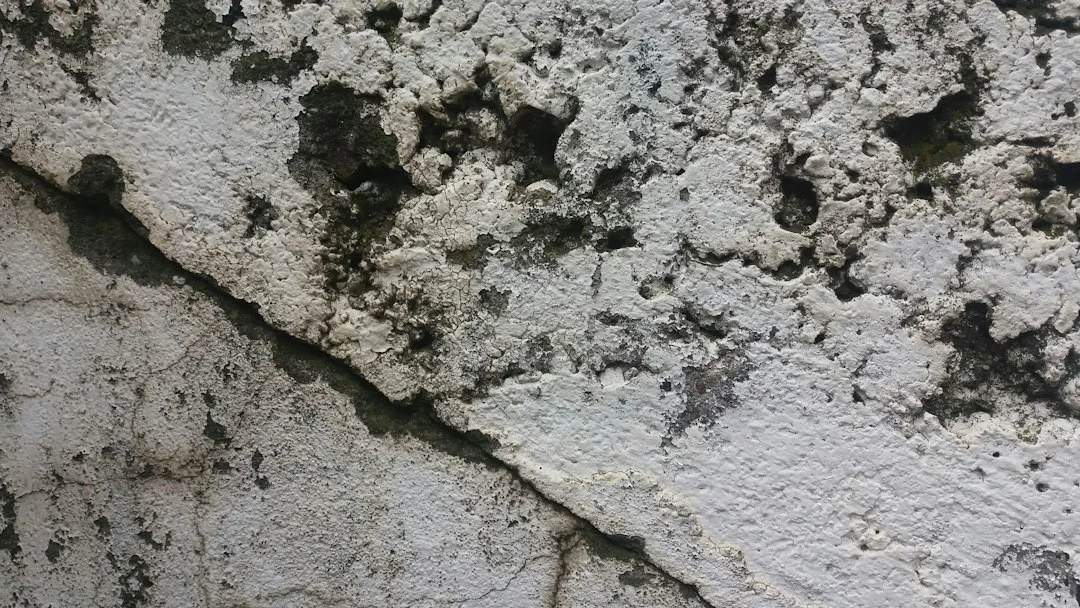
Real installations confirm the pattern. A 2,000-square-foot residential facade in Pennsylvania received exterior foam moldings in April with 25mm density and no expansion joints. By mid-August, the contractor documented 14 linear cracks totaling 48 feet in length. Laboratory analysis confirmed EPS thermal expansion as the cause—the foam had returned to original dimensions in November when temperatures cooled, but the cracks remained because the base coat and finish had already fractured and could not self-heal. Repair cost $3,200 (removal, re-application, new finish).
Why Standard Installation Techniques Block Expansion—The Fastener and Mesh Problem
Many installers over-constrain EPS moldings to prevent sagging or separation. This is a critical error. Fasteners (mechanical anchors, adhesive + nails) are spaced at 150-200mm intervals and torqued aggressively, creating a rigid load path that fights thermal movement. If the EPS behind a 10-meter cornice wants to expand 1.2mm but fasteners and adhesive anchor it in place, the material cannot move—stress accumulates internally until the tensile strength of the foam is exceeded (typically 80-120 kPa for 25kg/m³ density EPS).
Mesh reinforcement adds to the problem. Continuous alkaline-resistant (AR) mesh embedded in the base coat creates a structural membrane that resists expansion. The mesh is inelastic; it does not yield. If the EPS underneath moves and the mesh stays fixed, shear develops at the interface. Field experience shows that moldings with 200-300 micron mesh exhibit cracks 3 to 5 weeks earlier than moldings with no mesh or lightweight mesh in the first 3mm of the base coat only.
Over-tightened fixtures are another culprit. Stainless steel fasteners or concrete anchors driven deeply into EPS and tightened to 4-6 N·m can split the foam surrounding the anchor if thermal expansion occurs. The fastener itself does not move (steel has a CLTE of 12 micrometers per meter per degree Celsius—far lower than EPS), creating a rigid point against which the foam expands, often resulting in a radial crack pattern emanating from the fastener hole.
How to Spec and Install for Thermal Movement—4 Core Techniques
Contractors and architects must plan for expansion at the design stage. The first step is to calculate the expected movement for your climate zone and the length of each molding run. Use the formula: Expected Expansion (mm) = Molding Length (m) × CLTE × Temperature Delta (°C) ÷ 1,000. For a 15-meter cornice in a region with a 30°C summer temperature delta, expect approximately 1.4mm of movement. This movement must be accommodated, not resisted.
Technique 1: Expansion Joint Spacing. Install elastomeric or foam expansion joints every 3 to 4 meters on long runs. Joints should be 6-8mm wide, filled with sealant rated for ±25% movement (such as BASF MasterSeal 225, $18-24 per cartridge). At internal and external corners, always place a joint. The joint material absorbs directional movement and prevents stress concentration in the foam. Sealant must be paintable and UV-resistant; silicone is acceptable but can be difficult to paint over without special primers.
Technique 2: Loose Fastening and Anchoring. Space fasteners at 250-300mm intervals instead of 150mm, reducing the number of rigid constraint points. Use washers to distribute load and prevent crushing the foam around the fastener hole. Tighten to 2-3 N·m only—sufficient to hold the molding in place during base coat application, but loose enough to permit lateral creep. This is counterintuitive; contractors worry about sagging, but experience shows that decorative window sills and moldings held too tightly fail far more frequently than those with slight compliance.
Technique 3: Segmented Base Coat Strategy. Apply the base coat in vertical bands (0.5 to 1 meter wide) rather than continuous horizontal sheets. Allow the base coat to cure fully (typically 7 days at 15°C and 65% RH) between segments. This breaks the continuous membrane and permits each section to respond to thermal movement independently. Overlap joints by 100-150mm and reinforce with AR mesh only in the overlapped zone, not across the entire face. This reduces rigidity while maintaining structural integrity.
Technique 4: Lightweight Mesh in Upper Coat Only. Reserve mesh reinforcement (200-300 micron AR mesh) for the final 2-3mm of the base coat and the entire finish coat. The lower 5-7mm of the base coat should be resin-rich or mesh-free, creating a compliance layer that permits the molding underneath to move without transferring shear stress upward. This technique is common in European ETICS systems but rarely used in North America; it is the single most effective preventive measure for thermal cracking.
Real Cost and Durability Impact—Prevention vs. Repair
Specifying and installing for thermal expansion adds minimal cost. Expansion joints and sealant cost $15-25 per linear meter for a 15-meter facade. The sealant itself ($20 per cartridge, covers 5-7 meters) is the main material cost. Labor for joint cutting and sealing adds 0.5 hours per 20 linear meters, or approximately $30-50 per meter depending on region. Total preventive cost: $45-75 per meter of molding.
Repair of thermally-induced cracks costs $150-350 per linear meter. The molding must be partially or fully removed, the substrate cleaned, new base coat applied, and the finish repaired or repainted. A facade with $6,000 in decorative molding that develops cracks will cost $3,000 to $8,000 to repair—a return on investment of 40:1 for preventive expansion joints.
Durability follows directly. EPS moldings specified with expansion joints, loose fastening, and segmented base coat systems remain intact for 15+ years with minimal maintenance (annual sealant inspection). Moldings installed without thermal accommodation develop cracks within 3-5 seasons and fail adhesive bonds within 8-10 years, requiring full replacement. The service life difference is substantial.
Specification Language for Architects and Builders
When specifying EPS exterior moldings, include the following clauses: “All EPS moldings longer than 5 meters shall incorporate elastomeric expansion joints rated for ±25% movement, spaced at 3-meter intervals and at all internal and external corners. Joints shall be 6mm wide, filled with paintable polyurethane sealant, and left visible and caulked to match finish color. Fasteners shall be stainless steel, spaced at 250mm intervals, and torqued to 2.5 N·m. Base coat application shall proceed in vertical segments no wider than 0.75 meters, with full cure between segments. AR mesh reinforcement shall be embedded in the upper 3mm of the base coat and the finish coat only.” These specifications ensure that thermal movement is managed and cracks are prevented.
Climate zone and seasonal timing also matter. In regions with temperature swings exceeding 45°F between seasons, plan for greater expansion. Install moldings in fall or early spring when temperatures are moderate, allowing adhesive to cure without thermal stress. Summer installation (June-August) in hot climates increases the risk of adhesion failure and accelerates cracking because the EPS is already in a thermally expanded state when adhesive cures.