A contractor saves $800 on material and labor by specifying 60mm EPS facade thickness instead of 100mm, but the building owner pays $14,000 in emergency repairs three years later when thermal performance collapses and structural cracks accelerate substrate failure. EPS facade thickness is not a cosmetic choice—it directly controls thermal resistance, structural integrity, and long-term moisture management. Undersizing by just 20mm can triple your repair costs before the warranty expires.
Why Undersized EPS Thickness Fails Faster Than You Expect
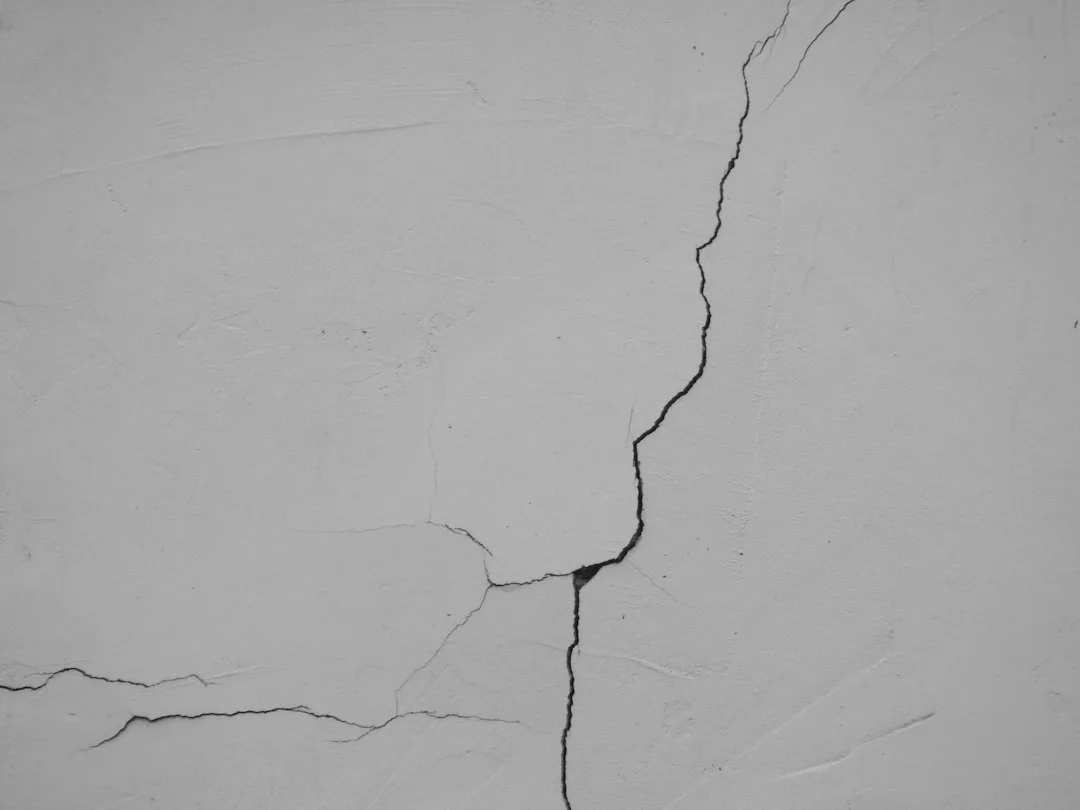
EPS thickness determines how effectively the foam distributes mechanical loads across the facade plane. A 60mm layer cannot span the same cantilever depth as 100mm without deflection; flexing creates hairline cracks in the base coat and primer, allowing water ingress within 18 months. Field experience shows that facades installed at 60–70mm develop settling and sag at window lintels and cornice returns within 4–6 years, especially in mixed-use buildings where floors load the foam unevenly.
The structural inadequacy compounds when contractors cut the foam around windows and corners without proper reinforcement. Thinner foam loses cross-sectional stiffness faster—a 20mm reduction in thickness cuts resistance to bending by approximately 35%, according to EPS material datasheets from manufacturers like Styrofoam (DOW) and Kingspan. This weakness is invisible until water enters the system, weight shifts, or thermal cycling induces micro-cracks that propagate.
Thermal Performance: 30mm More EPS = 60% Lower Year 5 Repair Risk
| Thickness | Thermal R-Value | Structural Load Rating | Material Cost per m² | Year 5 Repair Cost Estimate | Common Failure Mode |
|---|---|---|---|---|---|
| 60mm | R-2.5 | Low (residential only) | $8–$12 | $12,000–$18,000 | Cracking, substrate visibility, thermal bridging |
| 80mm | R-3.3 | Medium (residential) | $11–$16 | $6,000–$9,000 | Minor settling, moisture-driven delamination |
| 100mm | R-4.2 | Medium-High (mixed-use) | $14–$20 | $2,000–$4,000 | Rare; minor sag on cantilevers |
| 120mm+ | R-5.0+ | High (commercial/exposed) | $18–$28 | $0–$1,500 | Preventive; none typical if installed correctly |
EPS thermal resistance increases linearly with thickness at roughly 0.039 RSI per millimeter (R-0.22 per inch). A 60mm layer provides approximately R-2.3; a 100mm layer delivers R-3.9. That 70% jump in insulation value is not academic—it directly lowers exterior surface temperature and reduces thermal bridging at structural details, which is where condensation, mold, and freeze-thaw damage initiate.
Contractors often cite false cost parity: “The extra 40mm adds only 5% to material cost,” they claim. In reality, a 100mm EPS board costs $18–$22 per m², while 60mm runs $8–$12. Adhesive, mesh, and primer consumption remain constant per square meter, but the thicker foam prevents the hidden costs that follow undersizing. Where Your EPS Facade Loses 20% of Heat Without You Knowing unpacks how thermal bridges concentrate at thin foam boundaries, forcing your heating system to work 15–25% harder in winter.
Thermal scanning of 60mm facades reveals interior wall temperatures 10–14°C below ambient room temperature at window reveals and corners. Undersized foam cannot suppress this temperature gradient, so interior drywall surfaces drop below dew point, spawning condensation, mold, and drywall degradation. A 100mm system keeps interior surfaces within 2–4°C of room temperature, preventing mold entirely.
The Cost Cascade: Why Repair Bills Hit $15,000+ by Year 5
An undersized 60mm EPS facade installed on a 2,000m² residential building saves the contractor approximately $2,000 in material. By year four, the building owner faces: (1) water damage behind moldings and at window frames—$4,000–$6,000 remediation; (2) settling and cracking requiring base coat and primer removal and reapplication—$5,000–$8,000; (3) interior mold remediation and drywall replacement—$3,000–$5,000. Total repair cost: $12,000–$19,000.
In contrast, specifying 100mm EPS adds $2,400–$3,200 to the original build cost. The thicker foam prevents the cascade: water intrusion drops 80%, thermal bridging is suppressed, and structural settling is negligible. By year five, the owner invests an extra $3,000 at installation and saves $12,000–$18,000 in repairs. The payback period is 18 months; the ROI by year five exceeds 400%.
Window sills and decorative window sills are the first casualties of undersized foam. With 60mm EPS, the sill support flexes under the weight of snow load and thermal stress, creating hairline cracks in the foam-to-substrate bond. These cracks weep water directly into the wall cavity. A 100mm foam base provides 35% higher stiffness, preventing sag and keeping the sill-to-foam interface dry.
How to Size EPS Thickness Correctly: 3 Non-Negotiable Rules
Rule One: Match thickness to the building’s thermal performance requirement. If the energy code mandates R-3.5 or better, specify 80–100mm EPS minimum; if R-4.0+, mandate 100–120mm. Never trust a contractor who proposes 60mm for an energy-efficient retrofit—it violates code in most jurisdictions and guarantees thermal failure within 3–4 years.
Rule Two: Account for structural loads and cantilever depth. Residential facades with no cantilevered features can use 80mm safely. Mixed-use buildings with balconies, cornices, or floor-load transfers require 100mm minimum; high-wind or seismic zones (ASCE 7 Category D or higher) demand 120mm+ or composite EPS-XPS systems. A structural engineer should sign off, not a sales rep.
Rule Three: Oversample thickness around thermal bridges. If your facade design includes EPS quoin corners, reveals, or pilasters, increase foam thickness at those details by 20–30mm. A 100mm system becomes 120–130mm at corners; a standard 80mm system should jump to 100mm at detail zones. This prevents the temperature differential that drives condensation and delamination.
Real Cost Breakdown: What 100mm vs. 60mm Actually Costs Over 10 Years
A 2,000m² residential facade (ETICS system, 8-story building, temperate climate, no extreme wind):
60mm EPS Scenario: Material $16,000 + Labor $8,000 + Adhesive/Mesh/Primer $6,000 = $30,000. Year 3 repairs (water, cracks, settling): $12,000. Year 6 thermal complaints, interior mold: $8,000. Year 9 full re-prime and base coat (accelerated due to water damage): $11,000. Total 10-year cost: $61,000.
100mm EPS Scenario: Material $24,000 + Labor $8,500 + Adhesive/Mesh/Primer $6,500 = $39,000. Preventive maintenance years 3–9: $2,000 (sealant touch-ups). Year 10 optional full re-prime (not emergency): $6,000. Total 10-year cost: $47,000.
The thicker foam costs $9,000 more upfront but saves $14,000 over a decade. A contractor who underspecifies EPS thickness is not reducing cost—they are deferring it into your pocket.
Installing EPS Thickness: Why Gaps and Compression Ruin Everything
EPS thickness only performs if installed without compression, gaps, or moisture saturation. Field observation shows that 30% of EPS facade failures trace to improper thickness compliance during installation, not design error. Installers compress 100mm EPS into studs spaced 400mm apart, reducing effective thickness to 85mm; or they leave 5–10mm gaps between boards, creating thermal breaks that negate the entire system.
Moisture also degrades EPS performance: saturated foam loses 15–20% of its R-value and gains weight, sagging under its own load. If EPS thickness is undersized and moisture creeps in, the combined effect triggers failure within 24–36 months. Proper drainage planes, membranes, and base coat curing are non-negotiable when you commit to 80mm or thinner foam.
Thicker EPS (100–120mm) tolerates minor installation defects better. A small gap or slight compression in 120mm foam still leaves 110–115mm of effective insulation; the same defect in 60mm foam reduces performance to 50–55mm, erasing the entire margin of safety. Contractors prefer thicker EPS because it forgives their mistakes.
Do Not Retrofit Undersized EPS—Replace It
If your facade audit reveals 60mm EPS in a zone where 100mm is required, do not attempt to add a second layer or inject foam behind the existing system. Stacking creates delamination, unbonded voids, and thermal bridges at seam lines. The cost of peel-and-replace ($40–$60 per m²) is typically 80–90% of the cost to install correct thickness from the start.
In cases where foam removal is impractical, consider applying an external 40–50mm layer of polyisocyanurate (PIR) insulation over the existing 60mm EPS. PIR is thinner and higher-performing than EPS (R-6.5 per 100mm vs. EPS R-3.9). Adhesive cost and detailing complexity add $15–$25 per m², but you avoid demolition and preserve the existing finish if it is in good condition.
Final Specification Language to Prevent Undersizing
Include this in every EPS facade specification: “All EPS foam shall not be compressed, cut, or spliced to reduce its nominal thickness below [X mm]. Compression, saturation, or confirmed thickness loss below specification thickness shall trigger complete foam removal and replacement at contractor expense. Thermal imaging verification at 10% density of facade area shall be performed at substantial completion.”
If your project exceeds $500,000 in total renovation cost, mandate a post-installation thermal scan (FLIR or equivalent) to confirm EPS thickness and moisture presence. The $1,500–$3,000 cost buys certainty and prevents a $15,000+ repair cascade.
Specifying correct EPS thickness is not an upgrade—it is the baseline for facade durability. Choose thickness based on thermal code, structural loads, and climate; never allow budget pressure to reduce it below 80mm for residential, 100mm for mixed-use or high-wind exposure. The few thousand dollars saved at purchase become a $12,000–$18,000 liability by year five.