Why an EPS Exterior Window Sill Is a Functional Component, Not a Decorative Add-On
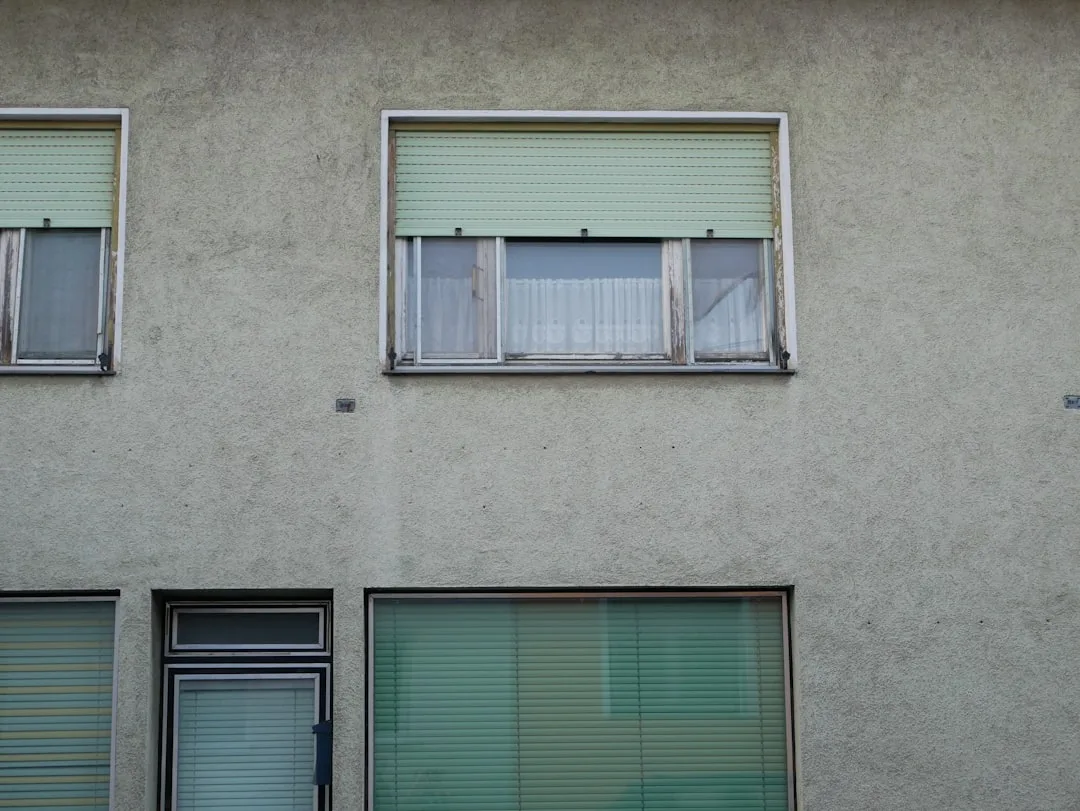
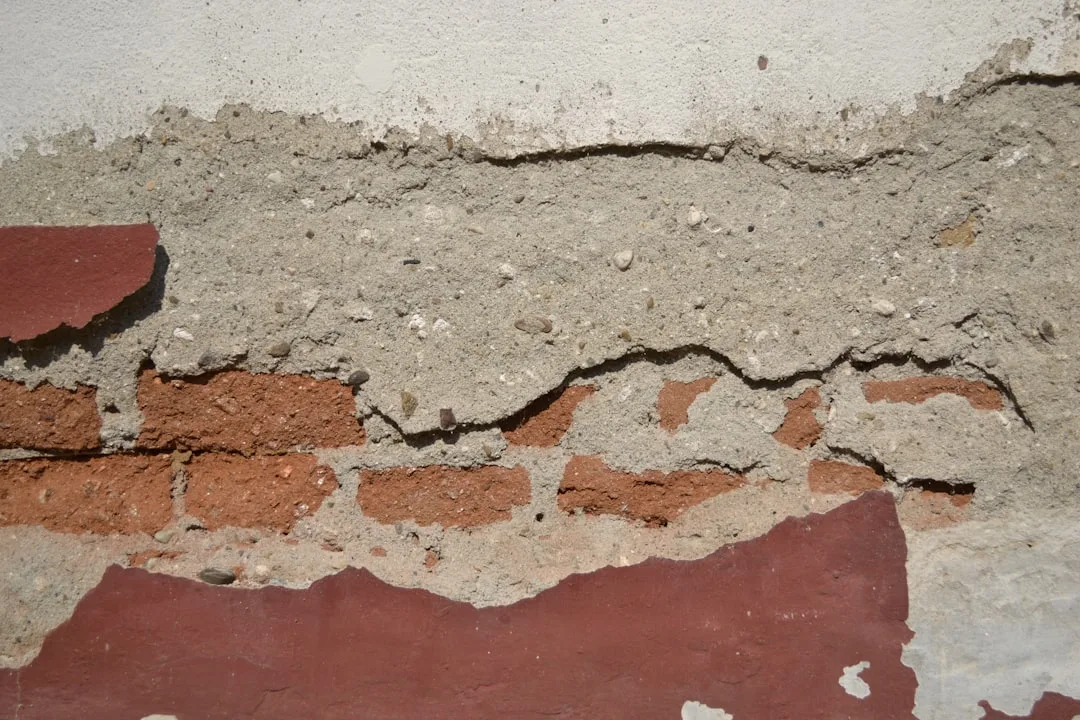
An exterior window sill has one primary job: direct water away from the wall plane and the window frame junction. Without a properly sloped sill projecting at least 30–40mm beyond the facade surface, rainwater tracks directly down the wall, saturating render, degrading insulation, and causing efflorescence or mold within two to three heating seasons.
EPS (expanded polystyrene) sills solve this problem while also delivering a clean architectural finish. They are lightweight — a standard 1200mm sill weighs under 1kg — yet rigid enough to hold shape under render coats and thermal cycling between -20°C and +70°C.
Contractors often underestimate the aesthetic consequence: a window opening without a defined sill looks visually unresolved, especially on rendered facades where horizontal shadow lines are the primary architectural tool. Adding a decorative window sill in EPS creates that horizontal datum line at every opening for roughly $8–$18 USD per linear foot, depending on profile complexity.
EPS vs. Other Sill Materials: Where Polystyrene Wins and Where It Doesn’t
| Material | Weight (per 1m) | Approx. Cost (per lm) | ETICS Compatible |
|---|---|---|---|
| EPS polystyrene | 0.6–0.9 kg | $9–$18 | Yes — direct bond |
| Stone / reconstituted stone | 18–35 kg | $45–$120 | No — requires mechanical anchor through insulation |
| PVC / uPVC | 1.2–2 kg | $12–$25 | Partial — thermal expansion causes joint failure |
| Fiber cement | 4–7 kg | $20–$40 | Limited — adds dead load, requires mechanical fixing |
| Cast concrete | 25–50 kg | $30–$60 | No — creates thermal bridge, needs structural support |
Stone sills are thermally disruptive on insulated facades: anchoring through 120–200mm of EPS insulation to reach the structural wall requires stainless threaded rods and creates a point thermal bridge. EPS sills avoid this entirely by bonding to the insulation surface with the same adhesive mortar used for the ETICS system itself.
PVC expands 0.7mm per meter per 10°C temperature change — on a south-facing facade in summer, a 1.2m PVC sill can move 3–4mm, cracking the render at both ends. EPS moves less than 0.1mm under the same conditions.
Correct Installation Sequence on an ETICS Facade
Timing is everything: the EPS sill must be installed after the insulation boards are fixed but before the base coat (reinforcement layer) is applied. Installing the sill after the render is complete forces you to cut into a finished system, creating a weak joint that will crack within one freeze-thaw cycle.
Apply Weber.therm Base, Baumit StarContact, or equivalent EPS adhesive mortar in a full-surface application to the back of the sill — not the dot-and-dab method used for insulation boards. Press the sill into position, confirm the pre-sloped face angles away from the wall at 5–7°, and check that the front edge projects 30–40mm beyond the final render surface to form a drip edge.
Once the adhesive cures (minimum 24 hours), embed a 10cm strip of 160g/m² fiberglass mesh over the sill-to-wall junction on all sides before applying the base coat. This prevents cracking at the interface — the single most common failure point on EPS facade elements. For complete system coordination, pairing your window sills with exterior foam moldings at the lintel and pilaster positions creates a unified horizontal-vertical grid that reads as intentional architecture rather than retrofitted ornament.
Profile Selection and Architectural Logic
EPS sills come in flat, sloped, and profiled variants — the profile depth you choose should be proportional to the window width. A rule used by facade designers: sill projection = window width ÷ 20, minimum 30mm. For a 900mm window, a 45mm projection is correct; anything less reads as thin and fails to cast a defined shadow line.
Profile height (the visible front face) typically ranges from 60mm to 120mm. On a contemporary facade with flush windows, a 60–70mm flat sill is appropriate. On a classical or neoclassical renovation with cornices and pilasters, use 100–120mm profiled sills to match the visual weight of the surrounding elements.
Color matching matters practically, not just aesthetically: factory-pigmented EPS sills in RAL colors reduce the number of finish coats needed and ensure the sill color remains stable even if the render coat chips at the edge — a high-wear zone on any sill.
Waterproofing Details That Determine Long-Term Performance
The junction between the sill end and the window frame is the highest-risk water entry point on the assembly. Seal this joint with a silicone sealant rated for facades — Sika Sikaflex-11FC or Tremco Spectrem 2 are both field-proven options — applied in a 6–8mm triangular bead before any render work begins.
Apply a silicone-modified acrylic finish coat (not standard acrylic) to the sill face specifically: silicone resin finishes repel water rather than simply resisting it, reducing biological growth and efflorescence on the horizontal top surface where water dwells longest. Brands like Caparol Amphisilan or Sto Lotusan carry this property out of the box.
Inspect sill-to-frame joints every 7–10 years and re-seal as needed — silicone sealants have a practical service life of 10–15 years in exposed conditions. This single maintenance action prevents 90% of window-related moisture complaints on rendered facades.