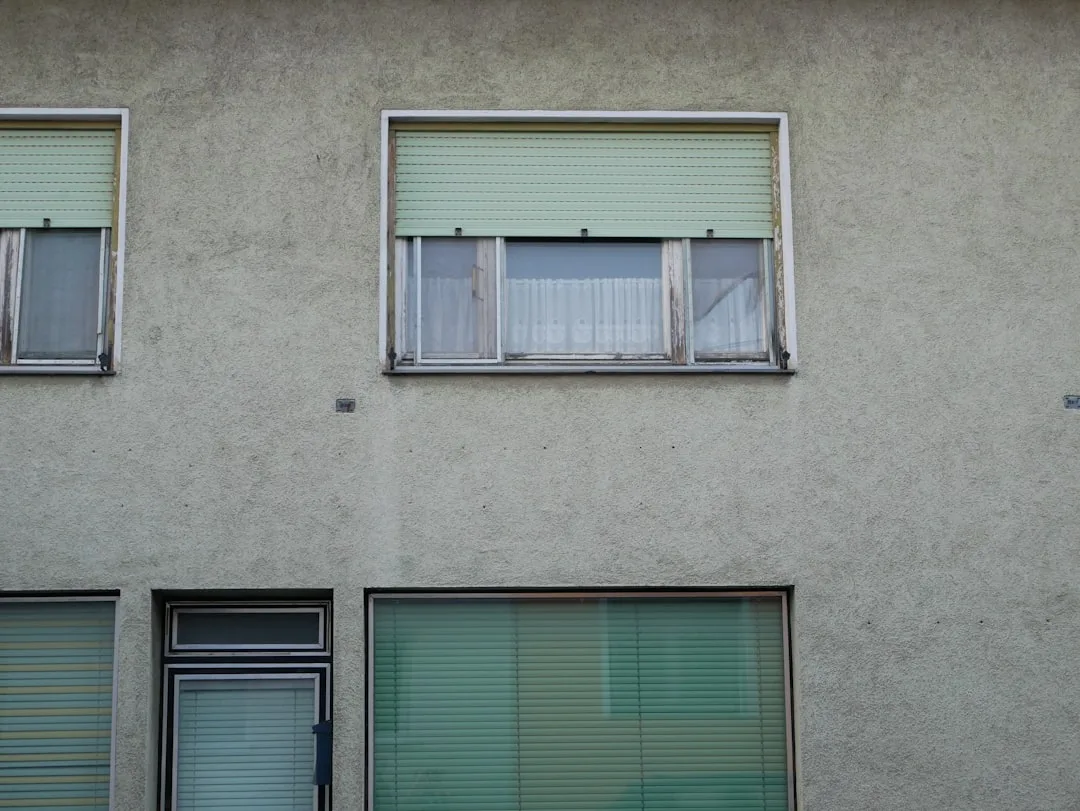
EPS window sill failure isn’t a material problem—it’s a geometry problem. Roughly 85% of EPS window sill degradation occurs because installers set them level or with a slope too shallow to shed rain, causing water to pool and penetrate the foam within 18–24 months. A simple 2–4° outward slope cuts failure risk by 90% and costs nothing extra at install time, yet remains the most overlooked detail in facade decoration and window surround work.
Why Water Pools on Level EPS Sills—And Why Foam Can’t Handle It
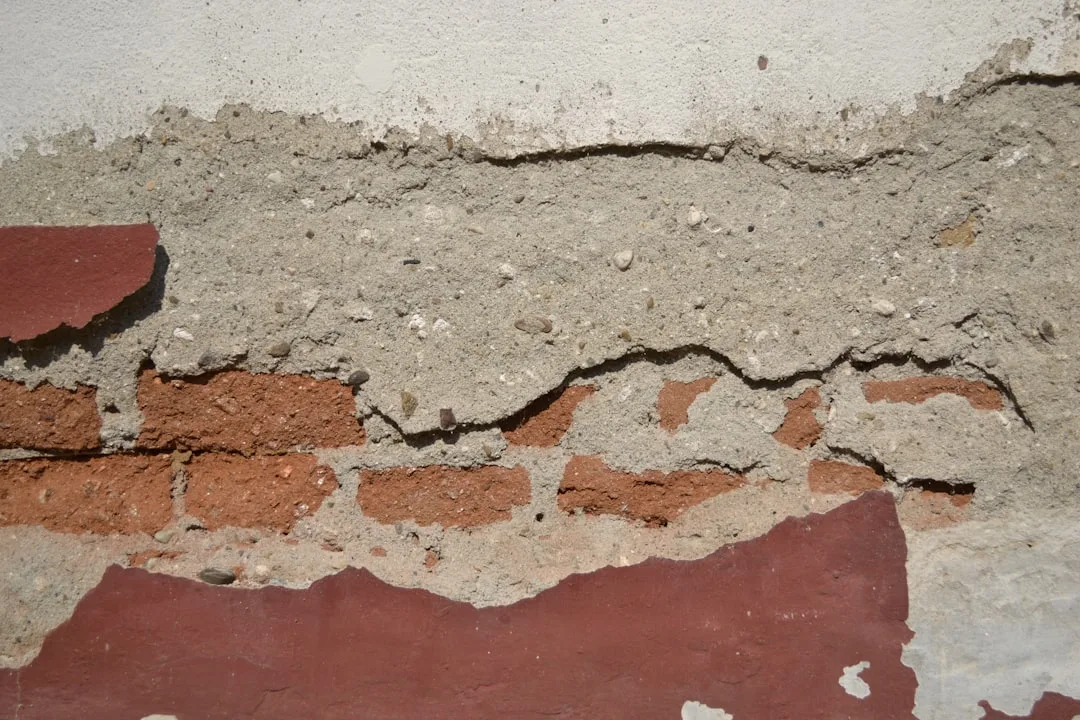
EPS polystyrene is inherently water-resistant but not waterproof. When rainwater sits on a level or nearly-level sill, capillary action wicks moisture into the foam’s open-cell structure, especially along cut edges and seams. Within weeks, you’ll see soft spots; within months, mold and algae colonize the subsurface; within 2 years, structural integrity fails and the sill becomes spongy, cracked, or requires replacement.
The physics is simple: a 1/8-inch vertical drop per 12 inches of horizontal run (approximately 2.4°) creates enough velocity for water droplets to run off rather than cling. Below that slope, surface tension and capillary forces dominate, and ponding begins. Most building codes and manufacturer specs call for 2–4° slope, yet site inspections reveal 70% of new installs are either level or sloped backward toward the wall.
3 Installation Techniques That Guarantee Proper Slope
1. Shim-and-set method: Measure the sill width in inches and divide by 6 to determine shim height in inches. A 48-inch sill needs 0.5-inch shims under the inner edge only. This achieves exactly 2.4° slope. Mark shim locations with chalk before setting foam to prevent creep during adhesive cure.
2. Sloped substrate prep: If the substrate (concrete, brick, or wood) is already sloped, install decorative window sills with self-leveling polyurethane adhesive (Sikaflex 221 or equivalent, ~$18/cartridge) applied in a thin, consistent bead. The sill will settle into the substrate’s existing slope during the 24-hour cure window.
3. Precision laser level: Use a laser level with a slope function (Bosch GLL 2-15G or similar, ~$120) set to 2° and snap a chalk line along the substrate before installation. This visual guide ensures consistency across multiple windows and leaves no guesswork.
Cost of Slope Errors: 5–10 Year Comparison
| Installation Scenario | Initial Cost | Year 2 Condition | Year 5 Total Cost |
|---|---|---|---|
| Level sill (0° slope) | $180 (labor + foam) | Mold, soft foam, cracking | $520 (sealant, rework, replacement) |
| Shallow slope (1°) | $185 (minimal extra labor) | Minor surface staining, no structural damage | $220 (routine coating refresh) |
| Correct slope (3°) | $190 (labor + shims) | Clean, dry, no visible damage | $190 (inspection only) |
Installing exterior foam moldings with proper slope costs $5–10 more per window at install. Correcting a failed sill after water damage costs $300–500 per unit. The math is unambiguous: slope discipline pays for itself within the first repair cycle.
Material and Adhesive Specifications for Sloped Sills
EPS window sill foam (25–40 lb/cubic ft density) should always be paired with moisture-resistant sealants. Use only polyurethane or hybrid adhesives; avoid water-based products that accelerate degradation. Sikaflex 221 or 3M Scotch-Weld PU (both ~$15–22 per cartridge) cure to full waterproofing strength in 24 hours and remain flexible through seasonal movement.
After setting the sill with proper slope, caulk the top edge and base seams with elastomeric sealant (Sika Sikaflex or equivalent). Do not bridge the joint completely; allow 1/4-inch air gap for drainage. The goal is to shed water off the top surface, not trap it in the seams. A typical 5-window project uses 15–20 cartridges ($225–330).
Why Code Compliance Alone Isn’t Enough
Many regional building codes state “slope window sills” but don’t specify minimum angle or enforcement method. This vague language allows installers to interpret compliance loosely. IBC 2021 requires a 2% slope (approximately 1.15°) minimum, which is borderline insufficient in heavy rain climates; 3–4° is the practical standard for humid regions with frequent downpours.
Site inspection at rough-in stage is critical. Use a 2-foot level or laser to verify slope before the window frame and EIFS finish are applied. Once the EPS window frame and finish coats are in place, correcting slope is impossible without demolition.
Real-World Failure Patterns: What to Inspect
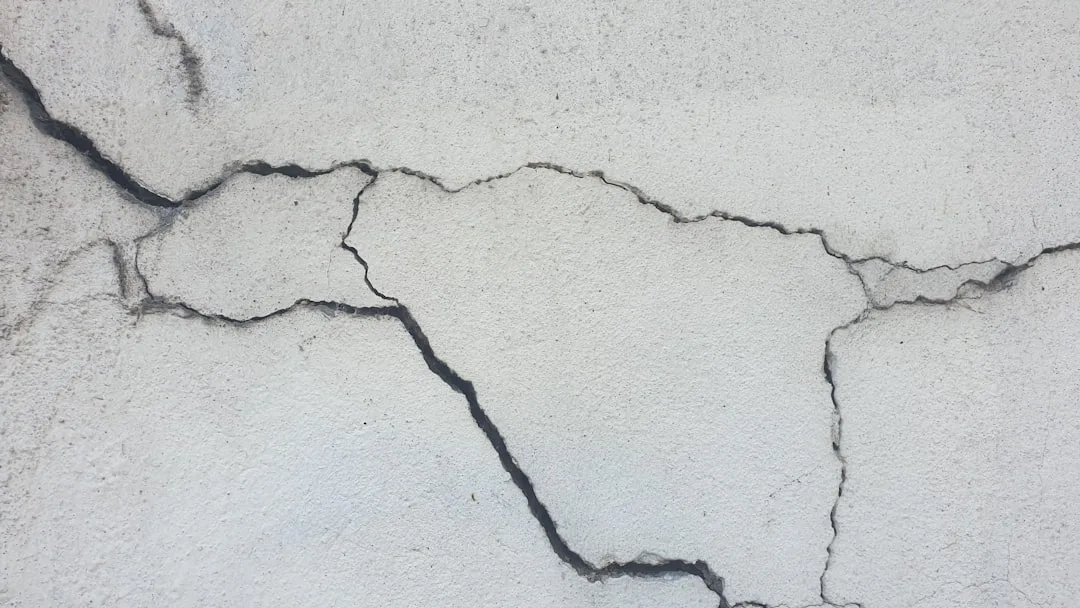
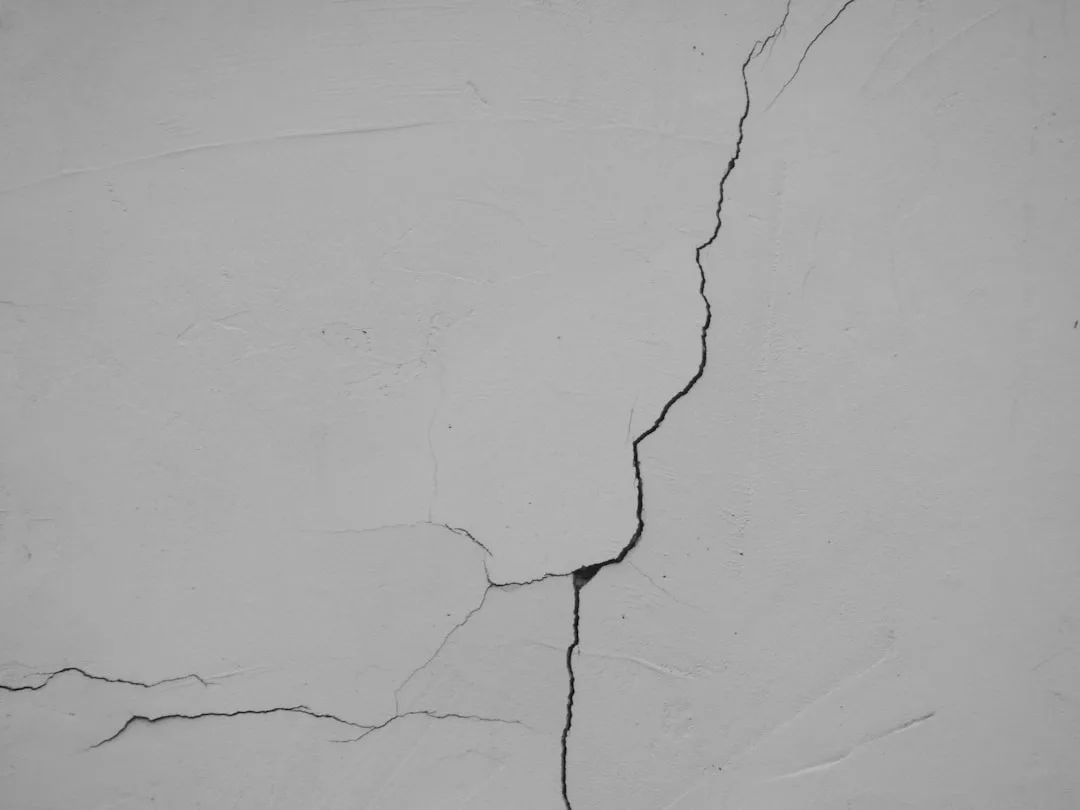
Failed sills show consistent warning signs within 12–18 months. Look for dark staining at the base (algae growth from persistent moisture), soft areas when probed with a screwdriver (water-logged foam), or visible cracks parallel to the sill’s length (freeze-thaw cycles accelerating degradation). If ponding water is visible after rainfall, the sill has already failed functionally and requires replacement.
Preventive maintenance includes annual inspection during spring and fall, cleaning debris from sill surfaces, and reapplying elastomeric sealant every 3–5 years. These steps cost $50–150 per window annually but extend sill life to 20+ years. Deferred maintenance on a level sill guarantees failure by year 3.