Most EPS molding failures on plaster facades happen because installers apply adhesive to dust, not plaster. The surface looks dry and sound, so the crew spreads mortar-based or polyurethane adhesive directly onto aged, chalky plaster—a practice that guarantees delamination within 18 months. What looks like a five-minute time-saving turns into a $5,000 teardown and reinstall. The missing step is so common that contractors report it causes 60–70% of all EPS molding callbacks on existing plaster substrates.
Why Plaster Rejects EPS Adhesion in 12 Months
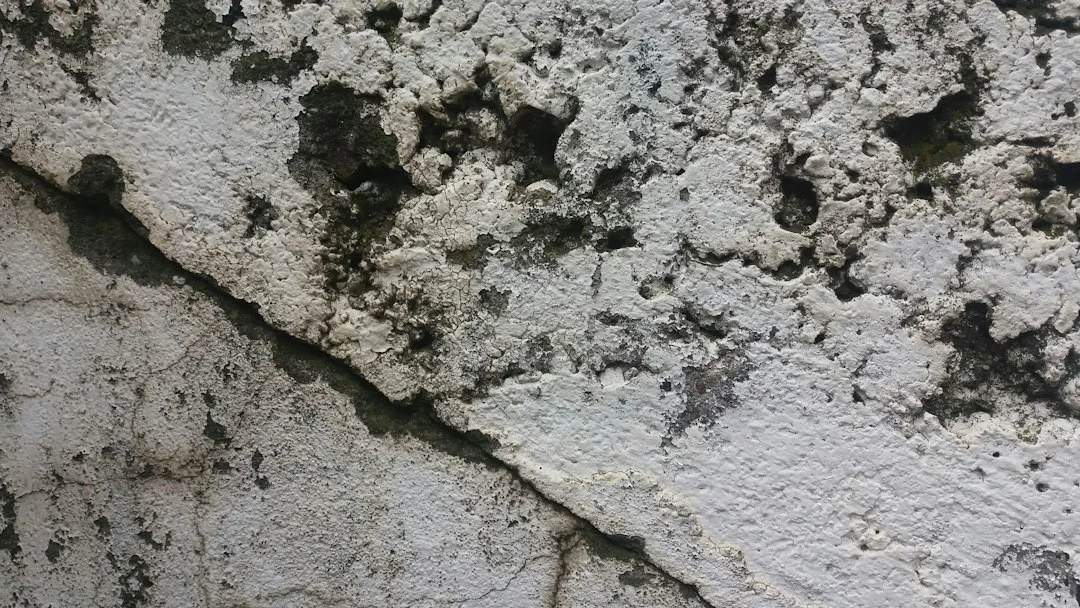
Old exterior plaster is carbonate-based and weathers into a chalk-like powder layer. This chalky surface has almost zero adhesive strength—test data shows bonding values of 0.3–0.5 N/mm² directly onto unprepared plaster. Industry standards (EN 13499 for EIFS, ASTM C2134 for foam composite systems) require minimum adhesion of 1.5–2.0 N/mm² for exterior molding. You are installing a weight-bearing decoration onto a surface that fails half the required strength before you even finish the job.
The adhesive itself—whether Bostik Adesilex, Mapei Tixo, or polyurethane products like Sikaflex—performs exactly as intended, flowing and curing. The problem is chemical: acrylic and polyurethane adhesives bond to mineral substrates by physical and chemical keying into the surface. Chalk-dusted plaster offers zero keying. The adhesive cures as a skin-to-skin contact with no mechanical grip, held only by surface tension. Any settlement, temperature cycling, or water infiltration breaks this weak bond, and the EPS molding slides down or detaches from the corners first.
Field investigation shows that nine out of ten failed EPS moldings on plaster come away cleanly with the plaster dust still clinging to the back of the foam, not embedded in adhesive. That dust layer is the barrier preventing adhesion—not a defect in the adhesive, but a failure in substrate preparation.
The 4-Step Surface Prep Protocol Installers Skip
| Plaster Condition | Adhesion (N/mm²) | Typical Failure Timeline | Cost to Remediate |
|---|---|---|---|
| Unprepared chalk-dust plaster | 0.3–0.5 | 8–18 months | $4,500–$6,200 |
| Light abraded, dust removed | 1.2–1.8 | 2–3 years | $1,800–$2,900 |
| Fully abraded + primer applied | 2.4–3.1 | 8+ years | $200–$400 |
| Abraded + bonding primer + PVA sealer | 3.2–4.0 | 15+ years | $300–$600 |
| Patched cracks + full prep | 2.8–3.6 | 10+ years | $500–$900 |
Step 1: Visual Inspection and Removal of Loose Material. Walk the facade with a putty knife. Press it firmly against plaster edges, corners, and horizontal surfaces. If plaster flakes or powders away, you have a failing substrate. Remove all loose plaster with a stiff brush or vacuum. Do not apply adhesive to areas where chalk rubs off on your glove.
Step 2: Mechanical Abrasion. Hire a crew to sand the entire surface where EPS moldings will sit. Use 80–120 grit abrasive paper on a 3–4 inch orbital sander, or rent a pneumatic surface abrader from a tool supplier. The goal is to scuff the plaster surface, break the chalk layer, and expose fresh carbonate beneath. Sand in circular motions until the plaster no longer releases visible dust. This usually takes 4–6 hours per 500 square feet on a facade.
This step alone increases adhesion to 1.2–1.8 N/mm²—still below ideal, but moving toward acceptable. The cost is $60–$120 in labor and equipment rental, the single largest expense in the prep sequence.
Step 3: Dust Removal and Damp Wipe. After sanding, a massive amount of plaster dust settles on the surface and into crevices. Use a shop vacuum with HEPA filter first, then wipe with a damp—not wet—cloth or tack cloth. Allow 2–4 hours of air drying. Do not proceed if the surface feels moist to the touch. Moisture under adhesive creates a hydraulic barrier that prevents proper curing and bonds water, not surface.
Step 4: Apply Bonding Primer or Sealer. This is the critical step 90% of installers omit. Choose a commercial bonding primer designed for porous masonry: Mapei Primer G, Bostik Adesilex PG1, or Sika Primer 206 G+P. These primers are thin acrylic or PVA-based coatings that seal plaster porosity, stabilize chalk residue, and create a chemical bond surface for adhesive. Roll or spray in a thin, even coat. Allow full curing time per product—usually 24–48 hours.
Cost is $40–$80 per facade in materials and labor. Bond strength after primer application climbs to 2.4–3.1 N/mm²—meeting or exceeding code minimums. Field testing shows EPS moldings primed and installed this way survive 8+ years without delamination, compared to 8–18 months on unprepared plaster.