
A full render refresh often looks like the cheap option, yet once public subsidies and heating savings are counted, external wall insulation can end up costing you less. Field experience shows owners rarely run this calculation before choosing the finish, and that gap is where money leaks away.
Why the render-first instinct misleads you
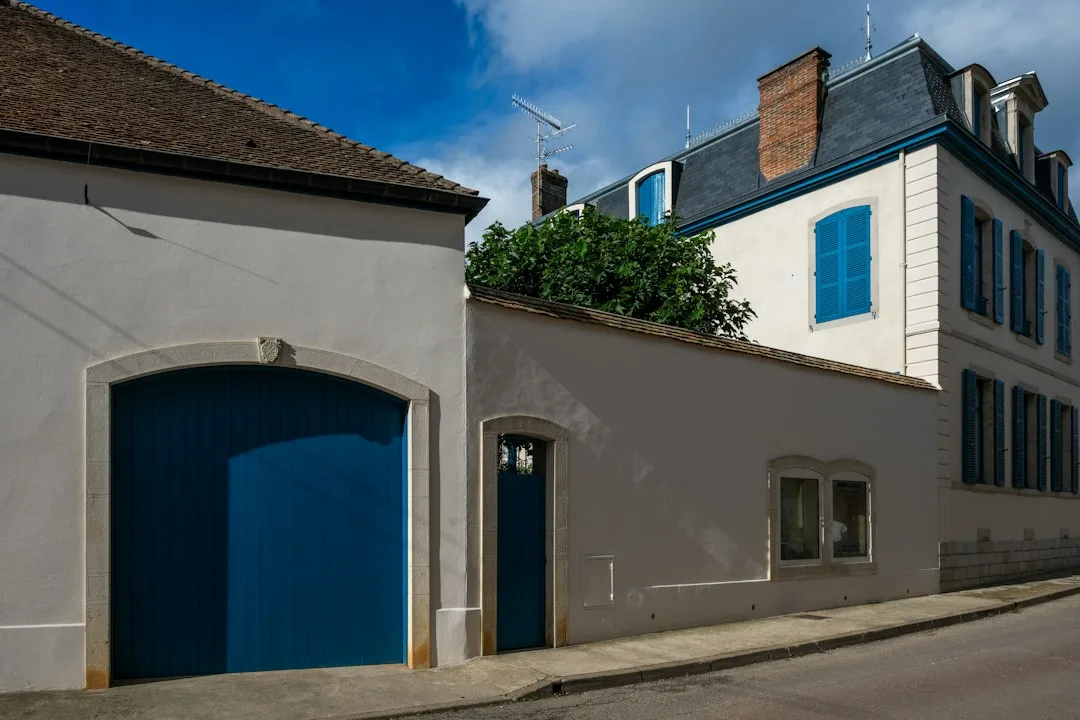
A plain render refresh treats the wall as a cosmetic surface. You strip loose material, patch, prime and apply a new coat. The bill feels contained, and nothing about the house changes except its appearance.
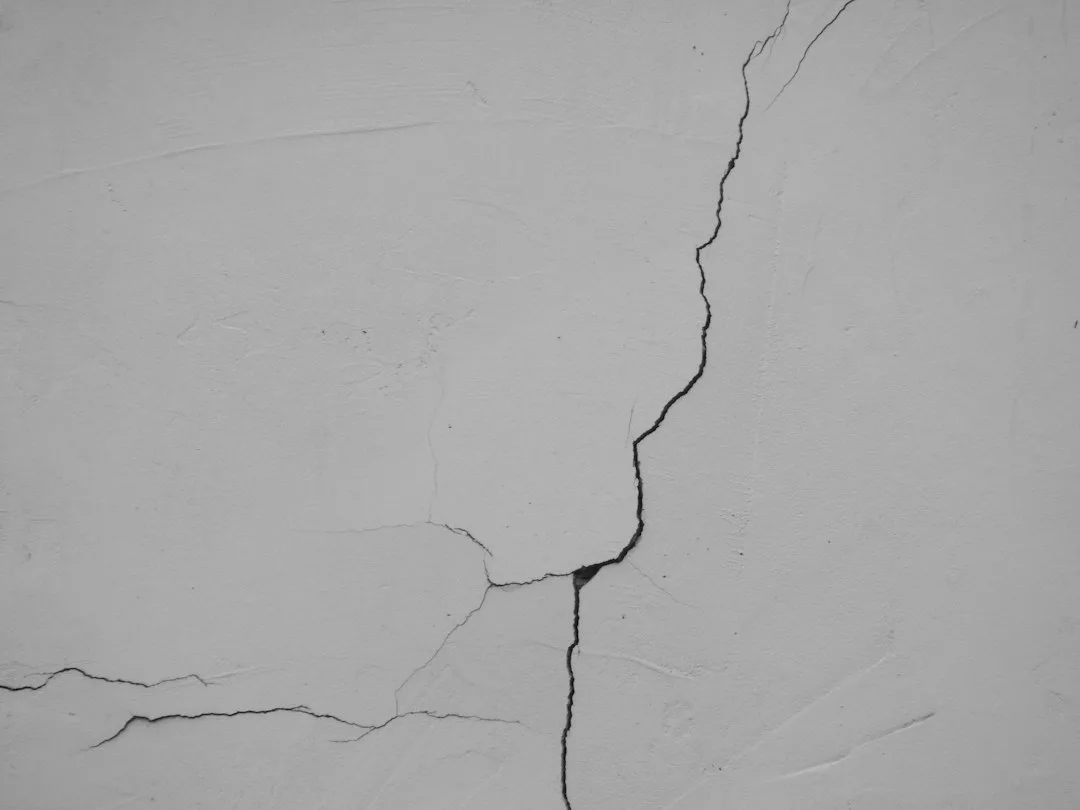
The problem is that the wall keeps behaving as before. Heat leaves through the same elements, thermal bridges at floor junctions and lintels stay cold, and moisture still finds its way in. A common pattern is a render that looks fresh for three years and then reveals hairline cracks along the same lines as before.
When you add up two or three cosmetic cycles over a decade, the total starts to rival a single well-designed insulation job. That is the first half of the calculation most owners never write down.
What external wall insulation actually changes
External wall insulation, usually an ETICS system, bonds a rigid insulation board to the existing wall, reinforces it with a glass fibre mesh and finishes it with a render. The EPS board most commonly used is lambda around 0.031 to 0.038 W/mK depending on grade, which gives a serious thermal barrier in a relatively thin layer.
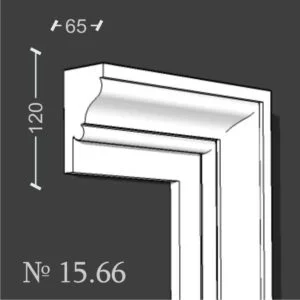
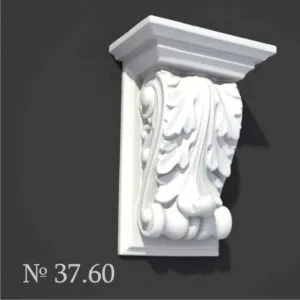
Because the insulation sits outside the structure, it also covers thermal bridges and keeps the masonry warmer, which reduces condensation risk on internal surfaces. Installers working to exterior foam moldings details often integrate decorative profiles at this stage, so ornament and insulation are fixed in one campaign rather than two.
| Item | Plain render refresh | ETICS insulation (EPS) | Notes |
|---|---|---|---|
| Surface preparation and repair | Moderate | Moderate to high | Both require sound substrate |
| Materials and finish | Lower | Higher | ETICS adds insulation board, adhesive, mesh |
| Scaffolding and labour | Shared | Shared | Often a single scaffold setup |
| Eligible public aid | Usually none | Possible in many countries | Depends on certified works and eligibility |
| Energy savings over 10 years | None | Measurable | Reduced heating demand |
| Repeat repair risk | Recurring | Lower if well executed | Poor installation erases gains |
Running the numbers across 10 years
Start with the quote for each option on the same scope: surface preparation, materials, scaffolding and labour. Then strip out what is not comparable, such as a decorative upgrade that belongs to neither line item. What remains is your baseline capital cost.
Next, look at subsidies. Many countries run schemes that fund a share of eligible insulation works, often tied to certified contractors, approved materials and an energy assessment before and after. The subsidy can shift the net figure significantly, which is why the render option, which is usually ineligible, falls further behind.
Finally, estimate heating savings. You need your current annual energy consumption and a reasonable reduction estimate for the insulated surfaces. Over a decade the avoided energy spend and the avoided repeat repairs can outweigh the initial premium of the insulation option.
Where the calculation breaks down
The model only holds if the installation is correct. A common failure is adhesive applied with insufficient contact area, leading to delamination, or mesh laid without proper overlap at corners and openings. Such errors erase the gains and hand you the worst of both worlds.
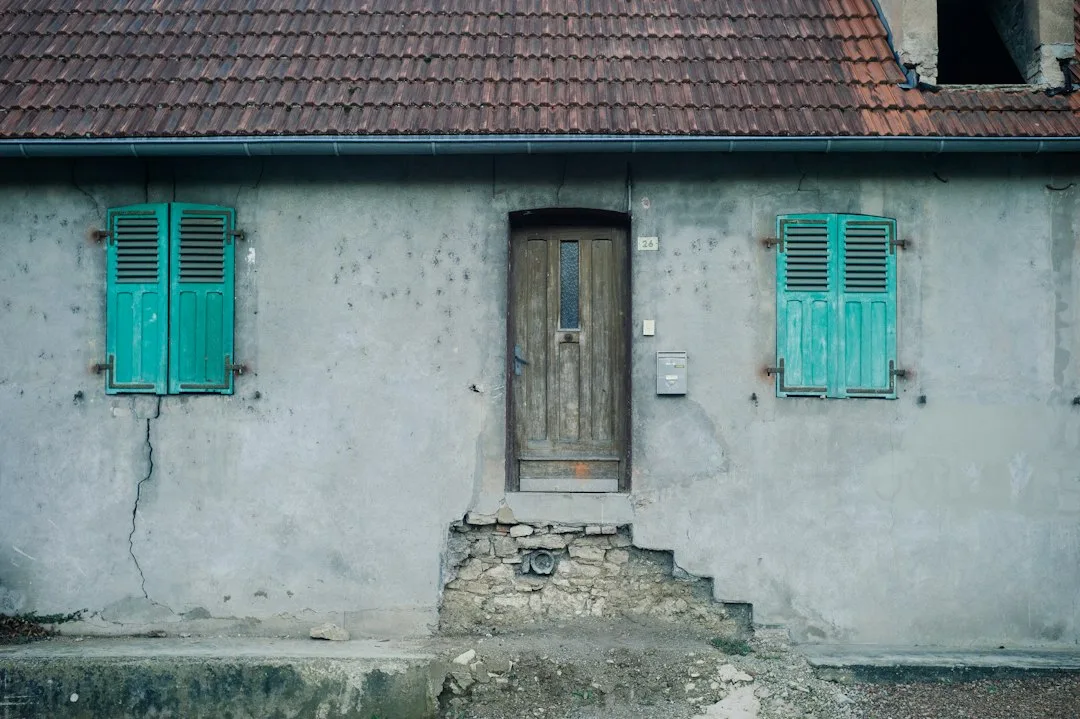
Substrate condition matters as well. Insulating over a wall with active rising damp or unresolved cracks simply traps the problem. Address the moisture source first, check the base course and drainage, and only then fix the insulation system to a sound background.
Also verify that your subsidy paperwork is in order before works start. Many schemes will not pay retroactively, so the sequence of quote, certification, works and claim is as important as the material choice itself.
Choosing the finish within the insulation system
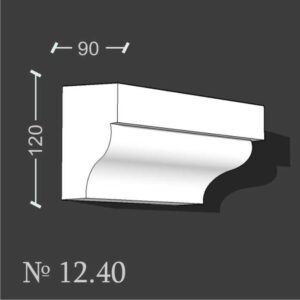
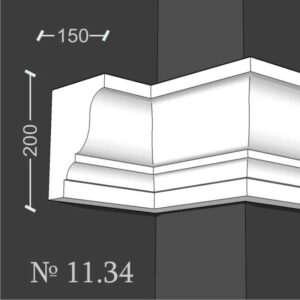
Once the insulation is decided, the finish layer becomes an opportunity rather than a compromise. A mineral or acrylic render can be textured to match the local vernacular, and decorative EPS elements can be set into the surface during installation. For example, decorative window sills and exterior cornices can be detailed so that their junctions with the render are sealed and drained correctly.
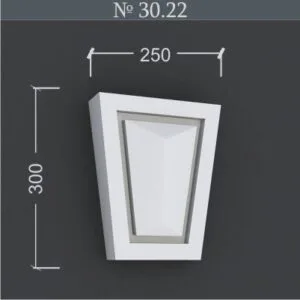
The key is to plan these elements before the insulation boards go up. Retrofitting ornament onto a finished ETICS surface is awkward and often creates weak joints. Coordinate your architect or installer so that openings, cornices and projecting elements are detailed in the same drawing set.
Before you sign: a short checklist for the next 30 days
Request two quotes on identical scope, one for render and one for ETICS, with materials and thickness stated. Ask each contractor to confirm subsidy eligibility in writing. Check whether an energy audit is required and who arranges it.
Inspect the substrate yourself. Look for damp patches, efflorescence and cracks that follow the same line year after year. Note them and ask how each option deals with them. If the answer is vague, treat it as a warning.
Finally, write your own 10-year sheet: capital cost, subsidy, annual energy saving, expected repair cycles. The option that looks more expensive on day one may be the one your household pays less for over the long run.