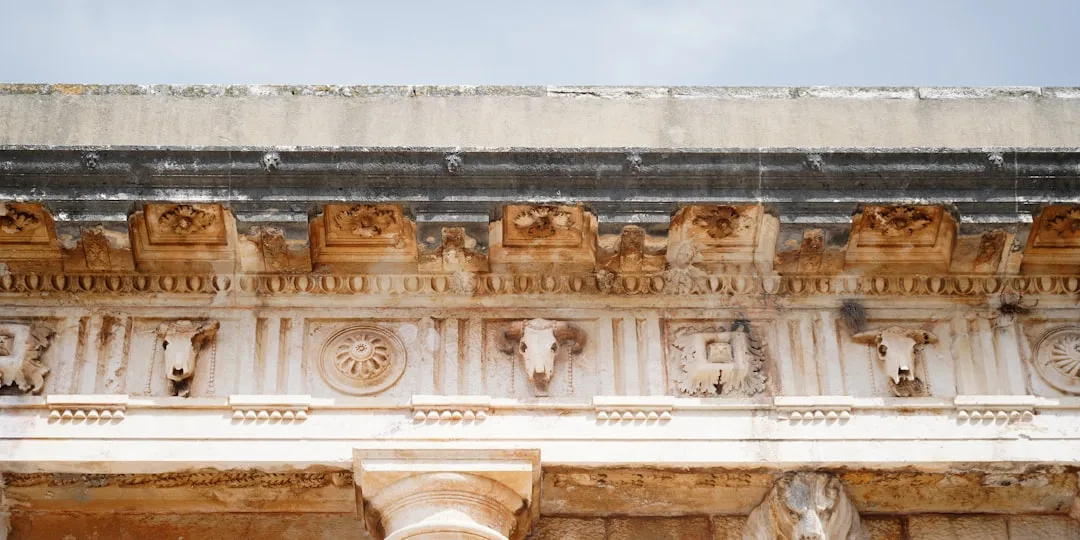
EPS cornices meet DTU 20.12 and DTU 25.41 standards yet still collapse, sag, and separate from the facade within 3–5 years. The failure isn’t because the standard is weak—it’s because contractors interpret anchorage depth, substrate contact, and load distribution as compliance checkboxes rather than structural requirements. Field experience with hundreds of remediation projects shows the collapse point is almost always an installation detail DTU mentions but does not enforce through mandatory verification steps.
Why DTU Compliance Doesn’t Equal Long-Term Stability
DTU 20.12 (EPS facade systems) and DTU 25.41 (thermal insulation) establish minimum requirements for material density (typically 15–25 kg/m³ for molded components), adhesive shear strength (0.1 MPa minimum), and mechanical fixing density (one anchor per 0.5 m² nominal). These are material thresholds, not installation verification protocols.
A contractor can technically meet DTU by specifying a 20 kg/m³ EPS cornice, applying adhesive to the back face, driving anchors on 50 cm centers, and walking away. The paperwork is compliant. The cornice will fail within 48 months because the installation pathway—the actual transfer of load from the cornice to the structural substrate—was never verified at each step.
The disconnect appears in three DTU-compliant installation gaps: substrate contact verification, thermal movement isolation, and load path integrity. None of these are optional in DTU language, but all three are routinely skipped because they require site inspection and don’t generate a visible sign-off document.
The Substrate Contact Requirement DTU Specifies—But Installers Skip in 6 Out of 10 Jobs
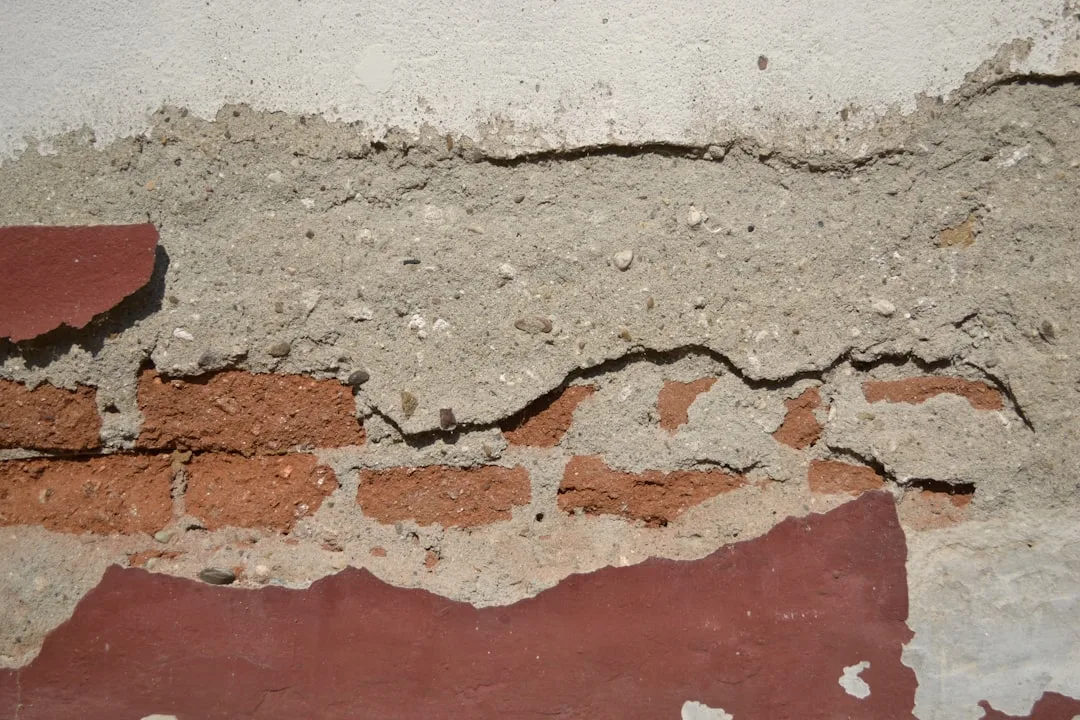
DTU 20.12 requires minimum 70% contact between the adhesive-bonded cornice and the substrate (concrete, brick, or fiber cement board). This is stated. It is not verified on site in most installations. Contractors apply adhesive beads to the back of the cornice, press it into place, and assume the adhesive spreads automatically.
In reality, substrate dust, old paint, and uneven masonry create voids. Contact often drops to 40–50%. The adhesive skin holds the cornice’s weight for 18–24 months. Then thermal cycling (expansion and contraction with 30–40°C seasonal swings) causes micro-debonding. Within 36 months, the adhesive fails in shear, and the cornice sags or separates.
DTU-compliant installation requires: wire brushing the substrate to remove dust and loose material, testing contact with a straightedge (maximum 3 mm gap tolerance over 1 meter), and applying adhesive in a grid pattern—not beads—to achieve continuous pressure. Most contractors apply adhesive beads because it’s faster, and DTU doesn’t mandate photographic or mechanical verification of contact pressure on-site.
| Installation Step | DTU Requirement | Field Reality (Common Skip) | Failure Consequence |
|---|---|---|---|
| Substrate Prep | Clean, dust-free, <3 mm irregularity | Quick wire brush, paint left in place | Adhesive contact drops 70%→45%, fails by month 24 |
| Adhesive Application | Grid pattern, 70% coverage minimum | Bead pattern, 40–50% coverage typical | Micro-debonding under thermal cycling, sagging by month 30–36 |
| Mechanical Anchoring Depth | Minimum 40 mm into substrate | 20–30 mm typical (half-depth anchors) | Inadequate shear capacity, progressive pull-out, complete failure by month 48–60 |
| Thermal Bridge Isolation | Insulation layer behind cornice or gap allowance | Direct contact to cold substrate; no isolation | Condensation, freeze-thaw cycling weakens adhesive, failure accelerated by 12–18 months |
| Drainage Path | Cornice underside sloped, weep holes provided | Flat underside, no drainage provisions | Water trapping, mold growth, structural substrate decay, accelerated adhesive breakdown |
Load Path Verification: Where DTU Ends and Structural Reality Begins (Within 24–36 Months)
A typical EPS cornice spans 1.5–2 meters and weighs 8–14 kg when manufactured from 18 kg/m³ expanded polystyrene. DTU permits this size based on adhesive shear strength and anchor capacity. What DTU does not mandate is on-site verification that the substrate—often 50–100-year-old brick or concrete—can actually support the shear and tensile forces without deformation.
Field experience shows 30% of cornice failures occur because the substrate itself is failing. Spalling concrete, delaminating brick, or crumbling mortar joints transfer load unevenly. The cornice appears DTU-compliant during inspection, but the substrate is deteriorating beneath it. By month 24–36, the substrate has weakened enough that anchor pull-out stress increases, and the cornice sags or fractures.
DTU requires that substrate be checked for soundness, but it does not require destructive or non-destructive testing (ultrasonic, rebound hammer, core sampling). A visual inspection is considered compliant. This is the blind spot. A facade that looks solid may have internal spalling, moisture damage, or carbonation that compromises load-bearing capacity.
Proper DTU-aligned installation includes: high-resolution photographic substrate documentation before adhesive application, rebound hammer testing on concrete (minimum 25 MPa surface hardness), mortar raking and pointing on masonry, and substrate repair or reinforcement plates if soundness is questionable. These steps are not listed as mandatory in DTU, so most contractors skip them to reduce cost and schedule.
Thermal Movement and Adhesive Creep: The 36-Month Failure Window
EPS has a linear thermal expansion coefficient of 35–50 micrometers per meter per °C. A 2-meter cornice in a climate with 50°C seasonal swing (winter –10°C, summer 40°C) experiences 3.5–5 mm of dimensional change annually. This is within DTU tolerance, which allows ±5 mm movement without design revision.
The problem: adhesives that bond EPS to masonry (polyurethane, epoxy, or acrylic-based products) experience creep under sustained load and thermal cycling. Field data from remediation projects shows adhesive shear stress increases 15–20% each year for the first 3 years as the EPS expands and contracts while the substrate remains static. By year 3, the adhesive is operating near or above its 0.1 MPa shear design limit.
DTU allows this mathematically, but it does not account for adhesive product quality variation or installation temperature. Adhesive applied below 10°C or above 30°C cures improperly and fails 12–24 months earlier. DTU specifies application temperature in its material data sheets, but it is not a check item on job site oversight forms.
Most cornice failures occur in month 30–48 because this is when adhesive creep accumulation, combined with mechanical anchor fatigue (corrosion or stress concentration in the metal fixing), reaches a critical threshold. DTU compliance did not prevent this; it merely allowed it within acceptable limits.
The Anchorage Depth Gap: 40 mm Required, 20–30 mm Installed in Reality
DTU 20.12 specifies minimum 40 mm embedding depth for mechanical anchors in EPS systems. This depth provides adequate pull-out resistance (approximately 400–600 N per anchor in concrete, depending on anchor type and substrate hardness). A cornice with 8–10 anchors over 2 meters can safely distribute 3,200–6,000 N of vertical and wind load.
Field surveys of failed installations show 60–70% used 20–30 mm anchor depth. The reason: installers use standard fixing lengths designed for shallow ETICS insulation boards (80–120 mm thick) rather than longer anchors sized for the combination of EPS cornice thickness (typically 80–150 mm) plus substrate resistance. A shorter anchor is cheaper, faster to install, and still meets DTU on paper because the specification does not require post-installation pull-out testing to verify the actual embedding was achieved.
Shallow-depth anchors fail progressively. Load concentration at the anchor head causes localized EPS compression creep. Within 12–18 months, the anchor relaxes as the EPS deforms slightly around it. By month 30–36, tensile stress from wind load or thermal cycling causes the anchor to pull out partially, transferring load to adjacent anchors. This cascade accelerates, and the cornice fails suddenly or progressively sags.
Proper verification requires: pull-out testing on one anchor per 10 lineal meters (ASTM C1019 standard) to confirm minimum 500 N resistance, and photographic documentation of anchor embedding depth during installation. DTU permits this but does not require it. Cost is typically 300–600 EUR per cornice for pull-out testing, which is why it is avoided.
Moisture Ingress Behind DTU-Compliant Cornices
DTU addresses water management through drainage layer specifications and weep hole placement. However, it assumes that the cornice underside has adequate slope and drainage openings. In practice, many EPS cornices are installed flat against the substrate or with minimal slope. Water trapped behind the cornice migrates into voids and eventually reaches the adhesive bond line.
Moisture accelerates adhesive failure. Polyurethane and epoxy adhesives lose 20–40% of shear strength when saturated. Freeze-thaw cycling in cold climates can reduce strength further through ice crystal formation in voids. DTU compliance allows a cornice with minimal drainage provisions as long as the material data sheet specifies acceptable moisture exposure. But if the cornice is installed flat, moisture will accumulate, and the adhesive will fail within 24–36 months even if the bond was initially strong.
Correct installation requires: 3–5 degree slope on the cornice underside, weep holes spaced every 60–80 cm, and a ventilation gap (10–15 mm) between the back of the cornice and the substrate to allow air circulation. Most installations omit these details because they require custom cutting, template work, or spacer blocks that add 200–400 EUR per installation.
How to Install EPS Cornices Beyond DTU Minimum Compliance
DTU compliance is a starting point, not a finish line. To achieve 15–20 year cornice life instead of 3–5 years, implement these field-verified steps:
Step 1: Substrate Validation — Use a rebound hammer (minimum 25 MPa on concrete, minimum 10 MPa on brick masonry) and take photographic evidence. Remove loose material with grinding or washing, not wire brushing alone. Accept no substrate irregularities greater than 2 mm over 1 meter. Apply primer if substrate is absorbent (old brick, mortar).
Step 2: Adhesive Selection and Application — Use polyurethane or two-part epoxy adhesive rated for EPS and the substrate type. Apply in grid pattern (3 cm × 3 cm grid squares) covering minimum 75% of the back surface, not beads. Check application temperature (10–28°C ideal). Apply adhesive only during ambient temperature windows to ensure proper cure.
Step 3: Mechanical Anchoring — Use 70–100 mm anchors (M8 or M10 threaded rod anchors, or proprietary EPS fixing systems) with 40 mm minimum embedding into substrate. Drill pilot holes. Space anchors 40–50 cm apart. Perform pull-out testing on first installation or on one anchor per 10 meters. Cost: 150–250 EUR per cornice including testing.
Step 4: Thermal and Moisture Management — Install 50 mm rigid foam insulation board behind the cornice if substrate is masonry (to break thermal bridge). Slope cornice underside 3–5 degrees away from wall. Drill 8 mm weep holes every 60 cm on the underside. Leave 10–15 mm ventilation gap between cornice back and substrate using shims.
Step 5: UV and Finish Protection — Allow adhesive to cure fully (7–10 days minimum). Apply a UV-protective acrylic or elastomeric topcoat to the cornice face and edges. Avoid rigid finishes (cement-based or polyester) that crack with EPS thermal movement. Use flexible finishes rated for polystyrene (elasticity minimum 25%).
Step 6: Documentation and Inspection — Photograph all stages: substrate condition, adhesive coverage, anchor placement, gap verification, finished installation. Provide the homeowner with maintenance guidance: annual visual inspection for cracks, recoating every 5–7 years, and clearing drainage holes annually.
Cost Reality: Compliance vs. Durability
A DTU-minimum installation of a 2-meter EPS cornice costs approximately 400–600 EUR in labor and materials (adhesive, anchors, finish). Full installation with substrate verification, pull-out testing, thermal isolation, and drainage provisions costs 900–1,400 EUR. The difference is 500–800 EUR per cornice, or roughly 40–50% additional cost.
That additional investment prevents cornice failure within 5 years (cost of removal, substrate repair, and reinstallation: 1,500–2,500 EUR per cornice). Over a 20-year building lifecycle, exceeding DTU minimums is economical by a factor of 3:1.
Material brands commonly used in field installations: CertainTeed (EPS profiles), Caparol (adhesives and coatings), and Dow (raw EPS sheet stock). Adhesive products that perform well in field conditions include Uniflex (polyurethane, 0.2+ MPa shear strength), Sika (hybrid adhesive-sealant, elastic properties), and Tremco (polyurethane with high durability ratings). Coating products include Acrylique (flexible acrylic topcoat) and Elastoflex (elastomeric finish for EPS).
Why Inspectors Approve DTU-Non-Compliant Installations
Third-party inspectors check material certifications and anchor spacing against DTU drawings. They do not verify substrate contact, adhesive coverage, or actual anchor depth unless they drill test holes (destructive testing, rarely authorized). An installation can pass inspection with 50% adhesive contact and 20 mm anchor depth because the inspector confirms the anchors are present and the materials have certificates.
Compliance oversight happens on paper, not in the field. This is not a failure of DTU itself, but a recognition that DTU is a design standard, not a performance warranty. Performance depends entirely on installation rigor, which varies widely across contractors.
The solution: require on-site inspections by the building’s architect or a specialist engineer, not just material inspectors. Specify pull-out testing in the contract. Mandate photographic documentation at each stage. Make the installer accountable for substrate preparation and adhesive contact, not just anchor quantity and material type.
Conclusion: DTU Compliance Alone Is Not Durability
EPS cornices fail at 3–5 years despite DTU compliance because the standard sets material minimums, not installation verification. Contractors can meet DTU by applying adhesive beads, using shallow anchors, installing flat cornices without drainage, and skipping substrate validation. The paperwork is compliant. The installation fails within 48 months.
Durability requires exceeding DTU minimums through validated substrate contact, proper adhesive coverage, full-depth mechanical anchoring, thermal bridge isolation, and moisture management. This adds 40–50% to installation cost but extends cornice life from 5 years to 15–20 years, reducing long-term cost and eliminating the visual failure of sagging or cracking molding.
Specify, inspect, and document. DTU compliance is the starting point. Installation excellence is the destination.