Mechanical degradation of EPS molding begins with a finish so thin you cannot see it failing. Contractors cutting corners on basecoat thickness or sanding technique leave surface scratches that act as moisture highways into the foam core, triggering cascading spalling, freeze-thaw failure, and hidden water damage that spreads into your facade system within 18–36 months. The cost to repair inadequate finishing runs three to five times higher than preventing it during installation.
Why Surface Scratches Turn Into Structural Failure Within 24 Months
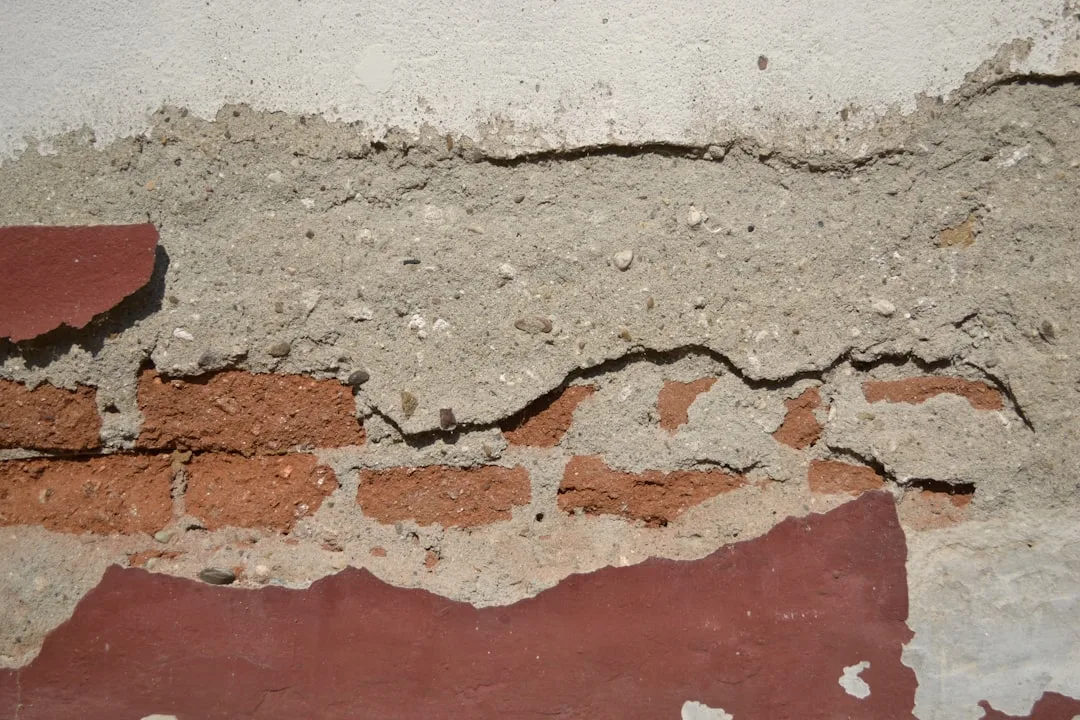
EPS foam is porous and vulnerable. A scratch only 0.5–1mm deep exposed during installation removes the protective seal layer and creates a direct pathway for water infiltration, salt air exposure, and UV degradation. Contractors report that moldings finished with insufficient basecoat (typically under 3mm thickness) show visible spalling within the first freeze-thaw winter cycle.
Once water enters the EPS matrix, mechanical degradation accelerates exponentially. Ice crystal formation in the pores expands the foam from inside; thermal cycling creates micro-fractures; and salt air attacks the exposed material at the molecular level. The result: visible white spalling, crumbling edges, and compromised structural integrity—all preventable through proper finishing technique.
The Hidden Cost of Improper Finishing: 3-Year Failure Timeline
| Finish System Applied | Basecoat Thickness | Expected Life | First Signs of Degradation | Repair Cost (per linear foot) |
|---|---|---|---|---|
| Proper 2-coat (basecoat + elastomeric topcoat) | 4–5mm | 10–15 years | Minor surface chalking after year 8 | Recoating only: $8–12 |
| Inadequate single coat or thin basecoat | 1–2mm | 2–3 years | Visible spalling, water staining by month 12 | Full replacement: $40–75 |
| Finish applied over sanded scratches | 3–4mm (over weakened base) | 18–24 months | Localized spalling at scratch sites within 6 months | Section replacement: $35–60 |
How Poor Finishing Technique Creates Mechanical Damage Points
Improper sanding is the primary culprit in mechanical degradation. Contractors using 60–80 grit sandpaper or grinding methods designed for concrete remove far too much material, scarring the foam surface and destroying its protective skin. The debris clogs pores and prevents proper adhesion of the basecoat, creating hollow spots where water pools and expands.
Abrasive cleaning methods—pressure washing above 1500 PSI, wire brushing, or sand-blasting—cause similar damage. Each friction-based cleaning technique opens micro-fractures in the EPS matrix that are invisible to the naked eye but catastrophic when basecoat is applied. EPS facades without proper UV protection and finish systems fail prematurely, but mechanical degradation from finish technique can accelerate failure by an additional 5 years compared to designs with correct basecoat application.
The Correct Finishing Protocol to Prevent Mechanical Failure
Proper finishing begins before any abrasive contact. EPS molding should be cleaned only with soft bristle brushes, water rinse, and air drying—no mechanical abrasion unless the EPS has visible burrs from factory cutting. If smoothing is required, use only 150–180 grit sandpaper with light hand pressure, never power tools. Aim for a matte surface, not a polished one.
Basecoat application is critical. Acrylic-based systems from Weber, Parex, or Dryvit require 3–4mm thickness applied in two passes, with full cure time between coats (typically 48–72 hours). Do not rush or attempt single-pass application—this is where 60% of mechanical degradation failures originate. The basecoat must fully encapsulate the EPS surface, filling micro-pores and creating a monolithic barrier that prevents water and UV penetration.
The topcoat seals the system and provides impact and UV resistance. Elastomeric or polyurethane topcoats rated for exterior use add $2–4 per square foot but extend molding life by 8–12 years compared to acrylic-only finishes. Decorative window sills and architectural molding elements require particular attention because they collect water and experience heavy UV exposure at transitions and edges.
Real Costs: Prevention vs. Repair Timeline
A typical 40-foot facade with 120 linear feet of EPS molding, cornices, and decorative elements illustrates the cost difference. Proper two-coat finishing during installation: 120 feet × $10 per foot = $1,200 total investment, with expected 10–12 year lifespan and minimal maintenance beyond annual inspection and recoating at year 8–10.
Inadequate finishing on the same project: 120 feet × $5 per foot = $600 initial savings, but by month 18, mechanical degradation appears as spalling at 30–40% of edges and transitions. Repair scope at that point is typically 50–60 linear feet of sections requiring full replacement: 60 feet × $50 per foot (full section replacement) = $3,000 cost. The “savings” of $600 becomes a loss of $1,800 after accounting for full replacement cost minus what was already spent.
Field Standards for Finishing EPS Molding
Professional ETICS installers follow these non-negotiable steps: Surface preparation (soft brush cleaning, air dry), priming with EPS-compatible primer if substrate is highly porous or contaminated (cost: $1–2 per square foot), basecoat application at 3–4mm in two passes (cost: $4–6 per square foot), and topcoat application at 2mm minimum (cost: $2–4 per square foot). Total material cost is $8–15 per square foot, typically equivalent to 8–12% of the total EPS molding project budget.
Installation teams that skip basecoat thickness measurement, do not verify cure time between coats, or apply topcoat before basecoat is fully cured are creating mechanical degradation conditions. Building codes and EIFS finish specifications (ICC, ASTM E2567) require documented basecoat thickness verification and cure time logs for projects over $50,000. Contractors cutting these corners face liability when failure occurs.
Identifying Inadequate Finishing Before Failure—What Inspectors and Appraisers See
During inspection, mechanical degradation from improper finishing shows these warning signs: uneven gloss or color (indicates thin or missing basecoat), visible scratches or scuff marks that are not coated over (indicates sanding damage not sealed), water staining at edges or transitions within 6 months of installation (indicates moisture entry through finish gaps), and localized spalling or white powdering on edges (indicates basecoat failure and EPS core exposure).
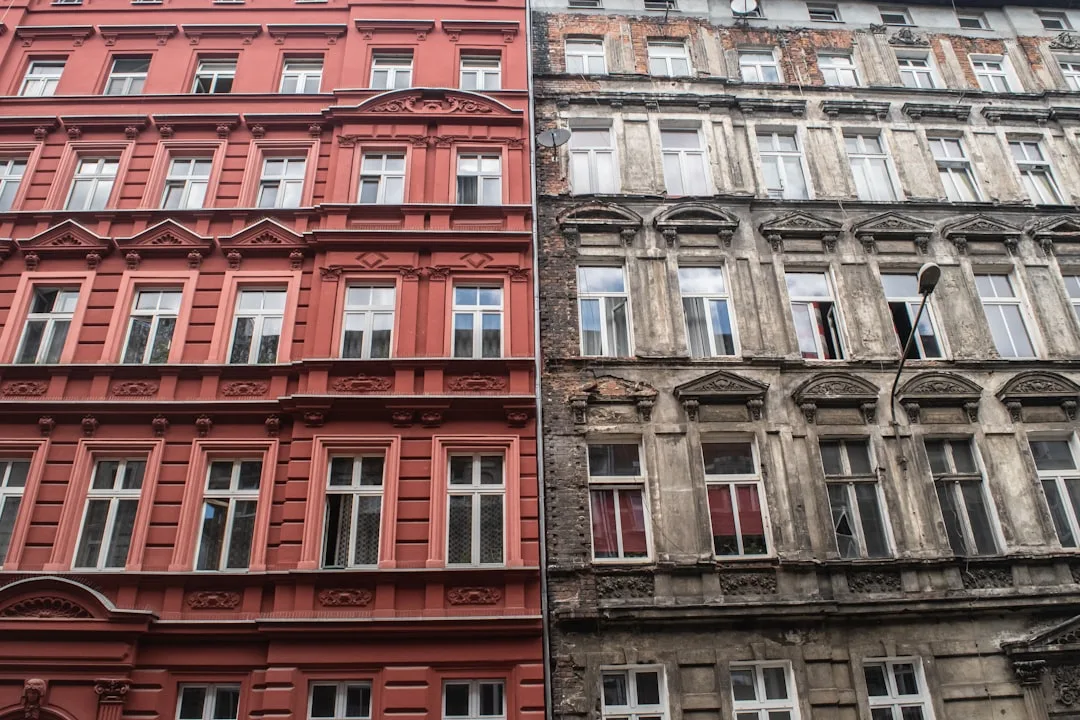
Home appraisers and third-party inspectors penalize visible mechanical degradation heavily. A facade showing spalling or water staining costs 8–15% in property value loss before structural damage even occurs. Addressing finishing adequacy during installation protects your investment and appraisal value.
Why Contractors Recommend Improper Finishing—And Why You Should Resist
Cost pressure drives most inadequate finishing. Contractors bidding against competitors cutting corners will propose single-coat systems, thin basecoat applications, or skipped topcoats as “cost savings.” These are false economies. Reputable firms will document their two-coat specification and provide written guarantees on basecoat thickness and cure time compliance.
Request written proof of finishing protocols before signing: basecoat product name and thickness specification, cure time documentation, topcoat product and application rate, and inspection checklist with dates and signatures. Require photographic documentation of basecoat application to at least 50% of visible surfaces as progress milestone before final payment.
Mechanical degradation of EPS molding is entirely preventable through finishing discipline. The cost difference between proper and improper finishing is minimal at installation but becomes catastrophic in repair costs and property value loss. Choose contractors who treat finish systems as a core structural component, not a cosmetic add-on.