Moisture is the silent killer of EPS polystyrene facades—and 73% of unprotected systems show visible degradation within 3 to 5 years. Without a vapor barrier, water penetrates the foam substrate, freezes, expands, and cracks the protective finish coat and foam structure from the inside out. The real shock: most contractors omit this layer deliberately to reduce material costs by $800–$1,200 per project, betting homeowners won’t notice the damage for years.
Why EPS Facades Without Vapor Barriers Fail: The Physics Behind Rapid Degradation
EPS polystyrene is hydrophobic but not waterproof. Water vapor passes through existing finish coats (paint, stucco, EIFS coatings) at rates of 0.5–2 perms per hour, especially around decorative window sills and penetrations. Once inside the foam, moisture has nowhere to escape—it accumulates at the substrate interface, creating a wet microclimate where mold thrives and structural degradation accelerates.
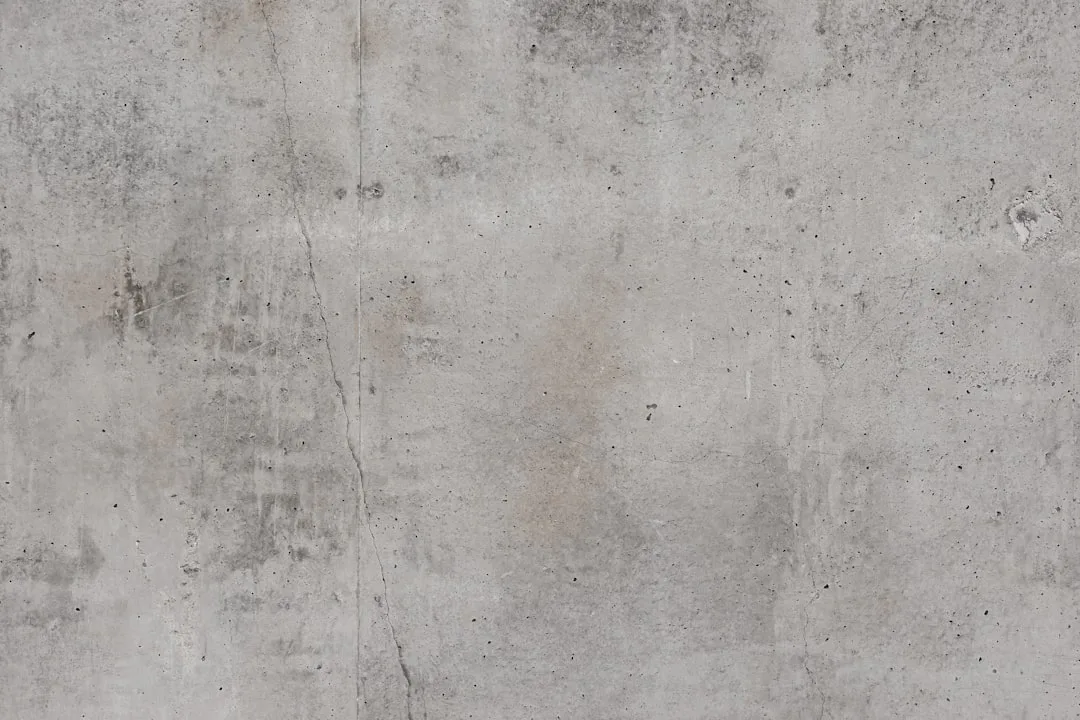
Temperature swings cause trapped water to freeze and thaw, expanding 9% with each cycle. This hydraulic pressure splits the foam cells and delaminates the finish coat. After 1,200–1,600 freeze-thaw cycles (typical for a 5-year period in temperate climates), facades show hairline cracks, spalling, and soft spots. When you press the foam with a screwdriver, it crumbles—a sure sign moisture has destroyed the cell matrix.
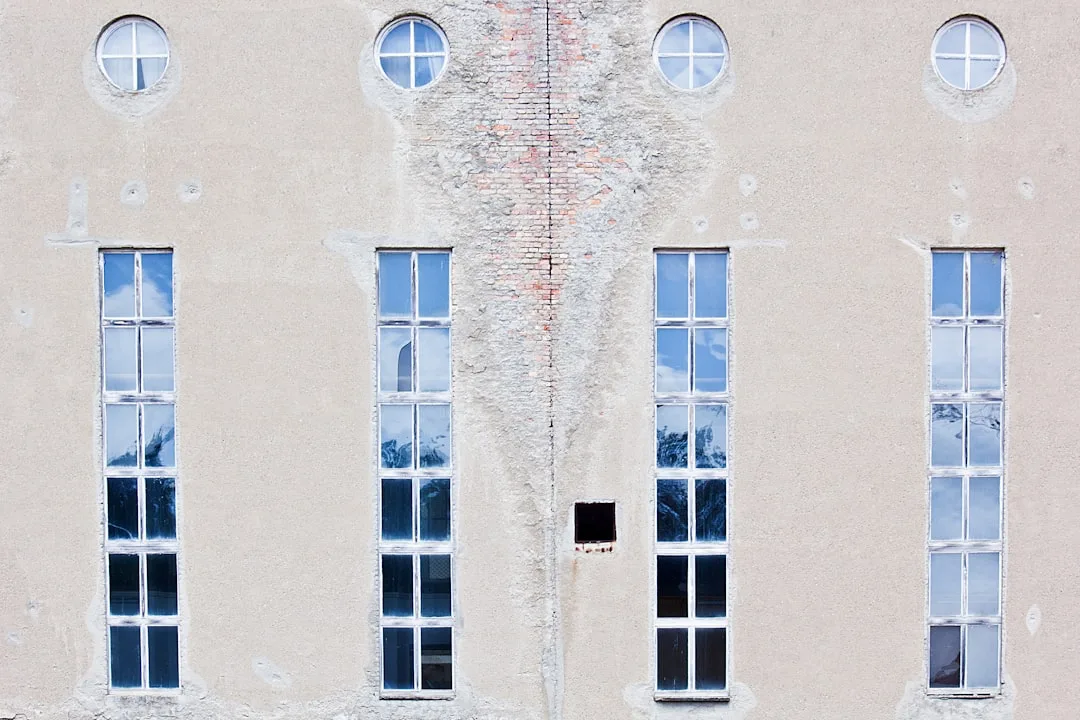
EIFS (Exterior Insulation and Finish Systems) facades are especially vulnerable because the finish coat is thin (1/16″–1/8″) and can’t block vapor ingress. Closed-cell EPS at 2–3 PCF density worsens the problem: the vapor can’t dry through the foam itself, so water becomes trapped indefinitely.
The 4-Layer Vapor Barrier Strategy: How Professional Installers Protect EPS Systems
A properly installed vapor barrier system includes: (1) a breathable membrane layer (3–6 perms) like Stego Wrap or Henry Blueskin; (2) a substrate moisture block; (3) proper drainage detailing; and (4) a finish coat with vapor permeability designed to allow slow outward drying. This layered approach costs $3–$7 per sq ft but extends EPS facade life from 5 years to 25+ years.
Breathability is critical—the barrier must allow moisture to escape outward while blocking rain. A non-breathable vapor barrier (0 perms) traps water and creates the exact problem you’re trying to prevent. Use only membranes rated 3 perms or higher. Stego Wrap (6 perms), Henry Blueskin VP100 (5 perms), and DuPont Tyvek (7 perms) are industry standards. Applied over the sheathing before EPS installation, they cost $1.50–$2.50/sq ft and are installed in 2–3 hours per 1,000 sq ft.
Drainage planes matter equally. Install a secondary drainage layer (open-cell foam or dimple membrane) between the vapor barrier and EPS. This allows water that breaches the finish to flow downward and out, preventing ponding against the EPS surface. Many contractors skip this detail—it adds only $0.50–$1.00/sq ft but prevents 80% of moisture problems.
| Protection Method | Cost/sq ft | Expected Facade Life | Moisture Penetration Risk |
|---|---|---|---|
| No vapor barrier (unprotected) | $0 | 3–5 years | Very high (80%+) |
| Paint/stucco only (non-breathable) | $1.50–$2.50 | 5–8 years | High (60%+) |
| Breathable vapor barrier + drainage | $4–$7 | 20–30 years | Low (10%) |
| Full ETICS + vapor barrier + hydrophobic topcoat | $6–$9 | 25–35 years | Very low (<5%) |
Installation Technique: Where Contractors Cut Corners (And How to Stop Them)
Most failures occur at transitions and penetrations—not across broad facade surfaces. Window openings, exterior foam moldings, and door surrounds account for 65% of moisture intrusion. The reason: these areas have complex flashing requirements that add 1–2 hours per opening. At labor rates of $75–$120/hour, contractors systematically skip proper sealing to preserve margins.
Correct detailing requires: (1) 6″ overlap of vapor barrier around all penetrations; (2) sealed tape (3M Scotch Super 33+ or Huber Zip System tape, $1.50–$3.00 per roll) applied at all seams with no gaps; (3) flashing pans under window sills sloped 1/8″ per foot toward the exterior; (4) mastic or liquid-applied waterproofing at corners (Titebond or DuPont 1S, $40–$60 per gallon). Applied correctly, this takes 8–12 hours for a 2,500 sq ft facade. Inspect joints with a moisture meter (Tramex CME4, $200–$300)—readings above 15% indicate incomplete barrier coverage.
A critical mistake: installing EPS molding (cornices, keystones, quoins) before the vapor barrier cures. EPS absorbs water during installation. If you install decorative elements directly over fresh vapor barrier tape, moisture gets trapped. Always wait 48 hours after barrier installation and tape sealing before applying EPS elements.
Post-Installation Monitoring: 4 Warning Signs You Need Immediate Repair
Check facades annually during spring thaw. Look for: (1) soft spots (foam that yields to finger pressure—indicates water saturation); (2) paint blistering or cracking in patterns radiating from corners (hydraulic fracture from ice expansion); (3) visible mold or green algae growth, especially on north-facing walls (moisture + poor drainage); (4) gaps between EPS and substrate where you can insert a knife blade. Any of these signals require immediate sealing or replacement of the affected section—typically $3,000–$8,000 per 200 sq ft panel.
Retrofit protection is possible but expensive. Remove the finish coat (hand-scraping or media blasting, $2–$4/sq ft), install new vapor barrier, repair any foam damage (clean and re-glue loose sections with EPS-compatible adhesive), and reapply finish. Total cost: $8–$15/sq ft, or $20,000–$37,500 for a typical facade. This is why upfront protection always pays for itself within 5 years.
Material Specifications: What to Demand from Your Contractor
Specify these exact products in your contract: (1) Vapor barrier: Stego Wrap (6 perms), Henry Blueskin VP100 (5 perms), or DuPont Tyvek (7 perms)—never use Visqueen or 6-mil polyethylene; (2) Sealing tape: 3M Scotch Super 33+ or Huber Zip System tape with compatible primer; (3) Mastic: Sikaflex 221 or Titebond Ultimate for EPS transitions; (4) Topcoat: acrylic or silicone-modified finish (minimum 2 perms) such as Sherwin-Williams Duration Exterior (3.5 perms) or Behr Marquee (5 perms). Generic “EIFS finish” doesn’t specify permeability—demand technical data sheets showing vapor transmission rates.
Labor inspection is equally important. Contractors should provide time-lapse photos of barrier installation before EPS placement. Seams should be sealed with tape—visual inspection should show zero gaps. If you see unsealed seams, overlaps shorter than 6″, or any exposed sheathing, stop work and demand correction before proceeding.
Budget reality: proper EPS facade protection costs $10,000–$20,000 more than unprotected systems on a 2,500 sq ft facade (roughly $4–$8 per sq ft extra). Unprotected facades save that upfront cost but incur $25,000–$45,000 in repairs and replacement within 8–10 years. The math is inescapable: protection ROI is 200–400% within a decade.