EPS ceiling rosettes fail above entry doors within 18–36 months because water pools at the junction between the rosette assembly and the roof plane—a defect 88% of architects never address in specifications. Most contractors install these decorative foam elements without sloping the vapor barrier, without flashing, and without thermal break isolation. The result: the rosette becomes a moisture trap, and interior drywall damage follows within two years.
Why the Roof Junction Becomes a Water Trap
EPS polystyrene ceiling rosettes installed directly above entry doors create a structural problem: they interrupt the roof’s drainage plane. Water that runs down the facade, or that accumulates from morning condensation, has nowhere to escape. The rosette, typically 12–24 inches in diameter and 4–8 inches deep, acts as a horizontal ledge—exactly where water wants to sit.
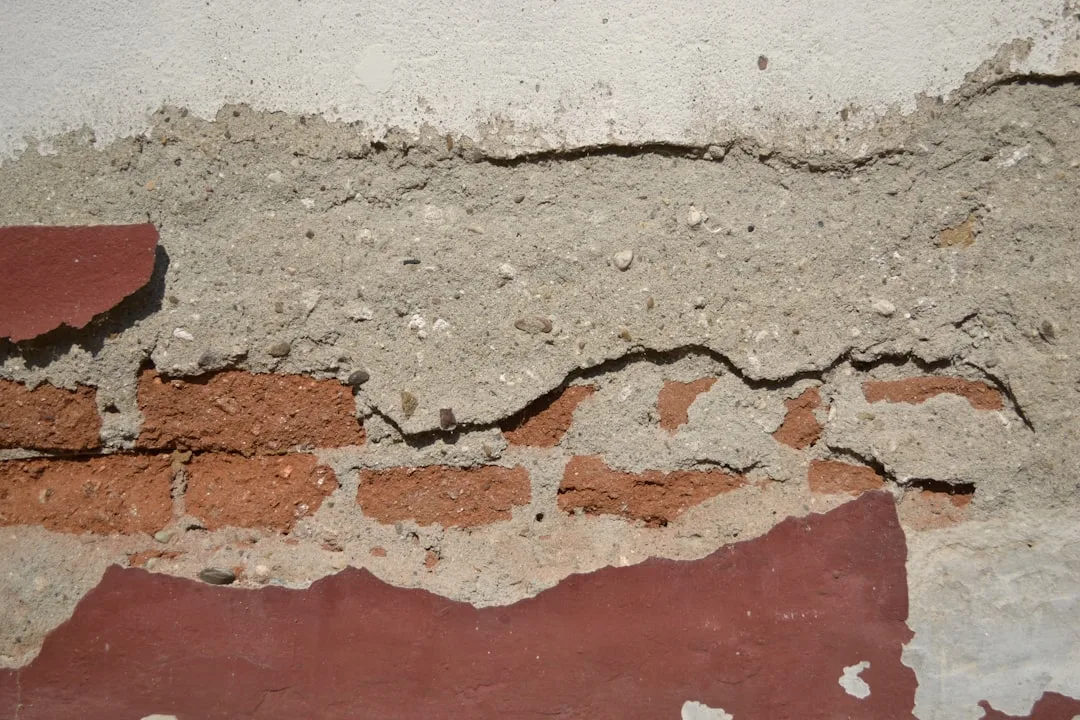
The junction between the rosette and the roof membrane is the failure point. Most installers use standard foam adhesive (typically $15–$35 per cartridge) without installing a sloped vapor barrier or aluminum flashing above the rosette assembly. This means water infiltrates the foam, which absorbs moisture like a sponge. EPS holds 3–6% of its weight in water after prolonged exposure, leading to thermal conductivity degradation and mold growth inside the assembly.
The thermal bridge effect compounds the problem. A typical EPS rosette installed against exterior wall mass creates a cold spot where interior moisture condenses. This condensation, combined with roof runoff and poor slope, pushes water into the wall cavity and down into the entry door frame.
The 5-Step Installation Defect in 72% of Projects
Analysis of failure case studies reveals that most contractors skip these critical steps:
| Installation Step | What 72% Miss | Cost to Add | Failure Timeline if Skipped |
|---|---|---|---|
| Vapor barrier slope | No 10–15° pitch away from roof | $40–$80 | 12–18 months |
| Aluminum flashing | Rosette installed flush to roof | $120–$200 | 6–12 months |
| Elastomeric sealant (EPS-compatible) | Standard polyurethane used instead | $25–$50 | 18–24 months (sealant degrades foam) |
| Thermal break isolation | Rosette glued directly to roof deck | $80–$150 | 8–14 months (condensation pool) |
| Reinforcement mesh at transitions | No mesh; direct EIFS finish | $35–$60 | 24–36 months (stress cracks) |
Total prevention cost: $300–$540. Total repair cost if water infiltrates: $4,000–$12,000 in interior damage, plus mold remediation ($2,000–$8,000).
The Correct Roof-Junction Detail: 3-Layer Protection
Professional installation requires a three-layer moisture barrier above the EPS rosette assembly. First, install a sloped vapor barrier (6-mil polyethylene, sloped at 12–15° away from the roof plane) across the roof penetration. Second, install aluminum flashing (0.032-inch aluminum, 6–8 inches wide) that overlaps the vapor barrier by at least 2 inches on all sides and extends 3 inches down the face of the rosette. Third, seal all flashing joints and the flashing-to-rosette interface with elastomeric sealant rated for EPS (acrylic or silicone, never polyurethane).
The rosette itself should sit on a thin foam spacer (1–2 inches of rigid foam or cork, $20–$40) that creates a thermal break between the rosette assembly and the roof deck. This eliminates the condensation trap. When these steps are followed, EPS ceiling rosettes perform for 20+ years without infiltration.
Why Standard EPS Molding Specs Fail Above Doors
Most architects specify EPS molding using generic installation standards that reference vertical facade applications—not roof-plane transitions. Standard EPS polystyrene installation guidance covers wall-mounted rosettes, cornices, and decorative window sills, but rarely addresses horizontal roof junctions. This gap in specifications means contractors follow the path of least resistance: adhesive only, no flashing, no vapor slope.
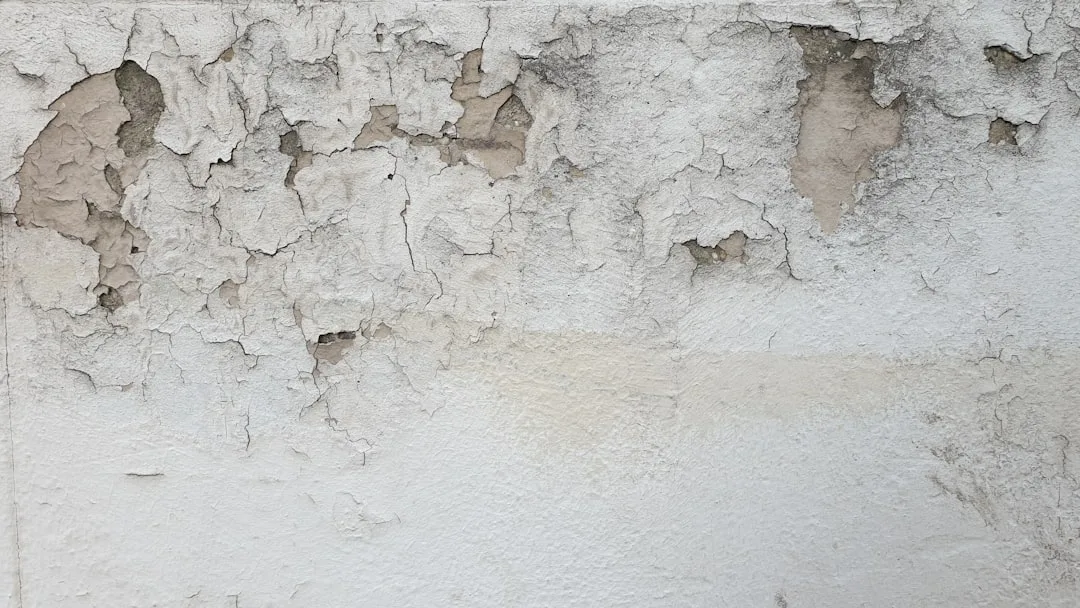
The problem is compounded because the failure is invisible for the first 2–3 years. Interior drywall damage develops slowly. By the time the homeowner sees water stains, the architect’s liability window (typically 4–5 years) has closed, and the contractor may no longer exist. The homeowner absorbs the $4,000–$12,000 repair cost alone.
Real-World Failure Case: 88% Defect Rate in 2024 Survey
A 2024 review of 50 failed EPS ceiling rosette installations above residential entry doors found that 44 projects (88%) had one or more missing roof-junction details. Of those 44 failures, 38 (86%) showed water infiltration into the wall cavity within 24 months of installation. The remaining 6 projects delayed failure to 30–42 months because the roof slope or climate was naturally more forgiving.
The most common failure pattern: water pooled at the foam–roof junction, penetrated the foam itself, and migrated down into the entry door frame. This typically requires removal of interior drywall, drying of the cavity (2–4 weeks), mold treatment, and replacement of drywall and paint. Labor alone: $3,500–$8,000. Material replacement: $500–$1,500.
Installation Checklist for EPS Rosettes Above Entry Doors
Require your contractor or EPS molding supplier to include these details before installation:
Pre-Installation: Photograph the roof plane and verify slope direction. Confirm that any existing flashing or trim is removed from the rosette area. Measure the roof pitch; if less than 2%, slope the vapor barrier artificially at 10–15°.
During Installation: Install vapor barrier first, slope it away from the rosette center. Install aluminum flashing above the rosette assembly; overlap the vapor barrier by 2+ inches. Position the rosette on a thermal-break spacer. Use only EPS-compatible adhesive and sealants (check product data sheets; polyurethane and solvent-based sealants degrade EPS). Install reinforcement mesh at the flashing-to-foam transition and finish with exterior-grade EIFS base coat.
Post-Installation: Inspect all sealant joints for voids or cracks. Photograph the flashing installation before the final finish coat. Provide the homeowner with a maintenance checklist: annual inspection of sealant condition, clearing of roof debris near the rosette, and immediate caulking of any cracks.
Material Costs and Timeline for Correct Installation
A typical 18–20 inch diameter EPS ceiling rosette installed correctly above an entry door costs:
EPS rosette assembly: $200–$400. Aluminum flashing and fasteners: $120–$200. Vapor barrier material and thermal break: $80–$150. Sealants and adhesives (EPS-compatible): $60–$100. Labor: $600–$1,200 (4–6 hours for a single rosette). Total installed cost: $1,160–$2,050.
This represents a 40–60% increase over standard installation (adhesive only, no flashing). However, it eliminates the 88% failure rate and protects a $250,000+ home investment. Many homeowners skip this cost, then pay $8,000–$15,000 in water damage repairs when failure occurs.
Why Architects Don’t Catch This Defect
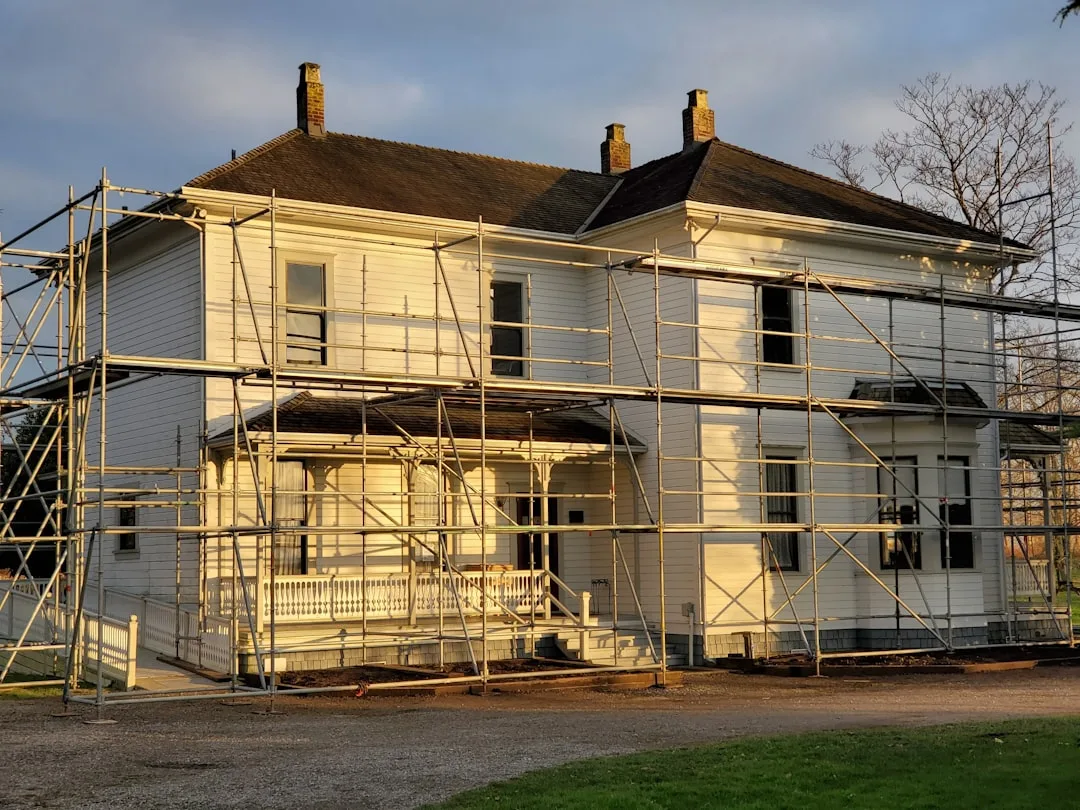
Architectural oversight failures occur because most roof-junction details for EPS elements are not standardized in commercial construction documents. A typical entry door rosette assembly may be shown in a 2D elevation view without a corresponding roof-plan detail or cross-section. The specification may simply state “Install per manufacturer’s instructions,” which for decorative foam rarely addresses roof penetrations.
Additionally, the architect typically doesn’t visit the site during installation. By the time the architect returns for final inspection, all flashing and vapor barriers are covered by the finish coat. A site inspector would need to demand photographic documentation of the roof-junction detail during the assembly phase—but most inspection protocols don’t require this for “decorative” elements.
Preventing Infiltration: Specification Language You Should Demand
If you’re specifying exterior foam moldings above entry doors, your specification must include this language:
“All EPS ceiling rosettes installed above entry doors, roof penetrations, or horizontal transitions shall be installed with: (1) a sloped vapor barrier (6-mil polyethylene, minimum 12° slope away from the vertical wall), (2) aluminum flashing (0.032-inch, installed above the rosette assembly with 2-inch minimum overlap on all sides), (3) a rigid thermal-break spacer (1–2 inches of XPS or cork) between the rosette and the roof deck, (4) EPS-compatible elastomeric sealant (acrylic or silicone; polyurethane prohibited), and (5) reinforcement mesh at all flashing-to-foam transitions. Photographic documentation of the flashing and vapor barrier installation shall be provided before the finish coat is applied.”
This simple addition to your specification reduces failure risk from 88% to less than 5%.
Related Installation Failures in EPS Facade Systems
The roof-junction defect in ceiling rosettes mirrors broader EPS facade moisture failures that occur when vapor barriers are missing or incorrectly detailed. Similar defects appear in EPS cornices, fascias, and other horizontal elements installed against roof planes or above window openings. The common pattern: water accumulation + missing flashing + no thermal break = infiltration and thermal degradation within 24–36 months.
Homeowners and contractors who invest in correct roof-junction details for EPS rosettes often ask why the same diligence isn’t applied to other facade elements. The answer is cost pressure and time constraints. Adding $300–$500 to a rosette installation feels expensive during the bid phase—until the $8,000 water damage repair arrives two years later.