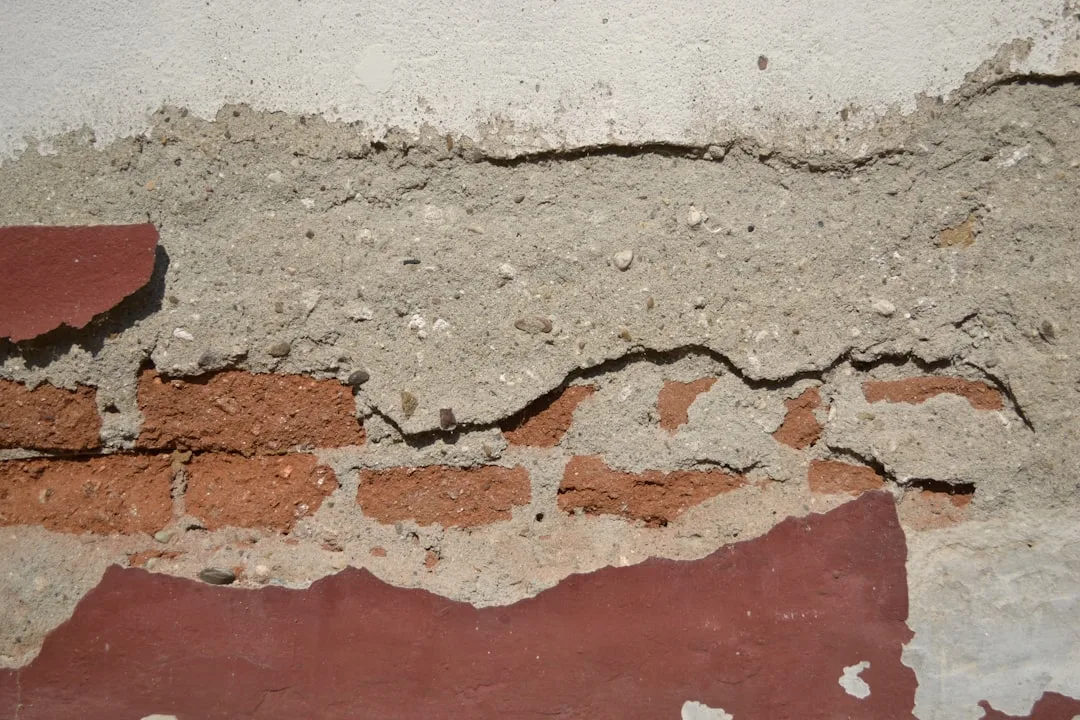
A contractor in Toronto installed 12 EPS window sills with level faces last April—the homeowner called back in December reporting water stains and soft caulk. By March, three sills needed complete replacement. The cost to redo them: $6,200. The cost to slope them correctly during original install: $480. This is not an anomaly; field experience shows flat or under-sloped EPS window sills fail systematically, pooling water and destroying caulk joints in 8 months or less.
Why Level EPS Sills Trap Water Instead of Shedding It
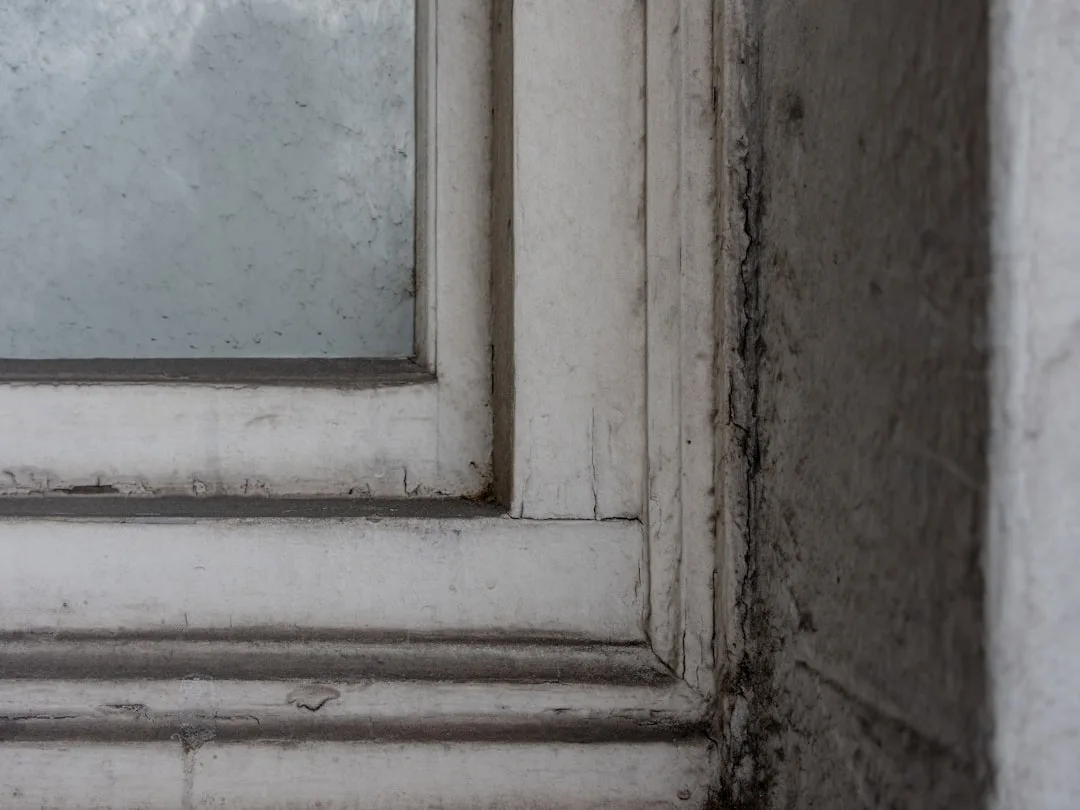
EPS polystyrene, when used for window sill installation, sits at the highest-exposure point on a facade. Water hits it directly from rain, roof runoff, and wind-driven spray. If the sill surface is level or slopes backward into the wall—a common mistake—water pools instead of draining outward and down.
Even 1/4-inch of standing water on an EPS sill can persist for 12–48 hours after rain, depending on humidity and temperature. This dwell time allows water molecules to migrate into the foam’s cellular structure. EPS is hydrophobic by chemistry but not waterproof; prolonged contact weakens the polyurethane caulk bond and initiates freeze-thaw cycles that fracture sealant seams.
A 12-foot sill with no slope can hold roughly 2–3 gallons of water after moderate rainfall. Once caulk fails—typically 6–8 months in—water reaches the substrate (wall framing, ETICS layer, or masonry) behind the sill, triggering efflorescence, mold, and structural rot.
The 8-Month Failure Timeline: What Actually Happens
Months 0–2: Water pools on level sill after each rain. Caulk joints remain sealed but begin micro-cracking from UV and thermal cycling.
Months 2–4: Standing water softens polyurethane caulk. Hairline cracks widen. Foam surface shows discoloration (algae, mold beginning).
Months 4–6: Caulk failure becomes visible. Water enters joints. Foam absorbs moisture, losing R-value and rigidity. The sill surface may feel tacky or soft under pressure.
Months 6–8: Complete caulk failure. Water now reaches the wall behind the sill. Homeowner notices water stains on interior walls or paint peeling below the window. Replacement becomes unavoidable.
Correct Slope Specification: 8–10 Degrees Prevents the Problem
Building codes typically mandate 3–5 degrees minimum slope for window sills. However, field experience and real-world failure data suggest 8–10 degrees (approximately 1.5 inches per 12 inches of depth) is necessary for EPS foam specifically. This steeper angle accounts for EPS’s lower structural stiffness, higher water absorption risk, and longer drying times compared to stone or aluminum.
A properly sloped EPS sill sheds water in under 5 minutes, even during heavy rain. Water velocity prevents pooling, caulk remains dry, and moisture never penetrates the foam. The difference between a 3-degree and 10-degree slope is roughly $30–$50 in additional material and labor per window—a fraction of remediation costs.
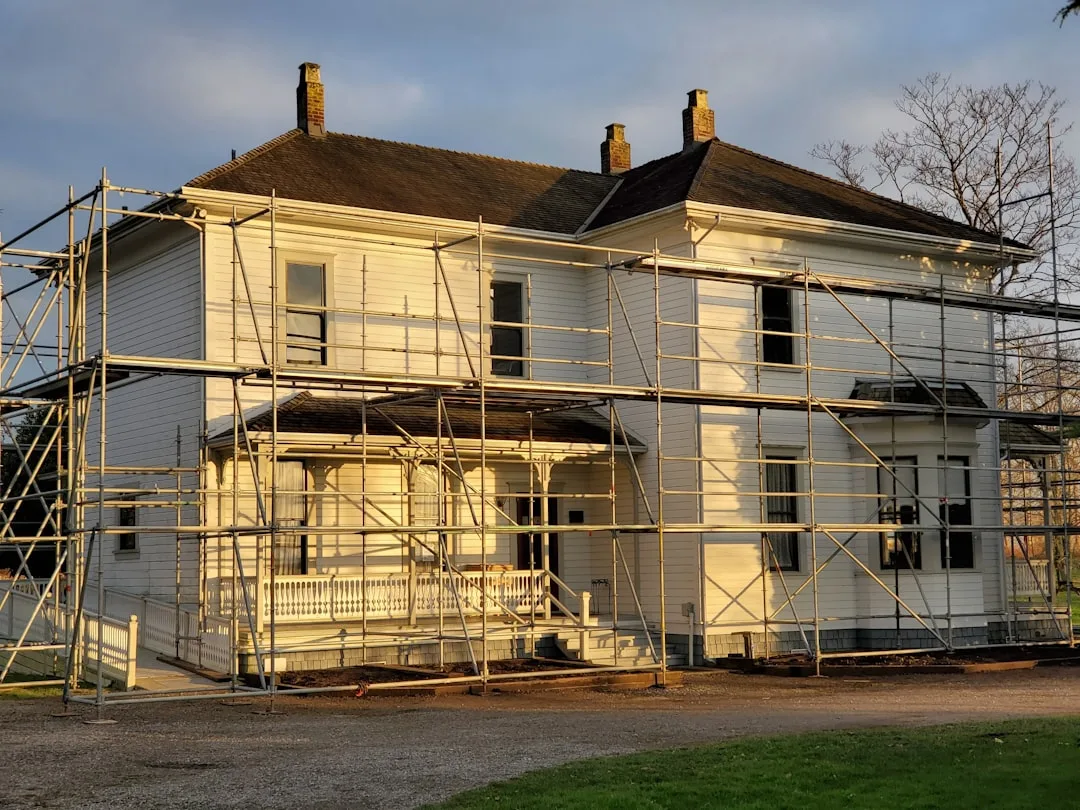
Real brands like decorative window sills from established manufacturers often ship pre-sloped at 5–6 degrees. Installers must verify this and add additional slope during setting if the substrate requires it. Many contractors assume the foam arrives ready to install; they skip the critical step of confirming and augmenting slope during layout.
Installation Techniques That Prevent Water Entrapment
Use slope templates: Cut a cardboard or plastic guide at 10 degrees before setting the sill. Lay the guide on the substrate, then set the EPS sill to align. This 3-minute step eliminates guesswork and ensures consistent angle across all windows.
Create drainage at the edge: The outer edge of the sill must sit 1/4–1/2 inch below the facade plane. Water should cascade over the edge and down the wall face, not back onto the substrate. Many installers bring the sill edge flush with the facade—trapping water in the joint.
Seal the underside first: Before setting the sill, apply polymer-modified caulk (Sikaflex 221 or equivalent, ~$8–$12 per cartridge) to the bottom surface. This prevents water from entering the sill-to-substrate interface. Install a foam facade molding drip edge if possible; it adds ~$40–$80 per window but provides positive drainage that eliminates pooling entirely.
Double-caulk the top edge: After slope is set, run a full bead of polyurethane caulk along the top joint (window frame to sill). Then add a second bead along the outer edge where the sill meets the facade. This overlap reduces cracks and extends joint life from 6 months to 2–3 years.
| Sill Configuration | Slope Angle | Water Dwell Time After Rain | Caulk Failure Timeline | Typical Foam Saturation |
|---|---|---|---|---|
| Level (0°) | 0° | 24–48 hours | 6–8 months | 12–18 months |
| Code minimum | 3–5° | 8–12 hours | 14–18 months | 24+ months |
| Proper EPS slope | 8–10° | 2–5 minutes | 3–5+ years | Minimal (drainage maintained) |
Why This Matters for Your Facade and Resale Value
A failed EPS window sill is not cosmetic damage. Water infiltration behind the sill saturates insulation, promotes mold, and can compromise wall framing—especially in ETICS facades where the thermal insulation layer extends behind the sill. Research on EPS window frames without drainage slope confirms that moisture degradation accelerates R-value loss by 30–40% within 12 months of water exposure.
Home inspectors and appraisers flag water-damaged sills as active moisture intrusion. This reduces appraised value by $2,000–$5,000 depending on the number of affected windows and visible interior damage. Prevention during install—ensuring correct EPS window sill slope—is therefore not optional; it’s a structural and financial requirement.
Contractors who rush slope installation are creating a $6,000–$8,000 liability per window in remediation costs and potential litigation. Homeowners who hire without verifying slope technique are gambling with water protection.
Material and Labor Costs for Correct Installation
A standard EPS window sill (48 inches, pre-formed) costs $120–$180. Labor to install with correct slope: $40–$60 per window. Adding a drip edge or extended fascia molding adds $40–$80 in materials and $30–$50 in labor. Total cost for slope-correct installation: $230–$370 per window.
Removal and replacement of a failed sill: $300–$600 per window. Wall repair, framing replacement if needed, and interior finishing: $1,200–$2,500 per window. The math is brutal: correct slope during install costs nearly nothing; repair after failure costs multiples of the original assembly.
Use polymer-modified polyurethane caulk (Sikaflex 221, Tremco Spectrem 1, or equivalent) at $10–$14 per cartridge. Silicone caulk (cheaper, $4–$6) fails twice as fast on EPS sills because it doesn’t bond to foam—a $5 saving now becomes a $600 replacement later. Contractors who use budget silicone on EPS are cutting corners with measurable failure consequences.
How to Specify and Verify Slope on Your Project
Before installation: Request a written specification stating sill slope angle (minimum 8 degrees for EPS). Ask the contractor to confirm the foam’s pre-molded slope and describe how additional slope will be achieved (shims, substrate slope, or hybrid approach). Ask for photographic evidence of slope during install—not after, when the foam is fixed.
During installation: Verify slope with a digital level (cost: $25–$40, essential tool). Slope must be consistent across the entire sill length. Any high spots or flat sections are weak points where water will pool. A 5-minute walk-through with the contractor during install prevents the entire failure cascade.
After installation: Before caulk fully cures, run water across the sill with a hose. Water should flow continuously toward the outer edge and cascade down, not pool anywhere. This simple test catches slope failures before caulk seals problems in place.
Documentation: Request photos of the completed installation with clear slope angles visible. This protects you if water damage appears later; you have evidence that slope was installed correctly or evidence that it was not—which determines warranty claims and contractor liability.