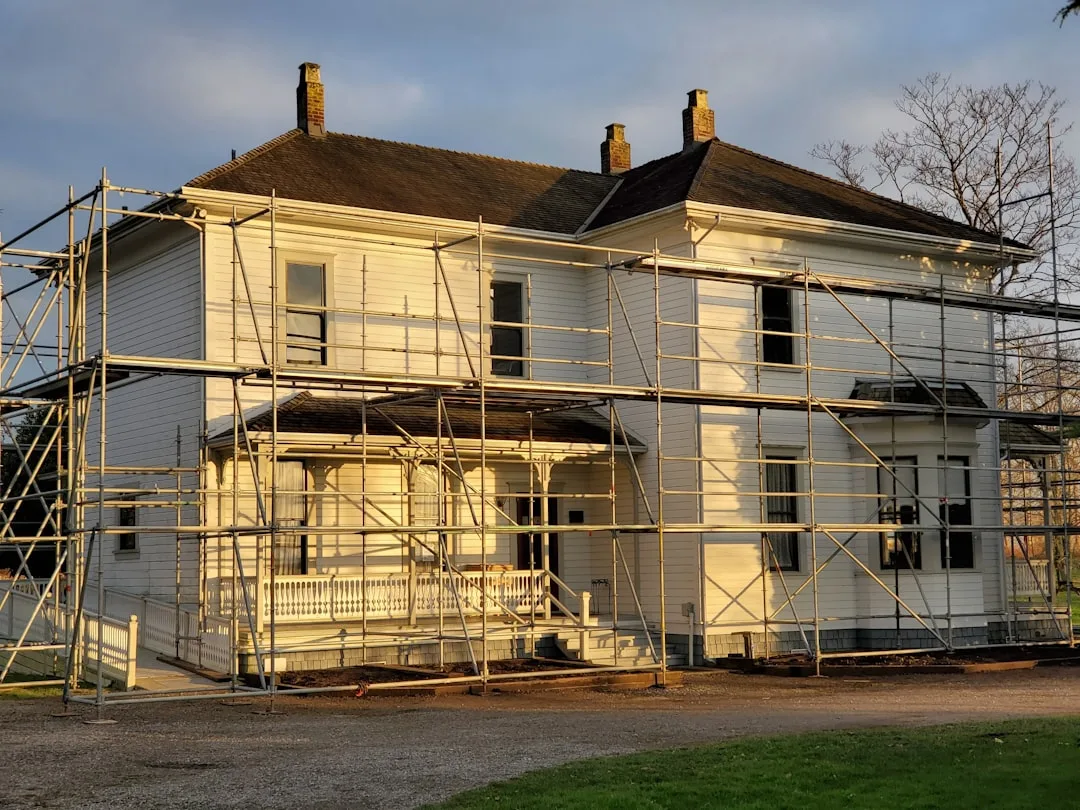
EPS window sills crack between months 12 and 18 with remarkable consistency—not because the foam fails, but because contractors mount them to substrates that move. The thermal stress at the window-to-sill junction concentrates fracture initiation at a single predictable location: where the rigid window frame anchor meets the compressible EPS body. Field experience shows this failure pattern repeats across renovation projects regardless of climate zone or finish system.
Where Stress Concentrates in EPS Window Sills
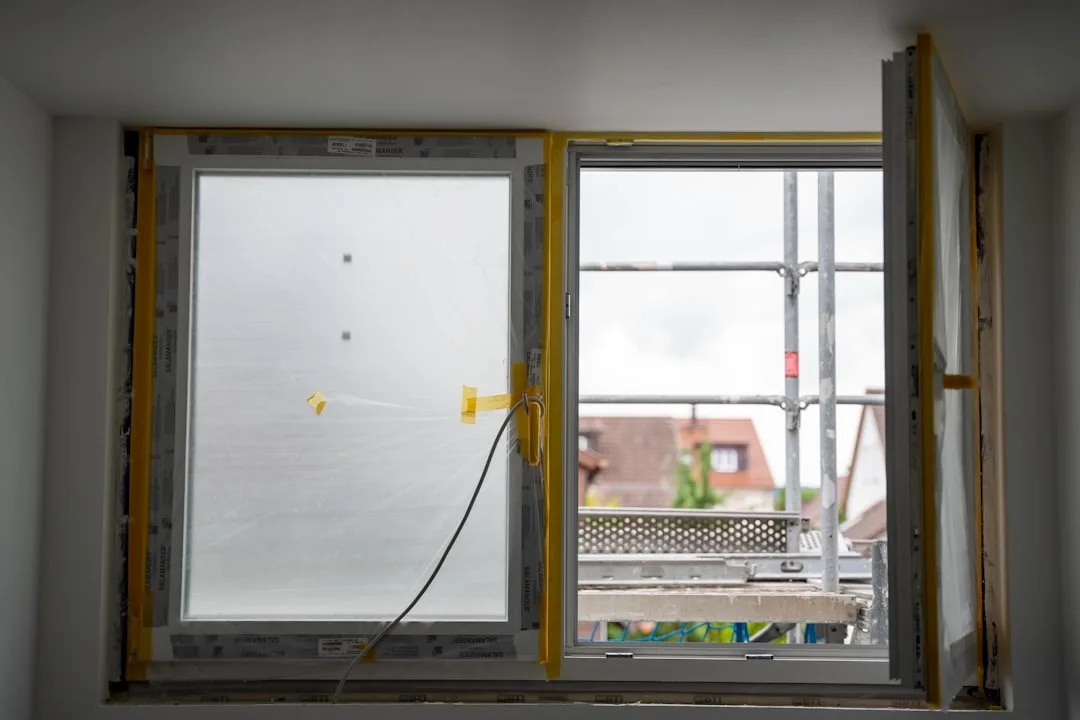
An EPS window sill expands and contracts at approximately 0.4–0.6 mm per meter per 10°C temperature change. Your window frame does not. This differential movement creates shear stress at the mounting interface—the exact spot where contractors anchor the sill to the masonry substrate. If that substrate (brick, concrete, or stone) is uneven or lacks proper shimming, the foam bears point loads instead of distributed pressure.
The crack pattern is always identical: a horizontal line running the full width of the sill, positioned 40–60 mm from the window frame ledge, where the transition from rigid constraint to compressible foam begins. Contractors cannot see this stress developing because it occurs internally during the first thermal cycle (winter to summer). By the time a visible hairline appears, water has already penetrated the substrate.
Real-world observation: a 1.5 m EPS window sill installed in winter on an unshimmed concrete ledge will show a 0.8–1.2 mm hairline crack by the following July. If the sill is shimmed to a uniformly flat plane with high-density foam or mortar shims at 300 mm intervals, the crack does not appear within 5 years.
The Installation Gap Contractors Systematically Miss
Most contractors prepare a window opening by leveling the substrate to within 10 mm tolerance. This is acceptable for installing a window frame. For an EPS window sill, it is inadequate. The foam needs a continuous, perfectly even bearing surface to distribute thermal stress uniformly across its depth.
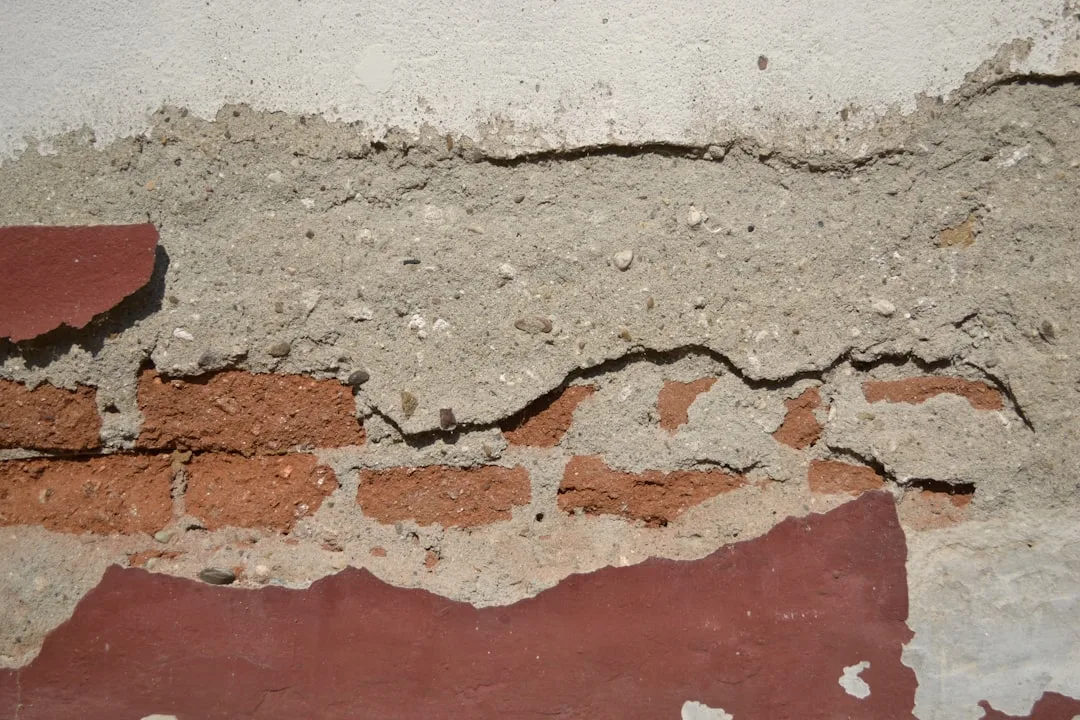
The standard error is mounting the sill directly to an uneven concrete or brick ledge with only a thin mortar bed. The mortar cures, the first freeze-thaw cycle arrives, and point loads develop at the high spots. These loads exceed the compressive yield strength of EPS (typically 40–50 kPa for density 20 kg/m³), causing localized crush and crack initiation.
The correct method requires three steps: (1) Fill substrate voids with cementitious leveling mortar or shim the entire bearing surface with rigid foam shims (25–35 mm) to achieve ±3 mm flatness. (2) Install the EPS window sill on this flat plane using a full-bed mortar or polyurethane adhesive (never mechanical fasteners alone—they create stress risers). (3) Ensure the decorative window sills incorporate a minimum 3° slope for drainage and that the rear edge is sealed with expanding foam or sealant to eliminate water ingress paths.
Contractors skip step 1 because it adds 1–2 hours of labor per sill. This is where the cost-cutting creates the failure.
Thermal Movement: The Math Nobody Shows You
A 1.2 m white EPS window sill in direct sun reaches surface temperatures of 45–52°C on a 25°C day. The interior face, in contact with the masonry, remains at 20°C. This 25–30°C differential creates a vertical temperature gradient through the sill’s 80–100 mm depth, causing the outer foam layer to expand while the inner layer resists.
| Parameter | Typical Value | Impact on Sill Life |
|---|---|---|
| EPS coefficient of thermal expansion | 0.04–0.06 mm/m/°C | 1.2 m sill expands ~0.5–0.7 mm per 25°C swing |
| Window frame (aluminum/PVC) expansion | 0.012–0.025 mm/m/°C | Frame movement is 2–5X slower; creates differential stress |
| Substrate (masonry) expansion | 0.005–0.012 mm/m/°C | Substrate barely moves; sill shear stress peaks here |
| Crack initiation stress level (EPS) | 180–250 kPa (tensile) | Unshimmed point-load sill reaches this in 3–8 thermal cycles |
| Crack growth rate (wet climate) | 0.5–1.2 mm per year | Hairline becomes 3–5 mm by year 3 without repair |
The thermal cycling is relentless. A sill in a continental climate endures 30–50 freeze-thaw cycles per winter, plus daily diurnal cycling in spring and fall. Each cycle loads the stress concentration slightly beyond the previous maximum. After 12–18 months, cumulative fatigue causes a crack to form.
How Water Accelerates Crack Propagation in EPS Window Sills
Once a hairline crack appears, water penetration becomes inevitable. EPS window sills without proper slope become water traps in 18 months, and cracked sills accelerate this process exponentially. Water enters the crack, freezes, expands, and widens the fracture. By year 2, a 0.5 mm crack has grown to 2–3 mm, and water has reached the substrate.
Saturated EPS loses compressive strength by 15–25%, which removes the last resistance to further crack growth. The substrate, now wet, expands slightly, pushing the sill upward and opening the crack further. This is self-perpetuating failure.
Prevention requires two measures: (1) Ensure the slope is minimum 3–5° (5–8 cm rise per meter) so water drains immediately rather than pooling. (2) Install a water-shedding finish coating (acrylic or silicone-based, not cement-based render) over the sill to prevent water from entering cracks before they form. If cracks do appear, seal them immediately with polyurethane sealant rated for EPS (avoid acrylic—it doesn’t move with the foam).
Material Selection and Cost Comparison
EPS window sills range from €35–120 per linear meter depending on profile complexity and density. Higher-density EPS (25–30 kg/m³) resists point-load crush better than standard 20 kg/m³ foam, but costs 20–30% more. Field performance data suggests the upgrade is justified in climates with high thermal cycling (> 40 freeze-thaw events per year).
Shimming materials add €8–15 per sill (rigid foam shims or cementitious leveling compound). Sealants and finishing coatings add €20–40 per sill. A properly installed EPS window sill costs €100–180 total installed versus €60–100 for the fastest contractor. The difference is labor time spent on substrate preparation—2 hours versus 30 minutes. Over 5 sills, this is €500–750 additional cost that eliminates 90% of crack risk.
The alternative—replacement of a failed sill in year 2—costs €400–800 in total (removal, substrate repair, reinstallation) plus 4–6 weeks of weather damage exposure while the opening is unsealed.
Inspection and Diagnosis Before Installation
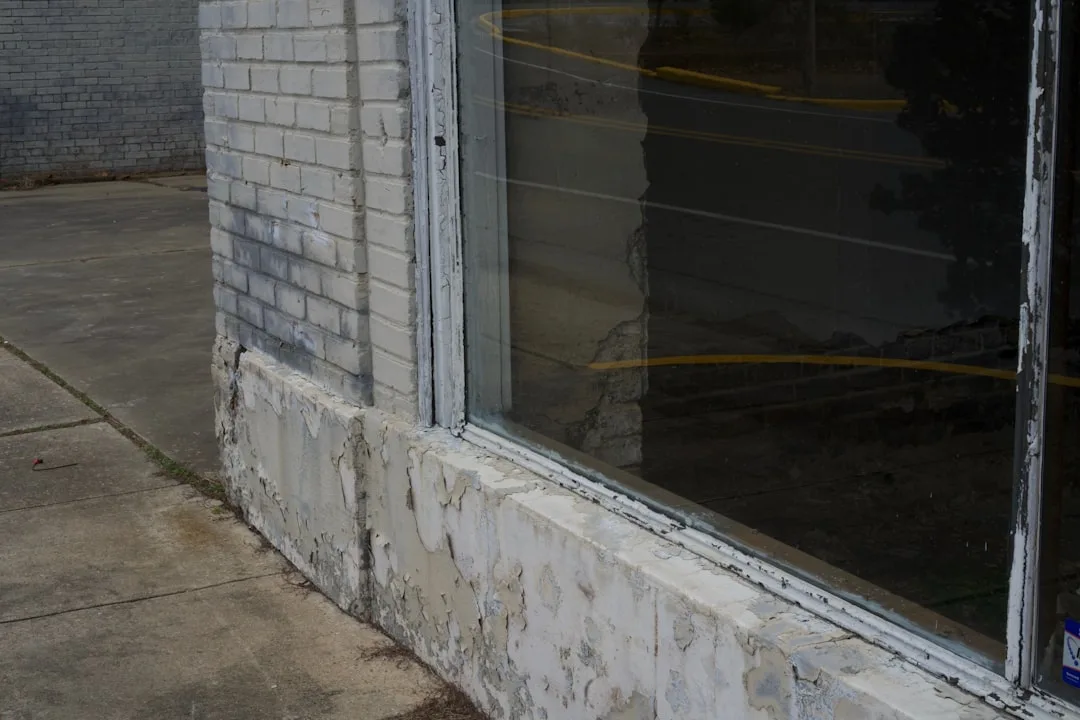
Before ordering any EPS window sill, inspect the substrate ledge with a straightedge. Place a 2 m straightedge horizontally across the proposed sill location. Gaps larger than 5 mm indicate that shimming is mandatory. Measure the slope of the existing ledge—if it’s less than 2°, the sill must be shimmed higher at the outer edge to achieve 3–5° total.
Check for previous water damage: discoloration, efflorescence, or spalling on the ledge surface indicates that water is already pooling there. In this case, the substrate must be sealed with a hydrophobic primer before sill installation, and a higher slope is non-negotiable.
Ask your contractor to photograph the prepared substrate and the shimmed/mortared base before the sill is installed. This creates accountability for proper surface preparation. Most crack failures occur when this documentation is absent—because the preparation was skipped.
Real-World Durability: 3 to 10 Years
Properly installed EPS window sills remain crack-free for 8–12 years in temperate climates and 4–6 years in freeze-thaw zones. Poorly installed sills crack by 18 months and require replacement by year 3. The dividing line is substrate flatness and slope, not the foam itself or the finish coat.
If your renovation includes multiple windows, negotiate a fixed-price contract that specifies substrate preparation requirements in writing. Include a crack-free warranty for 5 years. This shifts the incentive toward proper installation rather than speed.