Chamfered EPS edges fail not because the foam itself is weak, but because installers place the 45-degree transition zone directly into the path of thermal expansion stress. By month 6—typically spring thaw in cold climates—daily temperature swings of 30 to 50°F exceed the adhesive’s flex tolerance, and cracks appear exactly at the chamfer root. This is avoidable, but only if the installer understands why the stress concentrates there and how to isolate it.
What Happens to EPS Chamfers in the First 6 Months
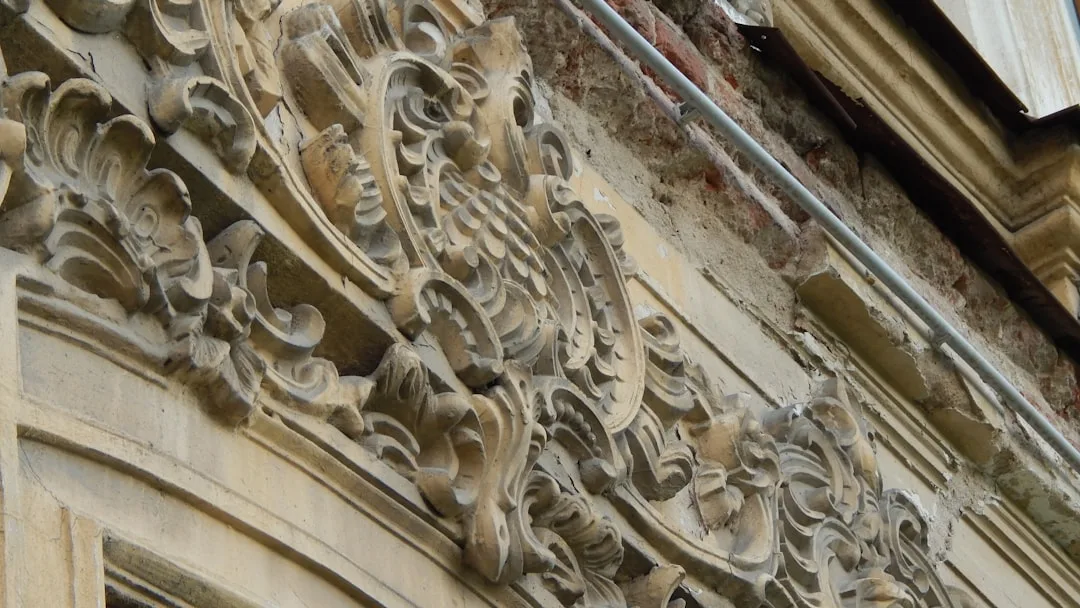
During months 1–2, the foam sets and the adhesive bonds cure under stable conditions. You see nothing wrong. By month 3–4, ambient temperature begins to swing more aggressively, and the foam itself expands and contracts thermally at a rate of approximately 0.02–0.04 inches per 10 feet of length per 50°F temperature change. The chamfer edge—being the thinnest point and the sharpest transition from substrate to foam—concentrates this stress like a knife blade focusing pressure into a line.
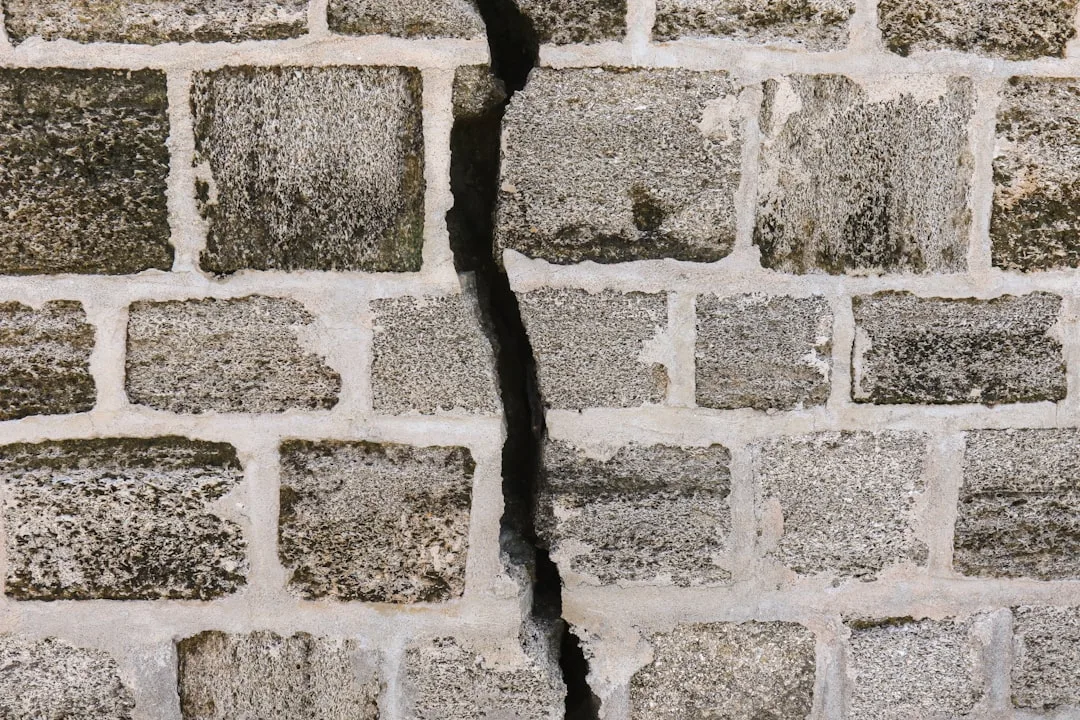
When spring arrives (month 5–6), the daily temperature delta widens further. A facade might experience +30°F at night and +65°F by noon. The foam wants to expand, but the substrate (brick, concrete, insulation board) expands at a different rate. The adhesive bond, now several months old and slightly hardened by UV exposure, cannot flex 3–5 mm anymore. The result: a crack at the chamfer, often running vertically along the molding for several feet.
Field experience shows this happens most visibly on south and west-facing facades, where solar radiation amplifies daytime temperatures and the substrate absorbs heat faster than the foam can conduct it away. The cracking is not random—it follows the thermal stress pathway, which is always at the weakest transition zone.
Why Your Installer’s Adhesive Choice Doomed the Chamfer
The single largest cause of chamfer cracking is the use of rigid or low-flex adhesives. Many contractors still apply rigid epoxy, cementitious adhesives, or even acrylic mastics to EPS moldings because these are cheap (typically $8–15 per quart) and they worked for decades on stone or plaster trim, which does not move.
| Month | Temperature Swing (°F) | Chamfer Stress Level | Visible Symptom | Root Cause |
|---|---|---|---|---|
| 1–2 | +40 to +70 | Low–Moderate | None yet | Installation complete; adhesive curing |
| 3–4 | +50 to +75 | Moderate | Hairline visible under gloss coating | Thermal expansion begins; stress concentrates at 45° zone |
| 5–6 | Spring thaw: 30 to 65°F swing | High | Cracking at chamfer root or surface | Rapid daily cycling exceeds adhesive flex tolerance |
| 7–12 | -10 to +90°F annual range | Severe | Multiple cracks; coating delamination | Cumulative movement + UV hardening of sealant |
| 18–24 | Repeated seasonal cycles | Critical | Cracks widen; water intrusion into foam | Adhesive bond degradation; no sealant maintenance |
EPS foam moves. A 10-foot run of foam cornice on a south-facing facade can shift 0.25 to 0.5 inches over a 12-month cycle. An adhesive that cannot tolerate at least 10% elongation will crack under this stress. Rigid products offer 0–5% elongation before breaking; flexible polyurethane offers 400–700%.
Many installers default to whatever adhesive works for the substrate (drywall, concrete block, brick) without asking whether that adhesive can move with the foam. This is a critical gap in installation culture. When you buy exterior foam moldings, the technical data sheet specifies flexibility requirements, but few contractors reference it at the job site.
The Stress Concentration Geometry of the 45-Degree Chamfer
Understand the physics: a 45-degree chamfer creates a discontinuity in the strain field. The foam substrate is in tension or compression along its major axis, but the chamfer edge creates a corner where two surfaces meet at an angle. Stress vectors, rather than flowing smoothly along the molding, redirect sharply at this corner.
In materials science, this is called stress concentration, and it is why bolt holes have reinforcing washers and structural corners have fillets, not sharp edges. An EPS chamfer without thermal isolation amplifies stress by a factor of 1.5 to 2.5 at the corner root, meaning the adhesive there experiences 2.5× the bulk strain the molding body experiences.
If the foam bulk experiences 0.3% tensile strain (normal for seasonal expansion), the chamfer root experiences 0.75% strain, easily exceeding the adhesive’s failure threshold. The solution is not to use stronger adhesive—you cannot hold a moving molding rigid—but to decouple the chamfer zone from the substrate so it can move freely.
Installation Error: No Bondbreaker Tape at the Chamfer
The correct technique is to apply a bondbreaker tape (also called isolation tape or slip plane tape) on the substrate side of the chamfer before adhesive application. Common products include 3M Blue Painter’s Tape or EPDM foam tape, 1/2 to 1 inch wide. This tape is NOT waterproof; it simply reduces adhesive bond area and allows micro-slippage as the foam moves.
By reducing bonded area at the chamfer from 100% to 50%, you allow the molding to shift 3–5 mm without breaking the adhesive film. The remaining 50% bond holds the molding in place; the bondbreaker zone absorbs the movement.
Most installers skip this step because it takes 10 extra seconds per foot and is invisible after coating. Cost of bondbreaker tape: approximately $12–20 per 100 linear feet. Cost of repairing chamfer cracking after 6 months: $150–400 per linear foot of damaged edge, plus repainting and liability claims.
Surface Preparation Failures That Accelerate Chamfer Cracking
The second major cause is poor substrate cleanliness. If the substrate (brick, concrete block, or insulation board) is not cleaned to remove dust, paint flakes, or efflorescence, the adhesive bond line is weak from day one. Under thermal cycling, a weak bond fails faster than a properly prepared one.
Building codes (IBC Section 2609.3 for ETICS facade systems) require substrate moisture content below 15% and dust-free surface preparation. Contractors often wet-clean the surface the morning of installation, but do not allow adequate drying time. If the substrate is damp, adhesive cure is retarded and flexibility is compromised. The adhesive needs 5–7 days of dry conditions to reach full strength.
Spring projects—when chamfer cracking peaks—often begin in wet, cool conditions (March–April in northern climates). The adhesive is fighting damp conditions and low temperature (below 50°F) at the same time, both of which slow polyurethane cure and reduce bond strength by 20–40%.
Moisture Ingress Through Cracked Chamfers at 12–18 Months
The first 6 months show cosmetic cracking—hairline splits in the surface coating. By month 12–18, if the cracks are not sealed, water penetrates the foam itself. EPS foam is hydrophobic (water does not soak in), but water can travel along the adhesive line or through the crack path directly into the foam body.
Once water is inside the foam, it cannot escape easily because the exterior is sealed by paint or stucco coating. The water then migrates downward along the adhesive bond, eventually reaching the substrate, where it can cause freeze-thaw damage, corrosion of metal ties, or mold growth inside the wall cavity.
This is why facade ornaments require sealant maintenance every 2–3 years. Any crack, even a cosmetic one, must be sealed with elastomeric sealant (Sikaflex-291, Sikaflex-252, or equivalent) and the entire molding should be inspected for water staining at the substrate line.
The Timing of Visible Cracking: Why Month 6 Is Not Random
Chamfer cracking appears at month 6 because several factors align: adhesive has partially hardened (losing some flexibility), seasonal temperature swings reach their maximum amplitude (spring thaw in cold climates), UV exposure has begun to stiffen the sealant, and the facade has experienced its first complete thermal cycle.
In warm climates (southern United States, year-round temperatures 40–85°F), cracking may not appear until month 9–12 because the annual temperature delta is smaller (45°F vs. 100°F in northern regions). In northern climates (Minnesota, Canada, northeast), cracking often appears at month 4–5 due to aggressive spring thaw conditions.
The predictability of this timing is important: it is not a defect that surfaces randomly. It appears at a specific stress threshold and a specific season, which means it is preventable by proper installation design.
Repair Options and Long-Term Prevention
If cracks are hairline (under 1/32 inch), the repair is cosmetic: clean the crack with a wire brush, inject elastomeric sealant, and re-coat with exterior paint. Cost: $500–1,200 per facade elevation. The sealant must be reapplied every 3–5 years because UV hardens it and thermal movement eventually re-opens the crack.
If cracks are wider (1/16 to 1/8 inch) or multiple and running vertically, the adhesive bond is partially failed and the molding should be removed and reset using proper isolation tape and flexible adhesive. This is a full reinstallation: cost $2,000–5,000 per affected section, plus repainting.
Long-term prevention requires three steps: (1) use flexible polyurethane adhesive rated for EPS (not rigid epoxy or acrylic); (2) apply bondbreaker tape on the substrate side of all chamfered edges; (3) ensure substrate is dry and dust-free before adhesive application, with ambient temperature above 50°F and humidity below 85% during cure (5–7 days).
Maintenance is equally critical. Inspect EPS moldings every 12 months for cracking, discoloration, or water staining at the substrate line. Seal any hairline cracks immediately with elastomeric sealant. This 15-minute preventive task costs $20–50 and extends the life of the facade by 10+ years.
Thermal Movement and Design Isolation
Advanced installations incorporate a purposeful thermal break or movement zone at critical edges. Some contractors use compressible foam backer rod (1/2 inch diameter, low-expansion type) under the adhesive bead at chamfered edges. This absorbs expansion without creating a bondbreaker that could weaken attachment elsewhere on the molding.
Another technique is to install chamfered edges with a slight gap (1/8 to 1/4 inch) from adjacent molding pieces, filled with sealant rather than rigid adhesive. This allows each piece to move independently without transmitting stress to its neighbors. EIFS (Exterior Insulation and Finish Systems) standards, such as ASTM E2099, require this movement accommodation for large facade areas.
Architects and engineers sometimes specify EPS moldings with non-chamfered (straight) edges specifically to reduce stress concentration, accepting a less refined aesthetic in exchange for durability. If your design allows, eliminating the chamfer removes the problem entirely.
For existing facades with cracking, the permanent solution is full replacement with proper thermal isolation design. Expect $3,000–8,000 depending on the linear footage of affected molding and the labor difficulty of removal and repainting. This is expensive but prevents cascading water damage and maintains facade integrity for 20+ years.