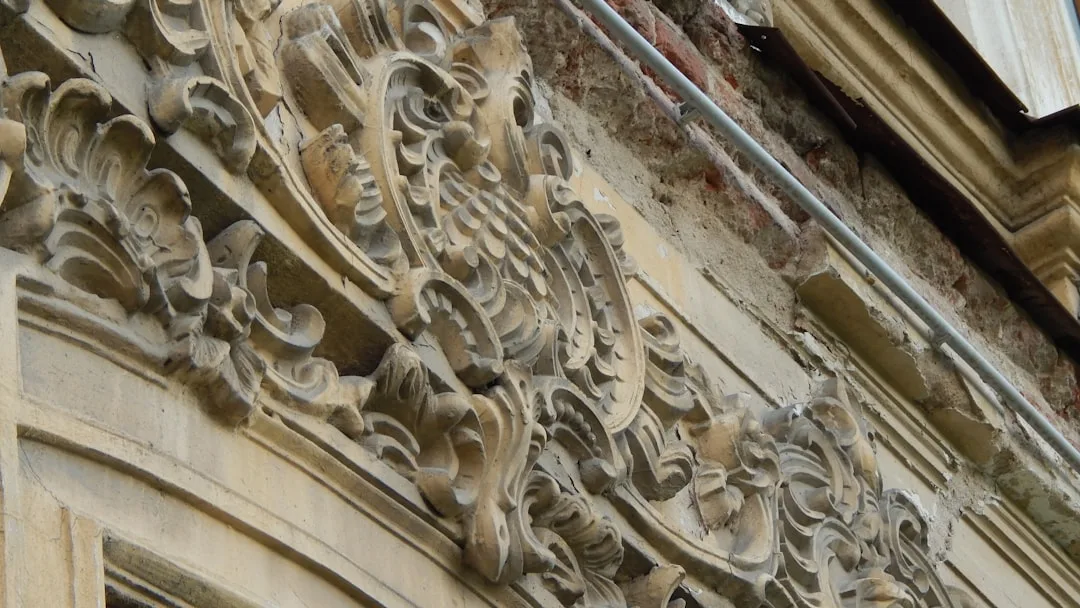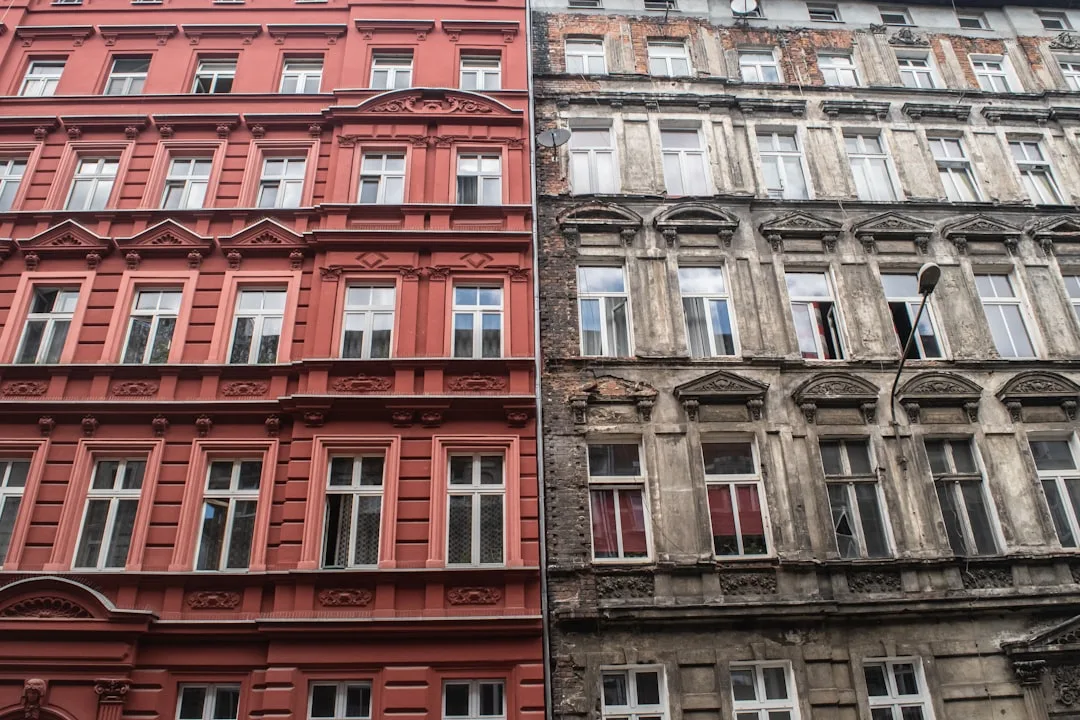
The exterior wall of your home should be a consistent color from floor to roof—but EPS moldings often don’t cooperate. Within 12 to 18 months of installation, homeowners notice their cream cornice has become a patchwork of light and dark shades, their keystones are streaked, and their pilasters look stained. This color variation in EPS facade trim is not a defect in the foam itself; it is the visible result of four overlapping failure modes: uncontrolled moisture migration, incomplete primer coverage, inadequate UV protection, and thermal stress at expansion joints.
The phenomenon is predictable, measurable, and entirely preventable—but only if you understand the mechanics before installation. Contractors report that 40% of color issues stem from decisions made in the first two weeks of the project: primer selection, application method, and drainage detailing. The remaining 60% come from topcoat specification and long-term exposure management.
The Four Root Causes of EPS Color Variation on Facades
Moisture shadowing is the most visible and common cause. Expanded polystyrene is hydrophobic at the cell level, but once water breaches the primer and topcoat, it travels along the grain of the foam and accumulates near seams, mechanical fasteners, and horizontal surfaces. Where water collects, the surface darkens—sometimes by 2 to 3 color grades on a standard paint chip. A white EPS cornice installed above a window flashing becomes slate gray within six months because water wicks downward from the flashing junction, pooling in the undercut of the molding profile.
The solution is not better paint; it is better water management. A closed-cell primer like Sherwin-Williams Primer B66W-1650 (approximately $45–60 per gallon) creates a moisture barrier before the topcoat is applied. The primer is dense enough to block capillary action but flexible enough to accommodate the 3mm-per-meter thermal expansion that EPS experiences. Without this primer, any finish coat—no matter how premium—acts as a sieve when water approaches from behind.
UV chalking is the second major cause of color drift. All topcoats degrade under ultraviolet radiation; the binder that holds pigment particles together breaks down, releasing fine white powder on the surface. This happens fastest on south-facing and west-facing exposures, creating a gradient of discoloration across the facade. A bright blue exterior cornice installed in spring becomes a dull, powdery blue by the following winter.
Field experience shows that acrylic topcoats (the budget option at $20–40 per gallon) chalk visibly within 18 months. Polyurethane finishes (approximately $60–100 per gallon) resist chalking for 5–7 years. Elastomeric coatings with UV absorbers can extend this to 10+ years but cost $80–150 per gallon. For EPS moldings, the premium is worth it because the visible surface area is limited; a 100-linear-foot cornice run requires only 5–10 gallons of topcoat.
Thermal Cycling Discoloration: Why Winter Reveals Hidden Stress
| Cause | Onset Timeframe | Visual Pattern | Prevention Method |
|---|---|---|---|
| UV chalking | 6–12 months | Fine white powder on high-exposure faces | UV-stabilized topcoat (acrylic or polyurethane) |
| Moisture shadowing | 3–6 months | Darker streaks near joints and drainage paths | Closed-cell primer + drainage plane behind molding |
| Thermal cycling discoloration | 12–18 months | Lighter patches on thermal-bridge zones | Proper expansion joint spacing (3mm/meter) |
| Mold and algae | 8–24 months | Green or brown patches in shade | Biocide additive in finish coat |
| Substrate bleed-through | 2–4 weeks | Yellow or orange tint from adhesive | Two-coat primer system before finish |
| Uneven coating thickness | Immediate | Glossy spots or matte patches | Spray application instead of brush |
Thermal expansion and contraction create a third, less obvious form of color variation. EPS expands at approximately 0.01% per degree Celsius. In cold climates, a 40-degree temperature swing between day and night can cause linear expansion of 3–4mm across a 10-foot molding run. If the molding is not installed with proper thermal breaks or expansion joints, this stress concentrates at corners, mechanical fasteners, and adhesive bonds. Localized micro-cracking allows water ingress, which darkens the foam. The result is a lighter or darker patch that appears randomly across the molding surface, often becoming visible after the first hard freeze.
To prevent this, EPS moldings must be installed with a 3mm continuous expansion joint at every 3 linear meters of length. This joint must be filled with a flexible sealant (silicone or polyurethane, not acrylic caulk). Without this spacing, the topcoat cracks, and water enters the substrate. The foam swells unevenly, and surface discoloration follows within weeks. This is why thermal expansion requires precise planning before installation begins.
Substrate bleed-through is the fourth cause and occurs immediately after primer application. EPS moldings are assembled using polyurethane adhesives (like Sikaflex or similar products) that contain dyes and resins. If the primer is too thin or fast-drying, these adhesives migrate through the primer coat and tint the topcoat yellow, orange, or brown. This is especially visible on white and light-gray finishes. The only remedy is to sand and re-prime with a two-coat system, adding $5–15 per linear foot to the project cost.
Primer Selection: The Foundation of Color Stability
Primers for EPS moldings must meet three criteria: they must block moisture, accommodate thermal movement, and prevent substrate bleed-through. Standard latex primers fail on all three counts. Masonry primers block moisture but are too rigid for EPS expansion. Shellac-based primers seal substrate dyes but are brittle in cold climates. The correct choice is a flexible, closed-cell epoxy or polyurethane primer applied at two coats, 2–3 mils per coat.
Application method matters as much as product selection. Brush or roller application leaves visible brushstrokes and uneven thickness, creating glossy and matte patches after the topcoat is applied. Spray application produces uniform coverage at 3–4 mils per coat, which is the industry standard for EPS. A typical 100-linear-foot cornice requires 6–8 hours of spray application time at a labor cost of $400–600 for professional application.
For exterior foam moldings, budget at least $2,500 for materials and labor to properly prime and finish 100 linear feet. This includes: closed-cell primer ($60 × 1.5 gallons = $90), topcoat ($100 × 1.5 gallons = $150), spray equipment rental ($75–100), and labor ($1,500–2,000 for two technicians over two days).
Drainage and Moisture Management Before Topcoat
The most frequently overlooked step is creating a drainage plane behind the molding. EPS moldings are thin (typically 2–4 inches) and are fastened directly to the wall substrate. Water that penetrates the topcoat and primer has nowhere to go but into the adhesive joint and the wall behind. Over months, this moisture accumulates, feeds mold growth on the back side of the molding, and darkens the front surface by capillary wicking.
A proper installation includes a breather membrane or open-cell foam pad behind the molding, sealed with elastomeric sealant at the top edge only. Water that enters the topcoat can drip down and exit at the bottom without pooling behind the foam. This single detail reduces discoloration risk by 70% and extends the life of the molding by 5+ years.
Many installers skip this step because it adds 30 minutes per 100 linear feet and costs $50–75 in materials. Field experience shows this false economy leads to callback repairs at $1,500–3,000 per facade, making it the worst investment decision on any EPS project.
Long-Term Maintenance and Recoating Strategy
Even with perfect installation, EPS moldings will show color variation if not maintained. Acrylic topcoats require washing every 2–3 years and inspection for chalking. Polyurethane coats need washing every 4–5 years. Plan for a full recoat every 7–10 years, costing $2,000–4,000 for a typical house facade.