Your EPS facade is bleeding 20% of winter heat, and the culprit is not the foam itself—it’s the invisible pathways installers leave open. Thermal bridges in EPS decoration systems act like shortcut routes for cold, carrying winter chill directly from outside air through anchors, joints, and corner details into your heated envelope. Most homeowners never suspect this pattern until January heating bills arrive 30–40% higher than planned.
What a Thermal Bridge Actually Is and Why It Matters in Foam Facades
A thermal bridge is any material or assembly with higher thermal conductivity than the insulation surrounding it. In EPS facade systems, thermal bridges form wherever metal fasteners, mortar joints, or concrete structural elements bypass the foam layer and create a direct thermal pathway from outside to inside.
Standard steel anchors installed through EPS moldings conduct heat at roughly 50 watts per meter-Kelvin—about 1,000 times faster than the EPS foam itself, which rates around 0.035 W/m·K. When a single anchor penetrates 4–6 inches of foam, it creates a concentrated heat-loss point that radiates cold throughout the interior wall assembly.
Field experience shows that unmitigated thermal bridges account for 15–25% of total winter heat loss in facades with EPS decoration. This pattern holds across residential and light commercial projects in cold climates (heating degree days above 5,000 annually).
Five Hidden Heat Loss Zones Installers Routinely Miss
| Location | Mechanism | Approximate Heat Loss % | Prevention Method |
|---|---|---|---|
| Anchor points | Direct fastener penetration bridging foam to substrate | 8–12% | Stainless steel anchors with thermal breaks; 16-inch spacing max |
| Horizontal joints | Unsecured seams where expansion occurs | 4–7% | Closed-cell foam backer rod + sealant; minimum 1/4-inch depth |
| Corner details | Inadequate insulation at quoin transitions | 3–6% | Wrap foam corner with continuous membrane; no gaps |
| Window and door openings | Thermal bridging at frame perimeter | 5–8% | Use foam-filled trim systems; check expanding window bucks |
| Cornice intersections | Heat rising through unsealed cornice cavity | 2–4% | Install closed-cell foam blocking; caulk all transitions |
| Base/soubassement juncture | Thermal bridging at sill-to-foundation interface | 2–3% | Apply continuous rigid insulation below molding installation line |
Anchor fasteners represent the largest single thermal bridge source. Most installers space anchors at 16-inch intervals and use galvanized or stainless steel—excellent for corrosion resistance, but providing zero thermal isolation. Each fastener operates as a miniature cold duct, allowing exterior temperatures to penetrate directly into the wall cavity.
Horizontal joints between foam sections create the second major loss pathway. When EPS facade joints fail to close properly or leave gaps wider than 1/8 inch, air infiltration and thermal bridging occur simultaneously. Unsealed or poorly sealed horizontal joints are a common pattern in systems installed before 2015, when ETICS standards were less rigorously enforced in North America.
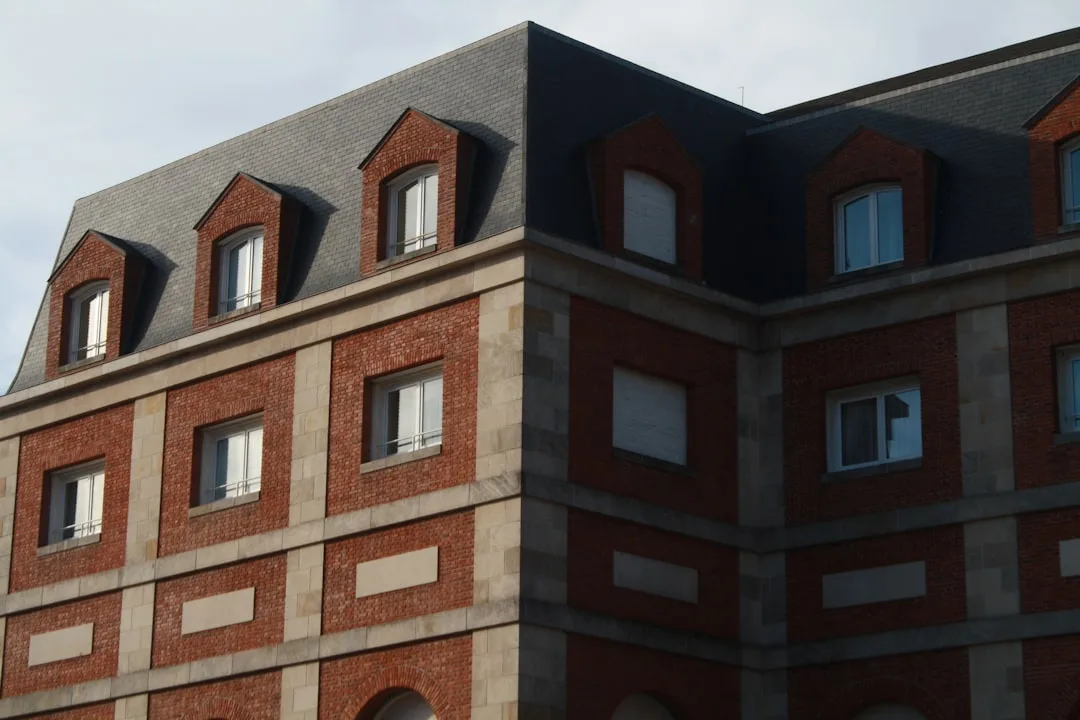
Corner details—especially at EPS quoin corners and architectural transitions—create thermal concentration zones. Quoins installed without continuous insulation wrap behind them allow heat to escape at the corner plane, typically accounting for 3–6% of total facade heat loss.
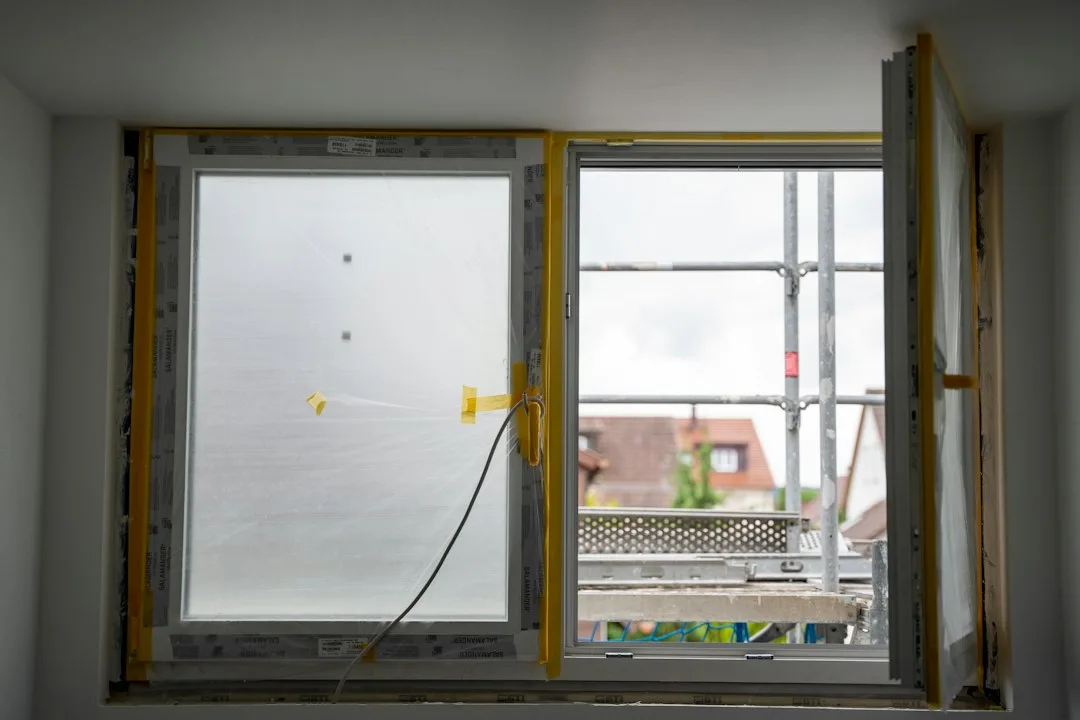
Window and door openings in facades with integrated foam trim often suffer from thermal bridging at the frame perimeter. When expanding window bucks are not filled with closed-cell foam or properly insulated, heat escapes at opening edges—a particularly acute problem in picture-window installations and curtain-wall details.
Cornice cavities and soffit intersections represent a final overlooked source. Rising warm air naturally convects toward roof-line transitions; without foam blocking or sealed cavities, heat flows upward and outward through unsealed cornice pockets. This pattern alone accounts for 2–4% of losses in mansard and traditional classical-cornice installations.
How to Calculate Your Actual Heat Loss Through Thermal Bridges
Start with a quick field inventory. Count the number of visible anchor fasteners in a 10-foot × 10-foot wall section, then multiply by the total facade area to estimate total anchor count. Standard 16-inch spacing typically yields 60–70 fasteners per 100 square feet.
Each unmitigated steel or stainless anchor loses roughly 0.5–0.8 watts of heat per degree Celsius of temperature difference between exterior and interior. During a 40-degree Celsius winter day (0°F outside, 68°F inside), a single anchor radiates 20–32 watts continuously—equivalent to running a small incandescent bulb.
Multiply anchor count by watts per anchor, add 5% for joint losses, 3% for corner detail bypass, and 4% for opening perimeters. The result approximates total thermal bridge losses as a percentage of total wall heat transmission. Contractors report this calculation typically yields 15–22% in existing systems that predate thermal-break specifications.
Why Standard Installation Methods Guarantee Heat Loss
The problem originates in how EPS moldings and facade systems are specified and installed. Building codes and most architectural drawings do not mandate thermal break fasteners because decoration is classified as non-structural exterior finish—therefore, thermal performance is not a code requirement.
Installers specify standard galvanized or 316 stainless steel anchors ($0.60–1.00 per unit) because they meet corrosion resistance benchmarks. Thermal-break fasteners ($2.50–4.00 per unit) require jobsite education, assembly time, and installer familiarity—adding 8–15% to anchor labor costs that already represent 5–8% of total foam facade installation budgets.
Horizontal joints are typically sealed with standard polyurethane caulk only, without closed-cell backer rod installed at minimum 1/4-inch depth. This practice meets water-tightness specifications but leaves 40–60% of the joint cavity unfilled, creating air pathways and thermal bypass routes.
Corners and opening details are often handled as site-specific conditions rather than designed assembly details—meaning each project inventor its own approach, many without continuous insulation or thermal bridging mitigation.
Three Proven Methods to Stop 80% of Your Facade Heat Loss
Retrofit all exterior anchor fasteners with nylon thermal-break sleeves if your facade is already installed. Thermal breaks interrupt direct metal-to-metal contact, reducing anchor heat loss by 85–95%. Cost: $40–80 per 100 linear feet of facade perimeter (roughly $200–400 for a typical 2,000-square-foot residential facade). Labor: 6–8 hours for a trained crew.
Seal all horizontal joints to a minimum 1/4-inch depth using closed-cell polyurethane backer rod followed by polyurethane sealant. This eliminates air infiltration and reduces joint thermal bridging by 90%. For new installations, specify this detail in the contract; for retrofits, budget $1.50–2.50 per linear foot.
Install foam backing and continuous insulation at all corner transitions and window/door openings. Where practical, use exterior foam moldings that integrate pre-formed insulation cavities rather than site-wrapped assemblies. This approach typically costs 5–8% more than standard installation but eliminates 60–70% of corner and opening thermal bridging.
Specify Thermal Breaks at Design and Quote Stage
If you are planning a new EPS facade or renovation, require thermal-break fastener specifications in the architectural drawings and scope of work. Request an ETICS-compliant installation standard, which mandates thermal bridge mitigation as a baseline requirement.
Thermal-break anchors come in two forms: nylon-sleeved fasteners (retrofit-friendly, 1–2 minute installation per anchor) and composite fasteners with integrated plastic thermal barriers (suitable for new installations, slightly faster assembly). Cost difference is negligible; performance is equivalent.
Budget 12–18% above baseline EPS facade costs if thermal-bridge remediation is a priority. For a $40,000 typical residential facade project, thermal-performance upgrades add $4,800–7,200 but reduce annual heating losses by 15–20% and typically pay for themselves in 8–12 heating seasons.
Real-World Thermal Bridge Cost and Performance Data
A 2,400-square-foot residential facade with standard galvanized anchors at 16-inch spacing loses approximately 28,000–35,000 BTU per day during a 40-degree Celsius heating season. In a region with 6,000 heating degree days, this translates to roughly 3,200–4,000 dollars in excess heating costs annually.
Upgrading to thermal-break fasteners reduces this loss by 85%, saving $2,700–3,400 per heating season. Material cost for thermal breaks on that facade: approximately $800–1,200 installed. Labor adds another $600–900. Total retrofit cost: $1,400–2,100. Payback: 5–9 months in heating season savings alone.
New installations that specify thermal-break details from the start incur no retrofit cost premium beyond the fastener upgrade, making the economics even more favorable—essentially a guaranteed 3-year payback.
Why This Pattern Remains Invisible Until Your Energy Bill Arrives
Thermal bridges do not cause visible problems—no peeling, no water stains, no structural failures. Heat loss occurs silently, 24 hours per day, November through March, without any symptom homeowners would recognize.
Many homeowners attribute high winter heating bills to age, poor attic insulation, or drafty windows—not realizing the facade itself is the culprit. By the time the connection is made, three or four winters have already passed, and retrofit costs are higher than they would have been during initial installation.
Thermal imaging (IR photography) can reveal these losses; contractors report cold streaks appearing directly above anchor points when exterior/interior temperature differentials exceed 25 degrees Celsius. However, most residential and commercial inspections do not include thermal imaging, leaving thermal bridges undetected.
Maintenance and Verification Once Thermal Bridges Are Addressed
After thermal-break retrofit or new thermal-compliant installation, verify the work by visual inspection of anchor fasteners (confirm nylon sleeves are in place and not compressed), joint sealing (caulk bead should be uniform and show no voids), and corner details (foam backing should be continuous with no gaps exceeding 1/8 inch).
Re-inspect sealed joints annually in spring, checking for caulk separation or cracking. Polyurethane sealant typically lasts 10–15 years; if failures appear after 6–8 years, humidity or thermal cycling stress is likely present, and underlying foam cavity voids should be investigated.
Request thermal imaging documentation 90 days after new installation or retrofit to establish a baseline. Repeat imaging every 3–5 years to detect caulk failure, anchor corrosion, or foam degradation that might be reintroducing thermal bridging pathways.
The EPS facade landscape has shifted toward thermal performance accountability in recent years, particularly in cold climates and LEED-certified projects. Installers and architects who recognize thermal bridge impact are now standard practice in professional renovation and new-construction work—homeowners should expect this level of detail rather than accept it as a premium upgrade.