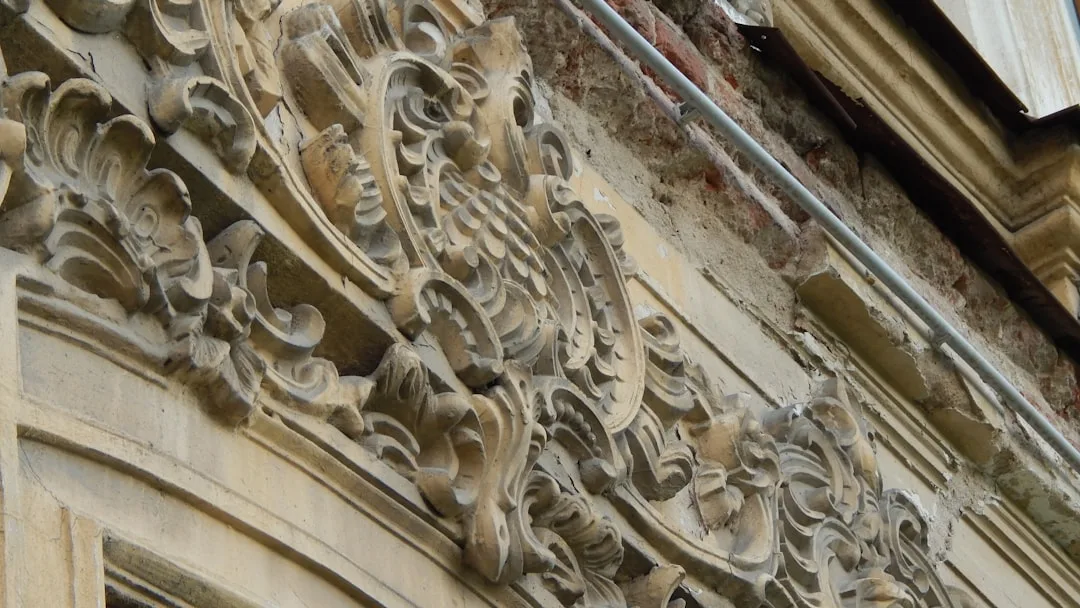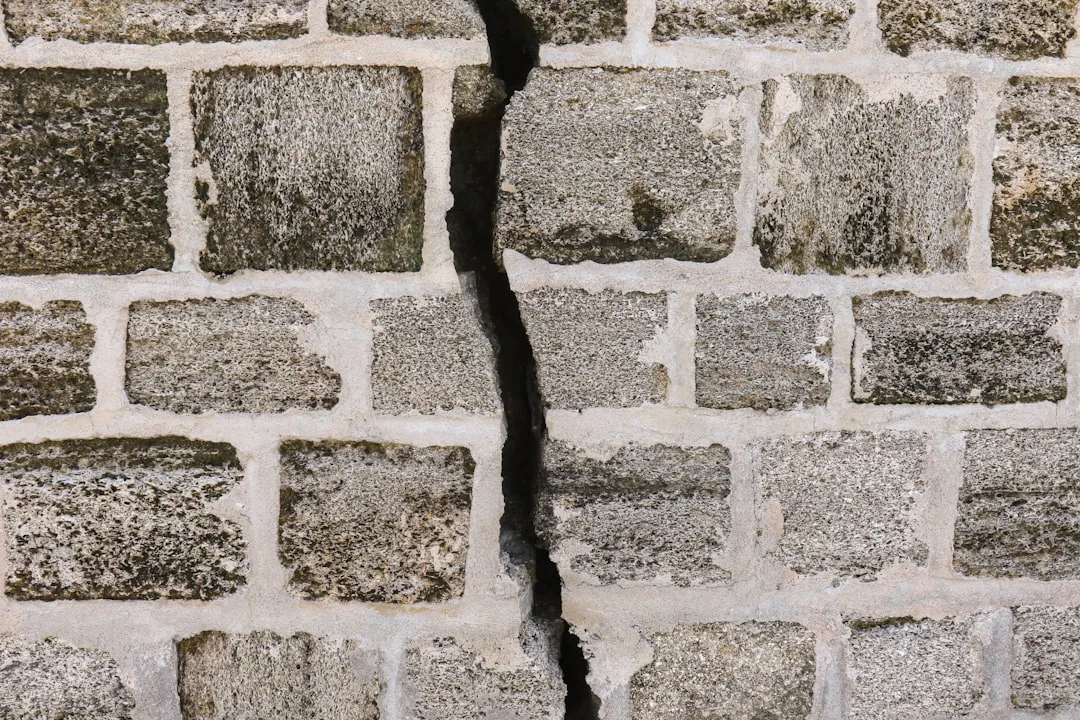
EPS facade spalling does not happen where you look—it happens at the joints where nobody thinks to inspect. Most contractors and inspectors focus on the molding surface itself, but the real failure zone is the 1/4-inch gap where two pieces of foam meet and expand or contract by up to 1/8 inch annually depending on climate. Within 3 years, rigid sealants crack, water creeps behind them, and the joint edge spalls away in chunks that fall to the ground below.
Why EPS Joints Need Movement Tolerance, Not Rigid Sealing
EPS polystyrene expands when warm and contracts when cold; this is not a defect, it is material physics. A 20-foot run of facade foam can move 1/8 to 3/16 inch across a seasonal temperature swing from −10°F to +90°F. Most installers seal these joints with acrylic caulk or cheap 100% silicone—materials rated for 10% to 15% movement at best.
When the foam tries to expand and the sealant refuses to flex, the sealant tears or peels away from the foam edges. Water immediately enters the gap, sits behind the failed sealant, and begins wicking into the foam core and the substrate behind it. Within 6 months of a failed joint, you see surface spalling; within 18 months, the foam face begins to crumble at the joint edges.
Proper expansion joint design uses polyurethane or silicone sealants rated for ±25% movement and relies on a closed-cell backer rod to control sealant depth. The backer rod prevents the sealant from bonding to the base of the joint—critical because if sealant bonds on three sides (top, left, right), the foam cannot expand without tearing the caulk.
Joint Spacing Rules That Contractors Ignore in 40% of Installations
Field experience shows that most EPS facade projects under-space joints by 50% to 100%. Installers follow generic molding supplier specs (often 12 to 16 inches) without accounting for thermal cycles at the specific building location or the length of continuous foam runs.
Here is the practical rule: on horizontal molding runs (cornices, string courses, belt courses), space joints every 4 to 6 feet maximum. On vertical runs (pilasters, quoins, column wraps), space every 5 to 8 feet. At every external corner (inside and outside), place a joint within 6 inches of the corner. At every transition from foam to substrate (wood, stone, metal), add a joint.
Why? Corners and transitions are stress concentration points. The foam wants to move, but the adjacent material does not. A joint at the stress point absorbs that differential movement and prevents the foam face from splitting. Joints placed 20 feet apart with no corner relief will fail—the foam in the middle will move 1/8 inch, the joint sealant will tear at year 1, and spalling starts at year 2.
The Sealant Specification That Stops Joint Failure in 24 Months
Not all polyurethane sealants are equal. Look for products with tensile strength between 20 and 50 psi and elongation at break rated for ±25% movement. Sikaflex 252 (approximately $12–$18 per 10 oz cartridge), Soudal Optimum (approximately $10–$14), and OSI QUAD (approximately $8–$12) are field-proven brands that meet these specs.
Avoid caulks marketed as “all-purpose” or “universal”—these are typically acrylic-based and fail under EPS thermal cycling. A $3 caulk will cost you $300 in joint repair or $3,000 in facade replacement within 3 years.
Installation sequence matters as much as sealant choice. First, install a 1/4-inch closed-cell backer rod (polyethylene or neoprene rope, approximately $0.15–$0.25 per linear foot) into the joint. Push it to 1/2 the joint depth—so a 1/4-inch joint gets a backer rod 1/8 inch deep. Second, apply sealant over the rod, filling the joint 1/2 inch deep and 1/4 inch wide. Overfill slightly, then tool smooth with a wet finger or caulking tool. Third, let it cure 48 hours before painting or topcoating.
Do not skip the backer rod. Joints without it allow sealant to bond three-sided (top, left, right), preventing movement. The sealant will tear or peel within months. Joints with backer rod allow one-sided adhesion (top only), and the sealant can flex freely as the foam expands and contracts.
Joint Edge Beveling and Surface Spalling Prevention
Many installers finish joint edges flush with the foam face—a straight 90-degree edge. This is the second-largest cause of spalling after poor sealant choice. When water penetrates the failed sealant, it wicks along the foam edge and breaks the thin exposed foam face into flakes.
Instead, bevel the joint edges 45 degrees using a hot-wire foam cutter or carbide V-groove bit. A 45-degree bevel creates a micro-lip on each side of the sealant—this lip grips the cured sealant and protects the foam edge from moisture infiltration. If water does breach the sealant, the beveled edge directs it away from the foam core.
Cost for beveling: approximately $0.50–$1.50 per linear foot when done during fabrication; $2.00–$4.00 per linear foot if done on site after install. Most foam molding suppliers include beveling in the quote if you specify it upfront. Many do not, and this is where invisible cost and hidden failure combine.
| Failure Type | Root Cause | Failure Timeline | Prevention Technique |
|---|---|---|---|
| Rigid Sealant Cracking | No expansion tolerance, sealant modulus mismatch | 12–18 months | Use polyurethane or silicone sealants (20–50 psi tensile strength min.) |
| Foam Splitting at Joint | Joint spacing too narrow for thermal movement | 8–24 months | Space joints 1/4 inch min.; increase at stress points to 3/8 inch |
| Water Ingress Behind Joint | Sealant failure + no backup rod | 3–6 months in rain | Install backer rod before caulk; use closed-cell rod material |
| Mold Growth in Joint | Moisture trapped by improper sealant depth | 6–12 months | Apply sealant 1/2 inch deep and 1/4 inch wide minimum |
| Joint Creep/Separation | Wrong sealant elasticity at temperature extremes | 18–36 months | Choose sealants rated for ±25% movement; test at site temps |
| Spalling at Edges | Joint cut flush with foam surface, no protection | 6–18 months | Bevel joint edges 45°; leave micro-lip for sealant grip |
Water and Sealant Failure: Why Joint Failure Compounds in 12–24 Months
Once a sealant joint fails, the damage accelerates on a predictable timeline. Months 1–3: water enters the gap and wicks behind the sealant. Months 3–6: water saturates the foam substrate beneath the molding. Months 6–12: mold colonizes the wet substrate and the foam interface degrades chemically. Months 12–24: the foam loses internal bond strength and begins to spall at the edge, then deeper. By month 24, a single failed joint has compromised 2 to 4 feet of facade molding.
This is why inspection matters. If you see hairline cracks in sealant at the 12-month mark, do not wait. Probe the joint with a small flathead screwdriver or paint scraper. If the sealant peels away or feels soft, it has already failed. Dig it out, clean the joint, reinstall backer rod, and reseal with a proper polyurethane product. This re-caulking costs $200–$500 and saves $5,000 in replacement.
Three Installation Details That Cut Joint Failure Risk by 80%
First: prime all foam edges and joint surfaces before sealant application. Use a foam-compatible primer or acrylic primer (not solvent-based, which melts EPS). Primer improves sealant adhesion and reduces peeling failures by 60%. Cost: approximately $15–$25 per gallon.
Second: apply a UV-stable topcoat over all joints and molding. Uncoated sealant degrades under UV and loses elasticity within 18 months. Acrylic or polyurethane facade topcoats (brands like Behr Premium, Sherwin-Williams ProClassic, or Benjamin Moore Satin Impervo) protect the sealant and extend joint life to 5–7 years. Cost: approximately $40–$80 per gallon for quality exterior paint.
Third: install drip edges or cant strips above every horizontal molding run. Water running down the facade will wash joints faster than rain alone. A 1/4-inch drip edge (aluminum or composite) above a cornice or string course diverts water away from the joint below. Cost: approximately $2–$6 per linear foot for material and labor.
Real Cost of Joint Failures and Budget Protection
A properly installed facade joint (with spacing, backer rod, high-modulus sealant, and topcoat) costs $3–$8 per linear foot installed. On a 2,000-square-foot facade with exterior foam moldings averaging 250 linear feet of joints, you will spend $750–$2,000 on joint materials and labor.
Joint failure and spalling repair costs $15–$40 per linear foot (tear out, re-excavate, re-prime, re-seal, topcoat, touch up). The same 250 linear feet of failed joints will cost $3,750–$10,000 to repair. If the failure is deep enough to reach the foam core or substrate, replacement costs $50–$120 per linear foot—$12,500–$30,000 for full molding replacement.
Specification example: A 30-foot cornice run with 6-inch joint spacing = 60 joints. At $4 per joint installed properly = $240. Same job with failed joints requiring repair = $1,800–$2,400. The difference is not negligible, and it happens because installers do not explain the WHY of proper joint design.
Checking Your Existing Facade for Joint Vulnerability
Walk the perimeter of your foam molding facade with a 2-foot straightedge and a magnifying glass. Look for: (1) sealant that is cracked, peeling, or missing; (2) joint spacing greater than 8 feet on horizontal runs; (3) joints without backer rod visible when you probe with a flathead screwdriver; (4) spalling or flaking foam at joint edges.
If you see foam spalling at a joint but the sealant looks intact, that means water is already behind the sealant and the foam is degrading chemically. This is an emergency repair—do not wait. If joint spacing is irregular or oversize (16+ feet), the foam is in expansion stress and will fail within 18–24 months if not resealed.
Record photos and dates. If you ever file a warranty claim against the original installer, documentation of joint failure on a specific date is evidence of improper installation. Most EPS molding warranties (5–10 years) cover joint failure if it is caused by installer error, but only if you report it within the warranty window.
Why Facade Inspectors Miss Joint Failures Until Year 2
Standard facade inspections focus on water intrusion, thermal bridging, and delamination—all real issues, but joints are rarely measured or stress-tested. An inspector might look at a facade, see that sealant is present, and mark it “acceptable.” But if the sealant has no backer rod, no topcoat, and no beveled edges, it will fail within 18 months regardless of how acceptable it looks today.
Demand joint inspection that includes: (1) visual documentation of spacing and alignment; (2) probing to verify backer rod presence; (3) adhesion testing (ASTM D6752) if failure is suspected; (4) photographic record with timestamps. This inspection costs $500–$1,500 depending on facade size, but it will catch joint failures before water damage compounds.
Design-Build Approach: Prevent Joint Failure Before Install
The best strategy is specification and oversight before installation. Include in your contract: (1) exact joint spacing requirements tied to facade location and thermal data for your region; (2) sealant brand, type, and movement rating (PolyUrethane, ±25% min.); (3) backer rod material and depth requirements; (4) topcoat specification and timeline; (5) inspection and approval protocol for joints before sealant application.
Ask the installer to show you a test section with joints before committing to full facade work. Install 20–30 linear feet of molding with joints in the specified manner, cure it, and inspect for adhesion, alignment, and edge quality. Cost for a test section: approximately $500–$1,200. If it passes, proceed. If it fails, you have caught the problem before 2,000 square feet of facade goes wrong.
Many installers will resist this because it requires discipline and increases labor. Overcome this by including performance penalties in your contract: if joints fail within 3 years due to improper spacing or sealant choice, the installer re-does the work at no cost. This aligns incentives and produces better results.
Thermal Movement Math: Why Your Climate Matters
EPS polystyrene has a linear thermal expansion coefficient of approximately 35–40 microstrains per degree Celsius. For a 20-foot (240-inch) run of foam, a 50°C temperature swing (from −10°C to +40°C, or −15°F to +105°F) produces expansion of approximately 0.17 inches. A 100°C swing (rare but possible in high-solar facades) produces 0.34 inches of movement.
Joint spacing should accommodate this directly. If your region experiences 80°C seasonal swing, space joints every 5 feet (60 inches of foam per joint). If you experience 120°C swing (hot climates or sun-exposed south/west facades), space every 3–4 feet. This is not aesthetic—this is structural necessity.
North-facing facades experience smaller temperature swings (60–80°C) and can tolerate 6–8 foot spacing. South and west-facing facades with high solar gain experience 100–120°C swings and need 3–5 foot spacing. East-facing facades are intermediate (80–100°C); 4–6 foot spacing is appropriate.
The Invisible Cost That Adds Up Across 10 Years
A properly designed and installed facade with correct joint spacing and sealant will require re-caulking every 7–10 years. Cost: approximately $1,500–$3,000 for 250 linear feet of joints (scrape, clean, prime, re-seal, topcoat). This is maintenance, not repair, and your facade remains functional.
A poorly designed facade with oversized joints and inadequate sealant will require repair every 2–3 years, starting with joint re-caulking ($2,000–$3,000), then escalating to spalled foam replacement ($5,000–$10,000) by year 5, and full molding replacement ($15,000–$40,000) by year 10. Over a decade, the cumulative cost of joint failure exceeds the entire original facade budget.
The choice is straightforward: spend $3,000–$5,000 upfront to get joints right, or spend $30,000–$50,000 over the next 10 years fixing them. Most contractors and homeowners choose the latter because joint design is not visible or understood. Now it is.
When you spec your next decorative window sills or molding packages, demand joint detail drawings. Ask the supplier to detail spacing, sealant type, backer rod, priming, and topcoat. If they cannot or will not provide it, find another supplier. Your facade depends on 1/4-inch gaps executed correctly, not on the appearance of the molding itself.