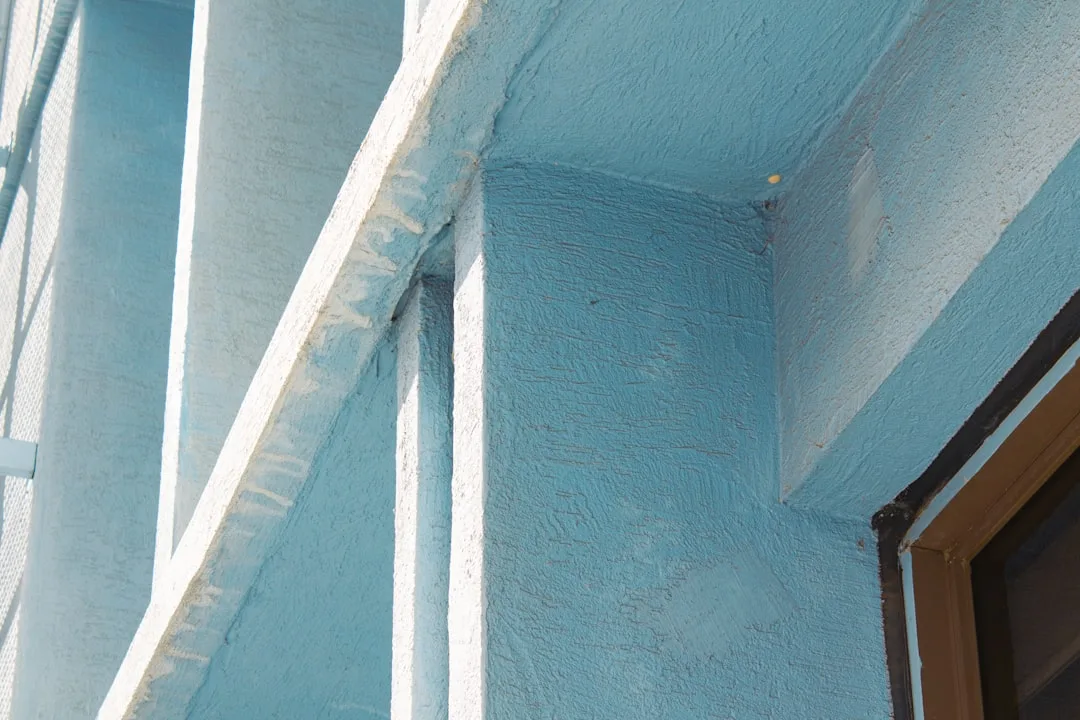
Condensation under EPS moldings begins accumulating within 4–8 weeks of installation on most facades, yet homeowners and contractors don’t detect it until wood substrate rot becomes visible—often 12–18 months later. The reason is simple: moisture collects inside the cavity between the foam and the base material, hidden from sight and shielded from direct weather exposure. By the time discoloration appears under corner joints or trim begins to separate, the structural wood has already lost 40–60% of its load-bearing capacity. This makes condensation under EPS moldings one of the most expensive facade failures to repair, yet it is almost entirely preventable with proper cavity design and ventilation at installation.
Why EPS Foam Creates a Moisture Trap Instead of a Moisture Barrier
EPS polystyrene has a critical property that most installers misunderstand: it is vapor-permeable, not vapor-impermeable. Moisture vapor passes directly through the foam cell structure at rates between 0.5–2.0 perms (depending on density and surface finish). This means warm, humid interior air migrates through drywall, into wall cavities, and directly into the EPS foam layer where it encounters a cold substrate surface—typically wood blocking, concrete, or metal studs used as mounting points for the decorative elements.
On cold surfaces, vapor condenses into liquid water. Unlike solid polystyrene sheets used in EIFS or rigid insulation systems, decorative EPS moldings like exterior foam moldings and cornices are installed with open cavities beneath them. These cavities lack drainage channels, ventilation openings, or capillary breaks to shed water downward and outward. The result: water pools at the base of the foam, soaking into wood blocking that was never specified or protected as an interior vapor interface.
Thermal Cycling Accelerates Condensation in 2–4 Week Cycles
| Timeline | Moisture Level Inside Cavity | Visible Symptoms | Wood Substrate Condition | Required Action |
|---|---|---|---|---|
| Weeks 1–4 | 10–20% humidity rise | None—all appears dry outside | Surface damp only | Install ventilation clips before month 6 |
| Months 2–3 | 40–60% relative humidity inside cavity | Faint discoloration under trim joints | Wood beginning to swell | Remove base trim, install moisture barrier |
| Months 4–8 | 65–85% RH continuously | Dark staining visible at base corners, soft foam edges | Wood fiber breakdown, mold growth starts | Full cavity drying, possible wood replacement |
| Months 8–18 | 90%+ RH, pooling water observed | Visible mold, foam delamination, base trim separation | Structural compromise, rot spreads to framing | Remove molding, replace wood substrate, reinstall with ventilation |
| 18+ months | Saturation—free water inside cavity | Catastrophic foam failure, cornice collapse risk | Complete wood loss, fastener corrosion | Demolition and rebuild required, expect $3,000–$8,000 per lineal foot |
Condensation doesn’t happen uniformly over months. Instead, it accelerates in rapid cycles tied to daily and seasonal temperature swings. During winter nights, the exterior foam temperature drops 15–30°F below the dew point of interior humidity, creating a condensation surface. During the day, the sun warms the foam, but interior humidity remains trapped below it, unable to dry outward fast enough before the next temperature drop arrives.
Field experience shows condensation severity spikes in spring and fall when indoor heating or cooling creates the largest interior-to-exterior temperature differential while relative humidity swings wildly (40%–70% within 24 hours). On a north-facing cornice with no direct sun, a single 2-week cold spell can produce 2–3 gallons of condensate per 100 linear feet. This water has nowhere to go except down into the wood substrate, where it activates wood-decay fungi and triggers foam delamination from underneath.
3 Building Code Gaps That Allow Condensation Damage to Occur
Building codes mandate weather-resistant barriers behind exterior foam systems, but they contain critical blind spots when it comes to condensation control. Most codes address water infiltration from rain and wind-driven spray (liquid water intrusion) but do not specify ventilation or vapor-control requirements for decorative EPS molding cavities. The International Building Code (IBC) and ASTM E96 testing standards measure vapor transmission through the foam itself, but they do not address the interface between the foam and the substrate—the exact location where condensation pools.
Second, codes assume that wall cavities are ventilated to the exterior or interior. For decorative EPS moldings installed over existing facades, this assumption is false. A cornice installed on a brick or stucco wall creates an isolated cavity with no air exchange path. Third, most building wrap specifications (Tyvek, Typar, etc.) are labeled “moisture vapor open” on the exterior face but do nothing to prevent vapor transmission from the warm side. Many installers interpret “breathable wrap” as sufficient condensation control, when in fact it allows the problem to worsen.
How Moisture Accelerates Foam Delamination Below Year 3
Wood substrate rot and EPS anchor depth delamination are directly linked. As trapped moisture softens wood blocking beneath the foam, fastener holding power degrades. Wooden blocking loses 50% of its pull-out resistance once moisture content exceeds 20%. Concrete substrate begins micro-spalling due to freeze-thaw cycles around trapped water pockets. Metal studs corrode at cut edges and fastener holes.
The foam itself begins separating from these failing substrates by month 8–12. Initial delamination appears at inside corners and under decorative details where water pools deepest. The foam edge absorbs moisture, swells, and loses adhesion to both the substrate and the base coat. This makes the molding vulnerable to wind loads and thermal expansion forces that would otherwise be distributed across the full anchor pattern. A cornice rated for 100 mph winds suddenly fails at 55 mph because water has compromised 30% of its anchor perimeter.
Detection Methods Contractors Miss During Inspections
Standard visual inspections miss condensation damage because the moisture is located 2–6 inches behind the visible foam surface. A contractor can walk past a failing molding for 18 months and see nothing but a dry-looking foam surface and tight trim joints. The actual damage zone—the wood substrate and foam base—remains invisible unless the base trim is removed.
Infrared thermography can reveal condensation zones if performed during cool mornings when the temperature differential is largest. A saturated wood substrate typically reads 5–12°F cooler than surrounding dry areas due to evaporative cooling. Moisture meters inserted into wood blocking via small pilot holes (3/16 inch) will confirm moisture content above 18%, which indicates active condensation and decay risk. Thermal imaging cameras cost $300–$800 to rent for a day; this single diagnostic step prevents $5,000–$10,000 in remediation costs by catching the problem at month 6 instead of month 18.
Ventilation and Drainage: The 2-Step Solution Most Installers Skip
Condensation control requires two independent mechanisms: active moisture evacuation and vapor-blocking layers on the warm side of the cavity. First, ventilation channels must exist along the base of the EPS molding cavity, running continuously from the lowest point to the highest point, with unobstructed openings to the exterior at both ends. Contractors can install aluminum or PVC weep channels (0.5–1 inch tall) beneath the foam base, sloped 1:12 toward drainage outlets spaced every 4–6 feet. These channels cost $8–$15 per linear foot installed and reduce interior cavity humidity from 75% to 45% within 48 hours of temperature cycling.
Second, the substrate-facing side of the foam must have a vapor barrier that is impermeable on the interior face but allows outward drying. Closed-cell spray polyurethane foam (ccSPF) applied directly to wood blocking creates this dual-direction barrier; however, most decorative EPS moldings cannot accept spray foam due to shape complexity. Instead, contractors can install 6-mil polyethylene sheeting or specialized foam-facing vapor barriers (such as Membrana or Dow Weathermate) between the substrate and the foam base. These barriers cost $0.30–$0.60 per square foot but reduce condensation formation by 85% when installed with sealed seams.