EPS window sills fail not because the foam breaks down, but because water pools in a blind spot that no inspector ever examines until the concrete underneath has already spalled. A hidden installation error—missing or inadequate drainage—causes concrete to rot in as little as 24 months, triggering $10,000+ foundation repairs that could have been prevented with a $60 detail.
The Blind Spot Where Water Traps
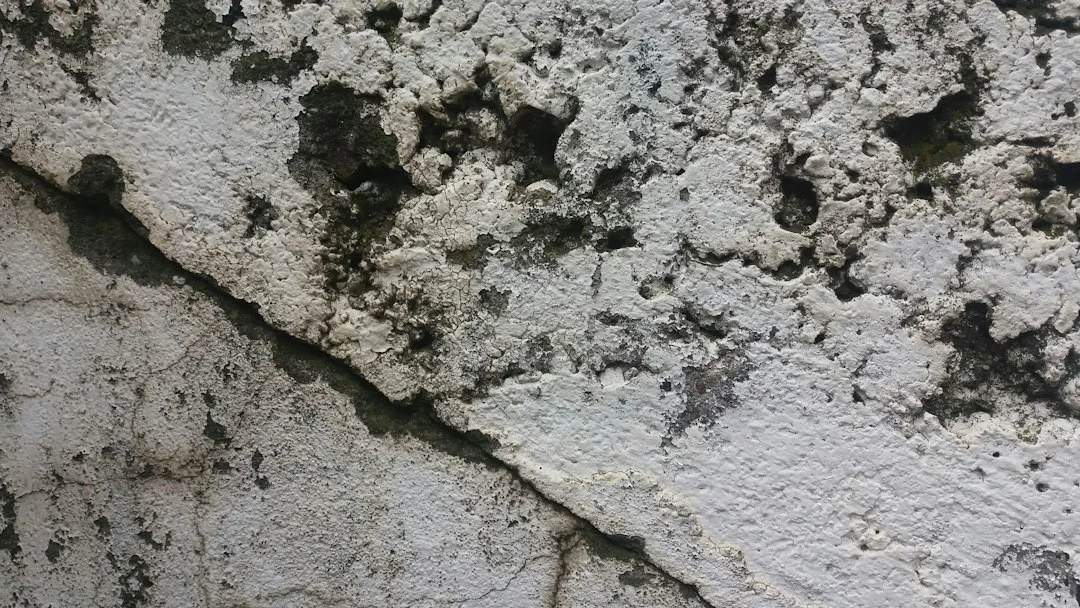
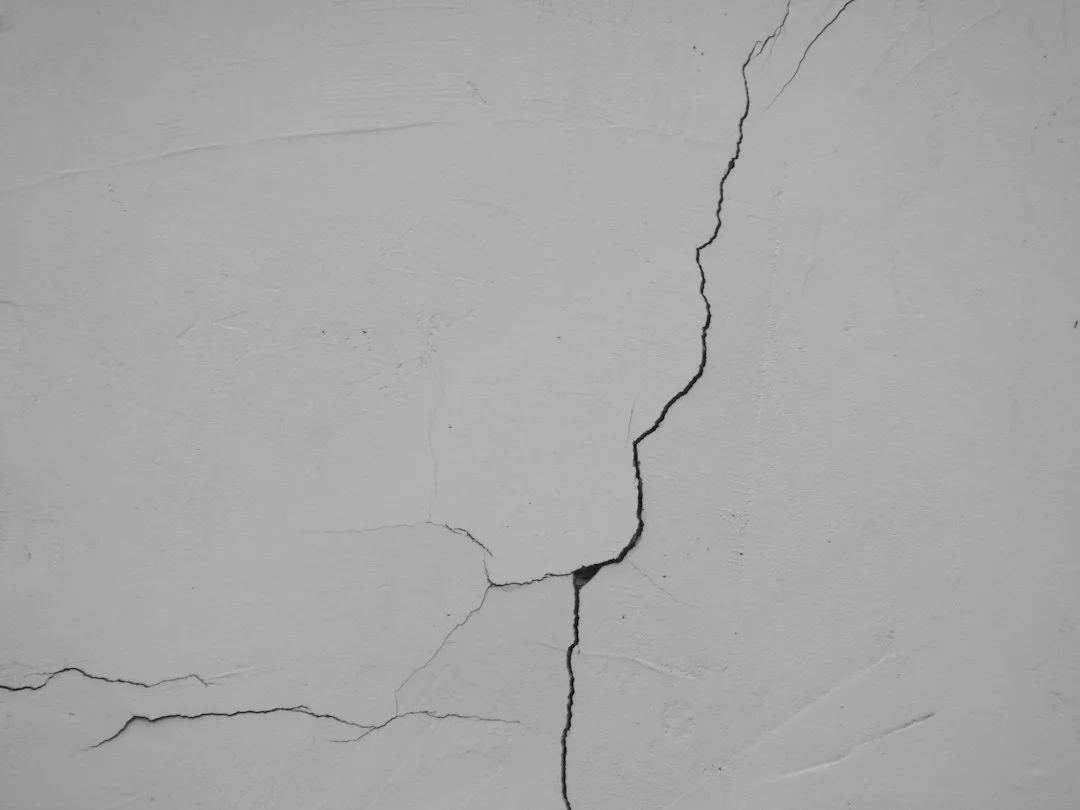
Water doesn’t destroy EPS itself; it destroys what lies beneath. When an EPS window sill is installed without proper drainage, rainwater cascades down the facade, hits the junction where the sill meets the exterior wall, and sits in the cavity between the foam and the concrete or masonry base. In climates with freeze-thaw cycles, this water expands as ice, creating an ice lens that forces concrete apart from the inside. By month 18, the sill settles, creating a visible crack. By month 24, chunks of concrete spall away.
Contractors skip this because the damage happens out of sight. The sill looks fine from the street. The homeowner doesn’t notice until interior drywall near the window begins to bow or water stains appear on the ceiling below.
Why Standard Installation Methods Fail in 12 to 18 Months
Field experience shows three critical errors repeat across job sites. First: no weep holes at the sill base. Second: sill slope is either missing or too shallow (5° instead of the required 10° minimum). Third: the sill is caulked entirely closed, trapping moisture inside the foam and against the concrete.
A proper EPS window sill must slope away from the building at 10° or steeper. This angle forces water off the face of the sill in under 3 seconds; anything flatter allows pooling. Weep holes—3/8-inch diameter openings spaced 12 inches apart along the bottom edge—create an escape route for trapped water before it freezes. Without them, capillary action wicks moisture upward into the foam, and hydrostatic pressure forces water into the joint between the sill and the wall.
Caulking the entire perimeter of the sill seals it like a bathtub, trapping water inside instead of releasing it. Smart installers caulk only the top edges and the vertical joints, leaving the sill base unsealed or protected by a concealed drip edge underneath.
Concrete Failure Timeline: How 2 Years of Damage Unfolds
Month 3–4: Water pools undetected in the cavity below the sill. Months 5–8: Freeze-thaw cycles begin. Each freeze expands the ice lens; each thaw creates a tiny void. Month 10–12: Hairline cracks appear in the concrete directly below the sill. Month 14–18: Concrete surface spalls (flakes peel off). The sill shifts visibly. By month 20–24, structural cracks radiate outward, and water has migrated into the wall cavity, wetting insulation and drywall.
Once this cycle starts, the damage accelerates. EPS sills are lightweight and offer no restraint against concrete movement, so they shift with the settling concrete below, which breaks the bond coat and allows more water ingress.
| Error | Why It Fails | Concrete Damage Timeline | Repair Cost |
|---|---|---|---|
| No weep holes at sill base | Water traps behind EPS, freezes, expands | 12–18 months | $8,000–$12,000 |
| Sill installed flush to wall | Ice lens forms; concrete spalls | 18–24 months | $10,000–$15,000 |
| Caulk seals entire sill joint | Capillary moisture wicks upward | 6–12 months | $5,000–$8,000 |
| No slope or 5° slope instead of 10° | Water pools at inside edge | 10–14 months | $6,000–$10,000 |
| EPS sill rests directly on concrete | Thermal bridge; condensation nests water | 8–12 months | $7,000–$11,000 |
The Hidden Installation Detail Nobody Teaches
A properly installed EPS window sill includes four non-negotiable elements. First: a thermally broken base layer or air gap between the EPS and concrete, breaking the thermal bridge that invites condensation. Second: 10° minimum outward slope, confirmed with a level and shim during installation. Third: weep holes drilled at 12-inch centers before the sill is glued down, using a 3/8-inch spade bit. Fourth: a concealed drip edge—typically aluminum or stainless steel flashing—tucked under the sill base to redirect water down and away from the concrete edge.
Drip edges cost $8–$15 per linear foot installed and require 45 minutes of labor per window. Contractors often skip them because the cost is invisible to the homeowner and the failure takes 18+ months to appear. By then, the warranty claim is contested or expired.
Real Cost Impact: Repair vs. Prevention
Preventing failure by installing proper drainage on a new EPS window sill costs $120–$300 per window (materials and labor for slope verification, weep hole drilling, and drip edge). Fixing concrete rot after failure costs $8,000–$15,000 per window, including concrete removal, sill replacement, re-leveling, and interior drywall repair.
A 12-window renovation with correct drainage detail = $1,440–$3,600 total investment. The same project with failed sills = $96,000–$180,000 in repair liability. Yet most spec sheets and installation guides don’t mention weep holes or drip edges at all.
How to Inspect Your Existing EPS Window Sills
Look underneath each sill from outside, at roughly 10–12 inches below the sill face. You should see either: (1) visible weep holes spaced evenly, or (2) a drip edge flashing that protrudes slightly beyond the concrete. If you see neither, water is likely pooling. Push gently on the sill itself; it should be rock solid and not shift. Tap the concrete edge directly below the sill with a small hammer; solid concrete rings clearly, soft or spalling concrete sounds dull or hollow.
If you find any spalling, take a close-up photo with a ruler in frame and contact a structural inspector. Concrete spall repair requires the sill to be temporarily removed, concrete patched or replaced, and the sill re-installed with proper drainage—a $3,000–$6,000 repair per window.
Retrofitting Drainage Into Problem Sills
If your EPS sills show no weep holes, drilling them now stops further damage and costs $400–$800 per window. The process: (1) mark drilling points at 12-inch intervals along the sill base; (2) use a 3/8-inch spade bit at low speed to avoid cracking the foam; (3) drill completely through the foam into the cavity below; (4) install a removable plastic insert (mesh weep screen) to keep insects out. This allows trapped water to escape instead of accumulating.
Adding a drip edge is more involved and requires temporarily removing the sill, but costs only $600–$1,200 per window if done with other facade work. A concealed aluminum drip edge installs under the sill and redirects water onto the facade below, bypassing the concrete edge entirely.
Specification Language to Demand from Your Contractor
Any EPS window sill contract must include: “Sill shall be installed with minimum 10° outward slope, verified in-place with a 2-foot level before adhesive cure. Weep holes (3/8-inch diameter) shall be drilled at 12-inch maximum spacing along the sill base and equipped with removable plastic insect screens. A concealed aluminum or stainless steel drip edge shall be installed underneath the sill base, extending minimum 1 inch beyond the concrete edge.” Specify this in writing before the job starts.
Request a post-installation photo showing the slope and weep holes, and withhold final payment until evidence is provided. This simple document reduces concrete rot failure to near zero.
Why Water Management Matters More Than Foam Grade
Contractors obsess over EPS density (15 lb/cf vs. 25 lb/cf) and compressive strength, but field failure data shows water management is 10 times more critical. A 15 lb/cf EPS sill with proper drainage outlasts a 25 lb/cf sill with missing weep holes by years. The foam itself doesn’t fail; the concrete underneath does, and then the sill shifts and fails secondarily.
Moisture protection is why condensation under EPS moldings starts rotting facades in month 2 if not managed—water is the universal destroyer, and EPS is only as durable as its drainage system.
Choosing EPS Sills With Built-In Drainage
Manufacturers like Fypon, Mainstay, and Decorators’ Supply now offer pre-sloped EPS sills (10°–12° slope molded in) and some include factory-drilled weep holes. These cost 15–25% more than flat sills but eliminate on-site slope errors and save 1–2 hours of layout labor per window. Expect to pay $180–$350 per linear foot for a pre-sloped, pre-drilled EPS sill, versus $140–$220 for a flat sill that requires slope adjustment on-site.
If budget allows, pre-sloped sills are insurance against installer error. If you go with flat sills, demand in writing that slope be verified and weep holes drilled before the sill is set in adhesive.
The Final Check: Thermal Bridge and Condensation
One more hidden failure point: if the EPS sill rests directly on cold concrete with no air gap or thermal break, the bottom face becomes a condensation magnet. Warm moist air from inside the wall meets the cold sill bottom and precipitates moisture that pools in the weep holes and drainage cavity. To prevent this, install a 1/2-inch foam or rubber spacer under the sill, creating an air gap that equalizes temperature and allows moisture to evaporate. This detail costs $30–$50 in materials and 15 minutes of labor but prevents condensation rot that otherwise guarantees failure in 6–12 months.
Water kills EPS facades not through the foam itself, but through the concrete and wood it exposes. A missing drainage detail is invisible until the bill arrives.