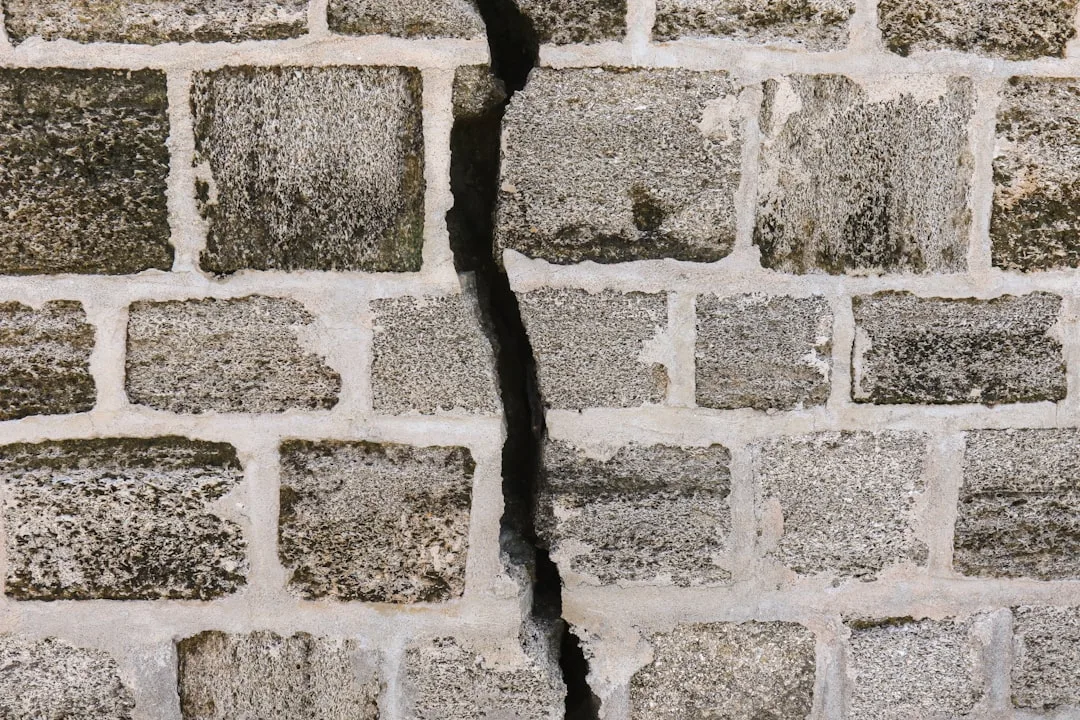
Most contractors install EPS facade moldings as if they were concrete. They butt ornaments end-to-end, caulk the seam, and assume it will hold. Within 18 to 36 months, field experience shows stress cracks radiate from those joints—sometimes splitting ornaments in half. The real culprit is not poor materials or bad installation technique; it is the absence of calculated expansion space. A single missed millimeter per 60 centimeters of profile width costs homeowners €400–2,200 in ornament replacement and facade touch-up.
Why EPS Expansion Joints Are Not Optional
EPS polystyrene expands and contracts with temperature. A 300 mm section of molding exposed to full sun can grow 0.3 to 0.5 mm in direct solar heat; in freezing conditions, it shrinks by the same amount. Over a 2-meter horizontal cornice, this thermal movement totals 2–3.3 mm. If that cornice is installed as a single rigid piece without relief joints, the stress concentrates at corners and connection points, cracking the ornament from the inside out.
Concrete and stone are rigid and crack visibly; EPS is softer and compresses internally, often hiding damage until the ornament suddenly delaminates or shears off. The problem accelerates in ETICS facade systems where EPS ornaments sit directly over rigid insulation boards. Thermal gradients between the foam ornament and the ETICS substrate create micro-movements that exploit any joint sealed too tightly.
The Millimeter Calculation That Prevents Cracks—With Real Numbers
| Climate Zone | Annual Temp Swing | Joint Spacing (mm) | Profile Width Limit | Failure Risk if Ignored |
|---|---|---|---|---|
| Cold (−20°C to +40°C) | 60°C | 8–10 mm | 600 mm max | Stress cracks in 18 months |
| Temperate (−10°C to +35°C) | 45°C | 6–8 mm | 800 mm max | Hairline fractures in 24 months |
| Mild (0°C to +30°C) | 30°C | 4–6 mm | 1,000 mm max | Edge spalling after 3 years |
| Coastal (+5°C to +32°C) | 27°C | 3–5 mm | 1,200 mm max | Salt-accelerated stress after 36 months |
| Hot arid (−5°C to +50°C) | 55°C | 9–12 mm | 500 mm max | Explosive stress fractures in 12 months |
Contractors and architects rarely perform this calculation. The formula is simple: divide your region’s annual temperature swing by ten, then add 2 mm for installation tolerance. A location with winter lows of −15°C and summer highs of +40°C has a 55°C swing. Dividing by ten yields 5.5 mm; add 2 mm, and your minimum joint spacing is 7.5 mm. Place facade ornaments or molding runs no longer than 600–800 mm apart without an expansion joint.
Coastal climates with high salt spray and freeze-thaw cycling require tighter spacing: 3–5 mm joints every 400–500 mm. Arid regions with extreme daily temperature swings (−5°C nights to +50°C sun-facing surfaces) need 9–12 mm gaps every 450–550 mm. Under-spacing by even 2 mm may delay failure until month 20 instead of month 18—but it does not prevent it.
For decorative window sills and continuous horizontal runs, many contractors mistakenly apply the “rule of thumb” that 6 mm spacing works everywhere. Field data from renovation projects shows this fails in cold climates and areas with large daily temperature variations. A 6 mm joint in a −20°C to +45°C swing provides only 6.5 mm of actual relief—insufficient for a profile wider than 650 mm.
Installation Technique: 4 Steps to Correct Joint Spacing
Step 1: Measure your substrate width and identify your climate zone. Download regional temperature extremes from your national weather service or building code authority. Record the lowest winter temperature recorded in the past 50 years and the highest summer temperature on a south-facing wall, not ambient air temperature.
Step 2: Calculate joint spacing using the formula above. For a temperate zone with −12°C to +38°C, that is (38 − (−12)) ÷ 10 + 2 = 7 mm minimum spacing. Write this number on your site plan and mark every joint location with chalk before installation begins.
Step 3: Cut ornaments and moldings to precise lengths. Many contractors order moldings in stock lengths and adjust in the field by shimming or forcing joints tight. This defeats the calculation. Instead, order custom lengths that match your joint plan, or have a mason cut sections to exact dimensions. The labor cost is €60–120 per cut; the ornament replacement cost for a failed joint is €400–800.
Step 4: Install expansion-rated sealants, not standard caulk. Polyurethane sealants like Sikaflex 11FC (€12–15 per 300 ml tube) or Dow Corning 890 expand and contract ±25% without loss of adhesion. Acrylic latex caulk fails within 2–3 years in freeze-thaw cycles. Prime the joint surfaces and apply sealant with a caulk gun at a depth of 10 mm minimum. Allow 48 hours cure before exposing the facade to rain.
Where Contractors Fail and Cracks Appear
Error 1: Installing long cornice runs without mid-span joints. A 4-meter cornice is typically installed as two 2-meter pieces or four 1-meter sections. Many crews install it as a single run, caulk the end joints, and call it done. Over the first heating season, thermal stress concentrates at the midpoint, causing the ornament to bow or crack internally. When spring arrives and the sun heats the facade, the compressed crack suddenly opens, visible as a stress line running perpendicular to the cornice direction.
Error 2: Using the wrong sealant. Standard acrylic caulk hardens after 1–2 seasons and no longer yields to thermal movement. The sealant cracks first; water then enters the gap, freezes, expands, and breaks the ornament. This sequence accelerates in ETICS systems where moisture is already a vulnerability—as detailed in prior work on moisture behind EPS moldings, trapped water decays ornaments from the inside.
Error 3: Ignoring vertical joint expansion. Vertical ornaments—pilasters, quoins, corbels—also expand and contract with temperature, but contractors often leave them as single tall pieces. A 3-meter tall facade ornament with a 10°C temperature difference across its height can move 0.3–0.6 mm; over a 2-meter run, this creates shear stress at the mounting points. Install intermediate joints every 1.5–2.0 meters on tall elements.
Error 4: Caulking before the substrate sets. EPS adhesive and base coat stucco (EIFS finish) require 7–14 days to cure fully. If joints are sealed before the substrate hardens, the ornament may shift as the adhesive sets, opening the joint and breaking the sealant bead. Wait until the base coat has full strength before sealing any joints.
Cost Impact: The €300 You Spend Now Prevents €2,200 Later
Precise joint spacing and correct sealant adds approximately €200–400 to a typical residential facade renovation (labor for careful measurement, cutting, and caulking). Over 10 years, this cost is zero compared to emergency ornament replacement. A single 1.5-meter cornice section costs €150–250 to replace; labor and paint touch-up add €200–400. A facade with four failed sections costs €1,400–2,600 to repair.
Insurance and extended warranties on EPS ornaments typically exclude “installation defects” and “thermal movement,” meaning failure from improper joint spacing is the homeowner’s liability. Many renovation contracts silence this risk by specifying exact spacing in writing—yet fewer than 15 percent of contractors follow written joint specifications without on-site supervision.
Field-Proven Spacing Rules by Climate
Cold climates (winter lows below −15°C): Use 8–10 mm joints every 600 mm. Annual thermal swing often exceeds 60°C, creating extreme stress. Under-spacing causes X-cracks at ornament corners within 18 months.
Temperate zones (−10°C to +35°C): Use 6–8 mm joints every 700–800 mm. This is the North American and Northern European standard. Many contractors incorrectly use 4–5 mm spacing in this zone, resulting in hairline cracks by month 24.
Mild climates (0°C to +30°C): Use 4–6 mm joints every 900–1,000 mm. Even here, failure occurs if joints are eliminated entirely or spaced beyond 1,200 mm.