Your EPS moldings arrive on site crisp and straight, but within 48 hours they’re visibly thicker at the edges—a phenomenon contractors attribute to settling that actually signals embedded moisture absorption. This swelling isn’t cosmetic; it opens pathways for water infiltration that rots the substrate behind ornaments, cornices, and window sills for years. The expansion window is real and narrow, and closing it requires sealing before day two.
How Moisture Gets Trapped Inside EPS During Installation
EPS polystyrene is semi-permeable—its closed-cell structure resists liquid water but passes water vapor readily. When you apply adhesive mortar to install exterior foam moldings, the wet bedding compound releases water vapor continuously as it hydrates and cures. This vapor migrates into the foam’s micro-pores, particularly at the base contact zone where capillary suction pulls moisture upward.
Field experience shows that lightweight EPS (15–20 kg/m³) absorbs 3–5% of its volume in water within the first 72 hours of installation. Denser foam (25–32 kg/m³) absorbs less, but the problem persists. The adhesive itself contributes: a standard 10 mm thick mortar bed contains roughly 20–25 liters of water per 100 linear meters of molding installed, and nearly half of that migrates into the foam during the first week of curing.
Why Swelling Creates Water Infiltration Within 36–48 Hours
| EPS Density (kg/m³) | Water Absorption (% by volume) | Swelling Peak (days) | Expansion Pressure (kPa) | Recommended Seal Window |
|---|---|---|---|---|
| 15–20 (lightweight) | 3–5% | 2–4 | 0.8–1.2 | Before 48 hours |
| 20–25 (standard) | 2–3% | 3–6 | 0.5–0.8 | Before 36 hours |
| 25–32 (dense) | 1.5–2% | 4–7 | 0.3–0.5 | Before 60 hours |
| Extruded rigid (XPS) | 0.3–0.5% | 7–10 | 0.1–0.2 | Before 72 hours |
As water fills the foam’s cellular structure, two mechanical stresses build simultaneously. First, the material expands perpendicular to the facade surface—outward growth of 2–4 mm is not uncommon for heavily water-loaded ornaments. Second, differential swelling occurs: the outer edges (exposed to air and moisture) swell faster than the core, creating internal shear stress that pulls the molding away from the substrate at corners and joints.
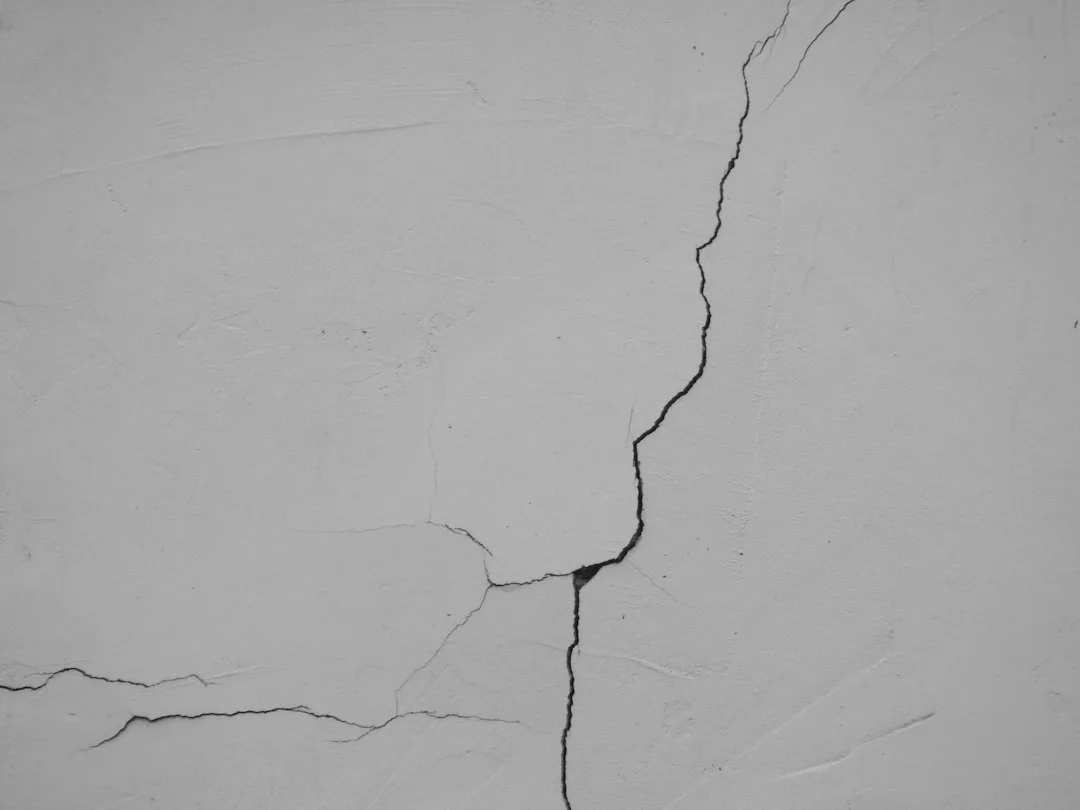
This separation opens hairline cracks—typically 0.3–0.8 mm wide—that appear invisible to the naked eye but function as capillary tubes. Once rain or mist enters these gaps, gravity and surface tension pull water down between the foam and substrate, where it accumulates in the insulation layer behind the molding. Unlike external cracks that dry in sunlight, these hidden pathways stay wet for weeks because no air circulation reaches them.
The timing is critical: swelling peaks between day 2 and day 6 depending on ambient humidity, temperature, and foam density. By day 7, the foam has absorbed most of the water it will absorb, but the damage—the gaps—is already present and permanent unless sealed before expansion occurs.
The 48-Hour Sealing Protocol Contractors Skip
Preventing water infiltration requires a sealing application before swelling reaches its peak. Most contractors wait 5–7 days for adhesive to cure fully before applying topcoat finishes, unaware that the critical window closes by day 2. This delay is the mistake that costs thousands in facade repairs later.
The procedure is straightforward but non-negotiable: within 24–36 hours of molding installation, apply a breathable sealant to all joints, edges, and fastener penetrations. For decorative window sills and cornices, this means caulking the junction between foam and substrate, the perimeter of the molding, all dowel holes, and any auxiliary joints where foam pieces meet.
Use low-modulus polyurethane or 100% silicone caulks rated for foam substrates—these sealants cure slowly enough to accommodate ongoing swelling without cracking. Sikaflex 11FC and Dow Corning 795 are field-proven choices; both cure to a rubber-like consistency that stretches as the foam moves. Typical cost runs $12–18 per linear meter for material and labor, versus $400–800 per linear meter to remove, remediate, and re-install water-damaged moldings.
Application Steps for Immediate Sealing
Timing matters more than technique, but both matter. Install the molding and allow adhesive to achieve initial set (6–8 hours for standard cement mortars). Inspect the entire installation: look for any visible gaps at corners, joints between foam pieces, or separations where the molding edges lift from the substrate. These indicate that swelling has begun.
Clean all joints with a dry brush—do not wet them. Mix sealant according to manufacturer guidance and apply with a caulking gun into all perimeter joints and dowel holes with a steady, continuous bead. Use a wet gloved finger or caulk smoother to tool the bead into a concave profile, ensuring full contact with both the foam and substrate.
Pay specific attention to horizontal joints and ledges on cornices, where water naturally pools. A bead undersized by even 2 mm is insufficient; the joint must be completely filled to prevent capillary entry. Allow the sealant to cure fully (typically 5–7 days for polyurethane) before exposure to water or high humidity.
Why Standard Curing Times Leave You Exposed
Conventional specifications call for 5–7 days of dry curing before topcoat finishes are applied to EPS moldings. This timeline assumes that delaying water exposure is enough to prevent infiltration. In practice, swelling has already created the pathways by day 5, regardless of whether finish coats are present. The finish hides the problem; it does not prevent it.
Adhesive curing and moisture absorption are independent processes. A mortar bed may feel hard after 48 hours but still contain 60–70% of its original water content. That water continues migrating into the foam throughout week one and into week two, driving expansion even as the adhesive hardens. Sealing before day 2 is the only intervention that closes the gap before the foam expands.
Substrate Preparation and Adhesive Selection Matter Too
Swelling severity depends on substrate moisture and adhesive composition. If the base wall (masonry, concrete, or rigid insulation) is damp or freshly finished, the foam will absorb even more water during installation. Contractors should specify pre-cure times for substrates in humid or cool climates—allow 3–7 days after wall application and finish before molding installation begins.
Adhesive selection also influences the problem. Thin-set mortars (8–10 mm) trap less water than thick-bed adhesives (12–15 mm), but they must provide adequate suction control to prevent voids. A well-designed mortar for EPS installation balances water retention (to keep the foam from over-absorbing) with adhesion. Polytex, Marmox, and Kreisel produce foam-specific adhesives formulated for lower water release, though all require immediate sealing to guarantee infiltration prevention.
Cost-Benefit: Sealing Now Versus Repairs Later
A 48-hour sealing protocol on a 100 linear meter facade—say a cornice run, window trim, and ornamental band—costs roughly $1,200–1,800 in materials and labor. Sealant material runs $15–25 per linear meter; application labor, $8–12 per meter. Total job time is 6–10 hours for a skilled operator.
Water infiltration repairs to the same molding run typically cost $4,000–8,000 five years later: molding removal, substrate remediation, mold treatment, insulation drying or replacement, and reinstallation. If the damage reaches the thermal insulation layer or structural framing, costs exceed $15,000. The sealing window is not just a technical best practice—it’s an economic necessity.
Monitoring and Warranty Implications
After sealing, document the installation with photos dated at 24, 48, and 72 hours. Look for any additional gaps that may have opened despite sealing; if visible separation continues, the foam may be over-saturated, indicating a substrate moisture problem. Reapply sealant as needed after the first application has cured and additional swelling has occurred.
Most EPS molding manufacturers void warranties if water infiltration is discovered and traced to installation errors or lack of proper drainage design. However, if you can demonstrate that sealing was applied within 48 hours per protocol, liability shifts to the adhesive or substrate provider. This documentation is critical for dispute resolution.
Related issues like EPS moldings becoming water traps from condensation behind ornaments compound the problem if swelling gaps go unsealed. The expansion pathways you leave open now become permanent conduits for wind-driven rain and capillary moisture later, accelerating the condensation cycle that rots facades in 24 months or less.
Real-World Installation Checklist
Install molding using proper adhesive thickness (8–12 mm for standard foam, 10–14 mm for dense foam). Use mechanical fasteners (stainless steel dowels) at 30 cm spacing for horizontal moldings; these provide backup support as swelling occurs. Within 24–36 hours, inspect all joints for gaps and apply low-modulus sealant to the full perimeter, undersides, and penetrations. Allow sealant to cure fully before rain exposure. Schedule final topcoat finishes for day 7 or later, after both adhesive and sealant have cured.
For large or exposed installations, consider applying a breathable barrier coat (thin elastomeric membrane, 0.5–1 mm thick) over the molding surface 24 hours post-installation. This acts as a secondary seal while allowing trapped moisture to escape, reducing swelling pressure and protecting the foam from direct water exposure during the critical first week. Cost is $8–15 per square meter—expensive but justified for premium facades or harsh weather zones.