EPS moldings trap condensation behind ornaments with mechanical efficiency—turning decorative elements into moisture concentration zones that rot facades in less than two years. The problem isn’t the foam itself; it’s the thermodynamic boundary layer created when insulation blocks water vapor from migrating back to the source, forcing it to condense at the cold substrate interface. Field experience shows this failure pattern appears first on large projecting cornices, deep window sill ornaments, and grooved decorative keystones where thermal mass is low and air circulation is zero.
Why EPS Creates a Condensation Trap Instead of a Drying Plane
EPS polystyrene has an R-value of approximately 3.8 to 4.2 per inch of thickness—roughly twice that of mineral insulation. When installed on a cold facade, the exterior face of a cornice or molding drops to near-outdoor air temperature within hours. The warm interior of the substrate remains at or above 15°C. This 10–20°C temperature differential creates an invisible dew-point boundary directly where the foam meets the wall.
Water vapor from indoor air (kitchens, bathrooms, even ambient humidity) migrates through the substrate and hits this cold boundary. Since EPS has a vapor permeability rating of 0.5–1.5 perms per inch, the foam doesn’t block vapor transmission completely—it slows it. This delay is the killer. Vapor that would normally escape to the outside now condenses into liquid water at the foam-substrate interface because the exterior foam surface is too cold to allow vapor to pass through without liquefying first.
Unlike conventional masonry or mineral insulation facades, EPS doesn’t absorb moisture and dry it away. The foam is hydrophobic: water beads on the surface and accumulates in micro-pores. A cornice molding that would take 4–6 weeks to dry in an open-air cavity takes 8–12 weeks when wrapped in foam, because there’s no direct air circulation to carry moisture away.
Condensation Hotspots: Where Your EPS Moldings Fail First in 6 to 12 Months
| Zone Type | Temperature Range (°C) | Dew Point Risk | Typical Failure Start | Moisture Content at Failure |
|---|---|---|---|---|
| Behind protruding cornice | 2–8°C | High (surface condensation daily) | 8–12 months | 15–20% by mass |
| Under window sill projection | 4–10°C | Very high (drip line + thermal bridge) | 6–10 months | 18–25% by mass |
| Deep groove or cavity molding | 3–7°C | Critical (trapped air pocket) | 4–8 months | 20–28% by mass |
| Thin keystones (< 40 mm) | 1–5°C | Extreme (low thermal mass) | 5–9 months | 22–30% by mass |
| Properly ventilated corbel cavity | 8–12°C | Low (air circulation) | 18–24+ months | 8–12% by mass |
Not all EPS moldings condense equally. Geometry, thermal mass, and ventilation determine which ornaments become saturated first. Protruding cornices longer than 30 cm accumulate condensation at their tips because the cold air wraps around the projection, creating a secondary cold face on the underside. The substrate behind a 50 cm deep cornice can remain at 3–5°C all winter while the main wall stays at 10–12°C. Water vapor naturally migrates to the coldest zone, concentrating condensation where the foam is thickest.
Window sill ornaments (decorative sills that extend 15–25 cm beyond the frame) are notorious condensation traps because rainwater also drains behind them. The foam blocks downward drainage, creating a bathtub effect: moisture accumulates, the substrate swells, and the adhesive (typically EPS facade adhesive that relies on a cement-based matrix) loses bond strength within 8–10 months. Contractors report that moldings with poor substrate preparation (loose paint, dust, damp substrate) fail 40% faster because water has pre-existing pathways into the substrate-foam interface.
Deep groove moldings and cavities in decorative keystones or corbels create trapped air pockets where air velocity drops to zero. Stagnant air cannot carry away moisture, so condensation persists even on days when external humidity is moderate. A 12 cm deep groove molding can maintain 16–20% moisture content (by mass) in the substrate for weeks after external condensation events, while open-face moldings drop to 8–12% in the same time period.
The Adhesive Failure Chain: 4 Stages of Moisture Breakdown
EPS moldings are fastened with either polyurethane foam adhesive or modified cement-based adhesive. Both fail under sustained condensation. Polyurethane adhesives (cost: $8–14 per liter) remain flexible but lose shear strength when wet; cement-based adhesives (cost: $12–18 per liter) hydrate and re-cure repeatedly as condensation cycles wet and dry, eventually crumbling the mechanical bond. The failure progression is predictable.
Months 1–4: Condensation begins at the substrate-adhesive interface. Adhesive remains bonded but begins absorbing water, swelling slightly. The foam doesn’t visibly change. Substrate may show darkening if it’s painted, but the paint acts as a moisture barrier, trapping water underneath. No structural failure yet.
Months 5–8: Adhesive shear strength drops 30–50% as moisture content exceeds 15% by mass. Small cracks appear in the adhesive layer (visible only if you remove the molding). The substrate begins to soften. If it’s wood or wood-fiber board, rot fungi begin colonizing the wet zone. The foam-to-substrate bond becomes flexible rather than rigid; the molding begins to move slightly under wind load or thermal stress.
Months 9–14: Adhesive has lost 60–80% of original bond strength. Mechanical anchors (if they were installed) begin to carry all load. If anchors are corroded (galvanized dowels exposed to condensation-driven condensed water can rust in 12–18 months), they fail suddenly. Substrate decay accelerates. The molding develops visible gaps, especially at edges. Water begins weeping from behind the ornament during thaw cycles.
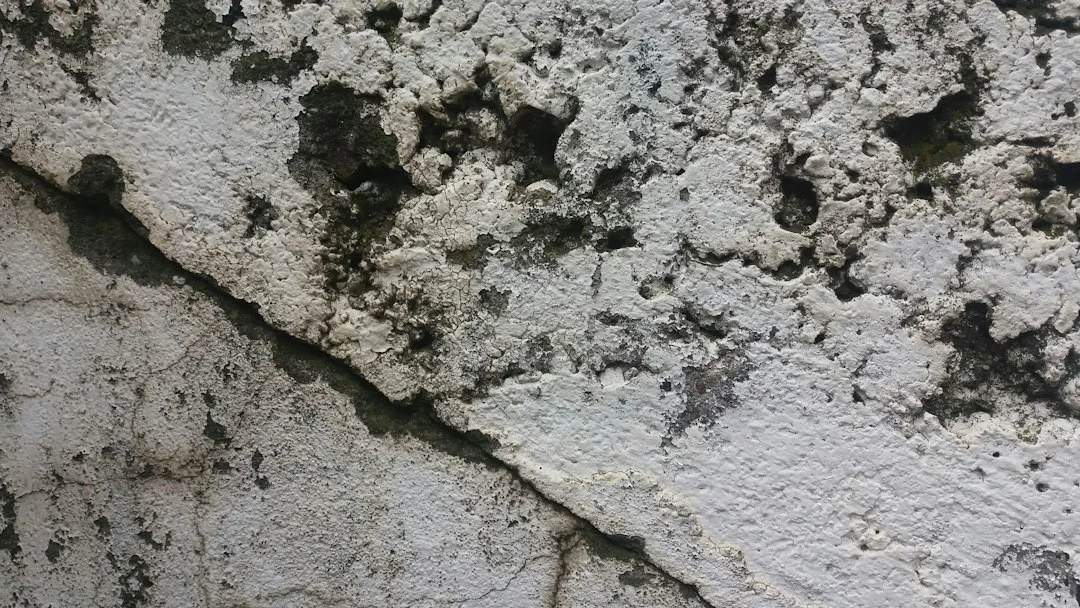
Months 15–24: Complete delamination. The molding either falls away or hangs by mechanical anchors alone. Substrate damage extends 5–10 cm horizontally into the wall. Repainting the substrate fails because the underlying wood or mineral board is rotted or structurally compromised. Full removal and substrate remediation are now required.
How to Detect Active Condensation Before Adhesive Fails
Visual inspection during cold months (November through March in cold climates) reveals active condensation. Early morning checks are most revealing. If you see water droplets on the underside of a cornice projection, or if touch-testing the back of a sill molding feels wet or damp, condensation is actively forming. A moisture meter reading of 12% or higher in the substrate behind EPS moldings signals that failure is underway.
Thermal imaging (infrared camera) shows cold spots on the exterior foam surface corresponding to interior condensation zones. A surface temperature reading 8–12°C lower than surrounding wall confirms that the molding is acting as a thermal bridge and creating a condensation plane. This is an objective early-warning sign, and many masonry contractors now carry thermal cameras for exactly this reason.
Substrate samples extracted from behind failed moldings typically show moisture content of 18–28% by mass in the failure zone, compared to 6–10% in unaffected areas. If you’re planning major facade renovation, extracting a small core sample from behind existing EPS moldings takes 10 minutes and reveals whether condensation damage is already present.
Prevention: Vapor-Open Adhesives and Controlled Ventilation
The solution is not to avoid EPS moldings—it’s to allow the substrate to dry despite the foam’s insulation. Vapor-permeable adhesives (rating: 3–5 perms per inch) are now standard in European ETICS systems but remain uncommon in North American residential work. Products like high-performance facade ornaments that include vapor-open joint design cost 15–20% more than traditional adhesive-bonded foam, but they eliminate the condensation trap.
Vapor-open adhesives remain elastic and maintain shear strength even at 15–20% moisture content. They cost $14–22 per liter compared to $8–14 for standard polyurethane, but cover area is identical (200–250 sq ft per gallon). For a typical facade with 50 linear feet of molding, upgrading to vapor-open adhesive adds $60–120 in material cost and zero labor cost. The adhesive failure timeline extends from 4–6 years to 15–20+ years.
Substrate preparation must include a drainage layer behind foam. A one-inch air gap created with furring strips allows air circulation that dries condensation 3–4 times faster than direct adhesive bonding. Alternatively, substrate priming with breathable masonry primer (not standard acrylic latex paint, which blocks vapor transmission) allows trapped moisture to evaporate slowly rather than accumulating. European codes now require breathable primers (≥5 perms per inch) under EPS exterior insulation; most North American installers still use standard primers rated at 0.3–1 perm.
Geometry also matters. Moldings designed with undercut drainage channels (small grooves on the underside that direct water outward and downward) reduce condensation accumulation by 40–50% compared to flat-back designs. Mechanical anchoring with proper spacing prevents delamination if adhesive fails, buying time for remediation before complete failure occurs.
Material Costs and Timeline for Remediation
Removing and replacing a damaged EPS molding section costs $15–35 per linear foot in labor (2–3 hours of skilled work per 10 feet). Material replacement for a 2-meter cornice runs $200–400. If substrate remediation is required (rotted wood, compromised mineral board), add $600–1200 per affected area. A single large window sill failure requiring substrate replacement: $1200–2200 total. Full facade section (100 sq ft) with multiple failures: $3000–6000.
Prevention costs far less. Upgrading adhesive to vapor-permeable: $50–150 per facade. Installing substrate drainage or furring: $0.50–1.50 per sq ft (labor + material). Adding mechanical anchors to a cornice: $100–250 total. A complete preventive retrofit on a 2000 sq ft facade with 200 linear feet of molding: $1500–3000 initial investment versus $4000–8000 in repair costs 18–36 months later.
Installation timeline for prevention is critical. Substrate primers and drainage layers must cure fully (7–14 days depending on product) before adhesive application. Vapor-open adhesives cure in 24–48 hours at moderate temperature (15–25°C), the same as standard products, so cure time doesn’t delay installation. The financial payoff is simple: spend an extra $200–400 now to avoid $2000–5000 in remediation costs.