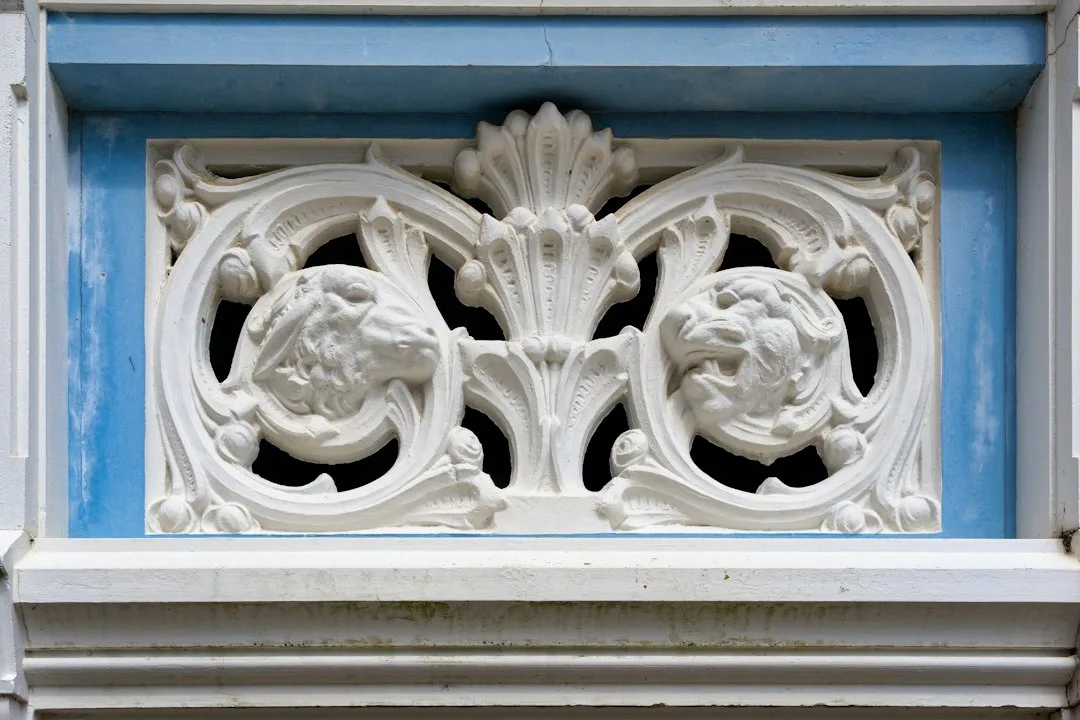
A fresh coat of paint on an EPS molding can look flawless for six months and still be deteriorating underneath. Installers who skip the correct primer often see hairline cracking, paint lifting in sheets, or beads that crumble when touched within two winters. The failure is rarely the paint itself but the chemistry between the coating and the foam.
Why Standard Paint Attacks Polystyrene Foam
Expanded polystyrene is a closed-cell foam built from fused styrene beads, and its surface reacts badly to many solvents. Solvent-based alkyd enamels, lacquers and some aerosol spray paints contain aromatic or ketone solvents such as toluene, xylene or acetone. These can soften or dissolve the outer skin of the beads, leaving a surface that looks painted but has lost its bond.
Water-based paints avoid that solvent attack, but they bring a different risk. Ordinary interior latex forms a rigid film with low elongation, so it cannot follow the expansion and contraction of foam through a year of temperature swings. Once that film cracks, moisture gets behind it and the paint peels away from the bead surface.
The Three-Layer System Contractors Specify
A durable finish follows a sequence rather than relying on one product. The first layer is a bonding or conditioning primer that seals the bead surface and gives the topcoat something to grip. The second layer is a reinforcing base coat with embedded mesh, used on high-impact corners and lower courses where people or equipment can strike the molding. The third layer is an elastomeric acrylic topcoat chosen to match the primer system.
System manufacturers such as Sto, Parex and Weber publish primer specifications for their ETICS products, and those datasheets are the safest baseline. Even if you buy a different brand, check that the primer is rated for expanded polystyrene and that the topcoat is labeled elastomeric. Generic hardware-store primers are often designed for drywall or wood, and they do not account for foam movement.
| Coating type | Solvent base | Compatibility with EPS | Typical field outcome | Approx. US cost per gallon |
|---|---|---|---|---|
| Solvent-based alkyd enamel | Mineral spirits, aromatic solvents | Poor, can soften bead surface | Wrinkling and lifting within months | $30-50 |
| Aerosol spray paint | Acetone, toluene, xylene blends | Poor to variable | Surface dissolution at contact points | $8-15 per can |
| Interior latex (rigid film) | Water | Limited, low elongation | Hairline cracks after first freeze-thaw seasons | $25-45 |
| Water-based bonding primer | Water | Good when specified for EPS | Stable base for topcoat when applied correctly | $35-65 |
| Elastomeric acrylic topcoat | Water | Good, flexes with foam | Long service life when on a compatible primer | $55-90 |
What the Primer Actually Does to the Foam
EPS beads leave a textured surface with tiny gaps between them. Without a primer, the topcoat soaks unevenly into those gaps, leaving thin spots where the film has less UV protection and less flexibility. Those thin spots are usually the first place chalking and cracking appear.
A proper primer fills and seals that texture, reducing suction so the topcoat lays down at a consistent thickness. It also improves adhesion to the bead, which matters because the bond is the weakest part of any coating on foam. A coating that cannot hold to the bead will eventually release as a sheet rather than wear away gradually.
Moisture management matters too. A fully sealed, non-breathing film traps any water that reaches the molding, which then has no route to dry out. Choose a primer and topcoat that remain flexible and, where the system allows, slightly vapor open, so small amounts of moisture can escape instead of accumulating. If water has already entered a molding, our article on why EPS moldings swell after installation explains how to check and dry the affected section before recoating.
Wait 7 Days Before Topcoat, Not 24 Hours
Recoat windows printed on primer cans assume ideal conditions, and many installers treat them as deadlines. On a facade, the adhesive bond holding the molding to the wall needs time to cure before any additional loading or coating stress is applied. A common field practice is to allow about 7 days for the adhesive to cure under moderate temperatures before topcoating.
Temperature and humidity change the timeline. Cold, damp mornings slow solvent evaporation in primers and can trap moisture under a fresh topcoat, which later appears as blistering. Follow the datasheet for minimum application temperatures, and avoid painting when the surface is below the manufacturer’s stated limit or when rain is forecast within the recoat window.
Winter stress is a related concern. If the molding is also exposed to joint movement and thermal cycling, the coating will be pushed harder, and missing movement joints will accelerate cracking. Our piece on why EPS moldings crack silently in winter covers that mechanism in detail, and it is worth reading before you finalize the paint schedule.
What the Right Primer Costs Compared With a Repaint
Approximate US retail prices for quality water-based bonding primers run roughly $35 to $65 per gallon, and elastomeric acrylic topcoats often fall between $55 and $90 per gallon. Prices vary by region, supplier and product line, so treat these as planning figures rather than quotes. For a typical decorative run, the material cost of the correct system is modest compared with the labor involved in installation.
The expensive part is the failure. Removing a failed coat from foam without damaging the bead means careful scraping or replacement of the damaged section, and a repaint requires scaffolding or lift access that can cost far more than the paint itself. When a homeowner decides to upgrade trim later, the cost of replacing failed moldings with new exterior foam moldings may also exceed the original decorative budget.
Specifying the coating system at the start is the cheapest decision in the project. Include the primer and topcoat by name in the contract, require datasheets before work begins, and inspect the first installed run before the rest of the facade is finished. That single check often catches surface contamination, missed sanding and wrong product choices early.
A Practical Sequence Before the First Coat
Start with a dry, clean surface. Remove dust, adhesive smears and any release agents, then inspect every bead for scratches or dents that would expose unsealed foam. Repair damaged spots with the same primer you plan to use across the run, not a patch material from a different system.
Next, apply the bonding primer evenly, following the manufacturer’s coverage rate, and let it cure to the stated time before the topcoat. Apply the elastomeric topcoat in two thin coats rather than one heavy one, which reduces sagging and gives a more uniform film. Keep a log of product batches, temperatures and dates so that any future failure can be traced to a specific step.
Painting EPS moldings is not difficult, but it is unforgiving of shortcuts. The right primer, a flexible topcoat and a realistic curing schedule are what separate a finish that lasts decades from one that starts failing in its second winter.