Your south wall can reach surface temperatures higher than the tile roof above it, and most owners only discover this when the render cracks or the interior stays hot until midnight. The cause is not mysterious: a vertical wall takes sun at a low angle for hours and has no ventilated cavity to bleed heat away. The good news is that the problem can be managed without drilling anchors through the envelope.
Why the Vertical Wall Outperforms the Roof at Absorbing Heat
A pitched roof is designed to shed heat. Tiles sit on battens, air moves through the void beneath them, and the steep angle means the midday sun strikes the surface more directly only for a short window. A south wall, by contrast, receives sun for much of the day, and in summer the sun’s altitude is high enough to light the wall face steadily from morning through afternoon.
Field experience shows that a rendered south wall in a mid-tone or dark colour often runs hotter at the surface than the roof on the same afternoon. The render absorbs short-wave solar radiation, stores it in its mass, and releases it slowly into the wall build-up. The result is a thermal load that continues well after sunset.
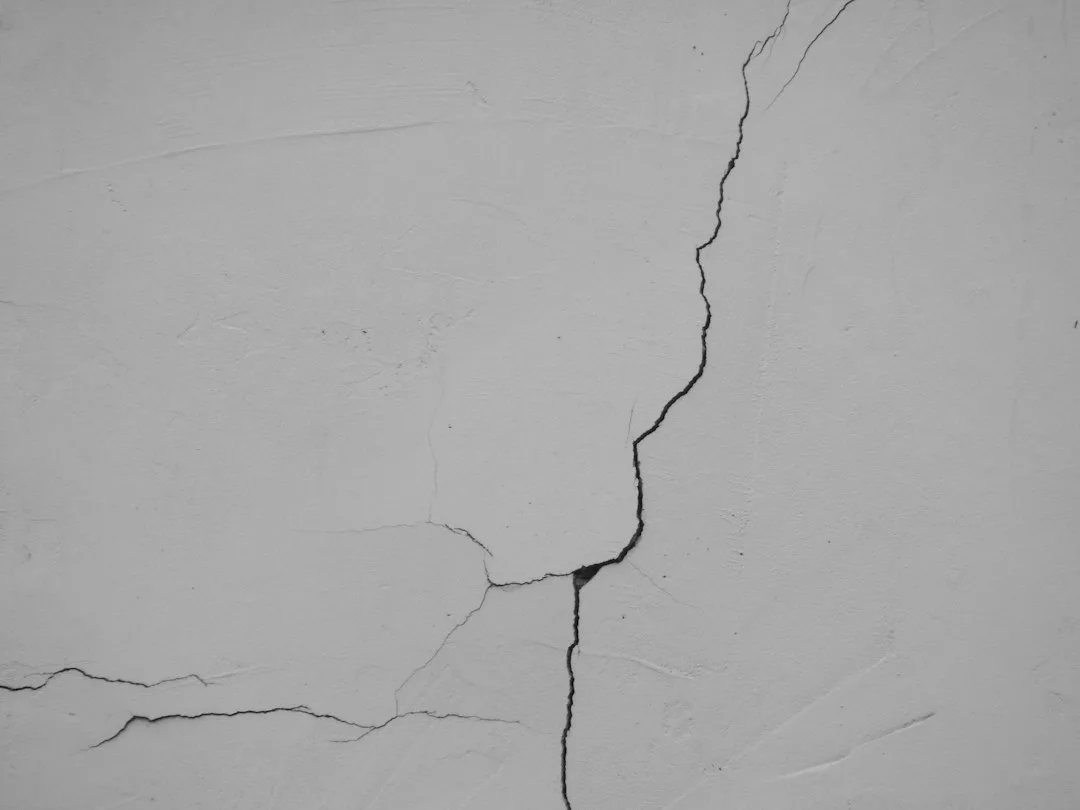
This matters for more than comfort. Repeated thermal cycling causes expansion and contraction in renders, sealants and decorative elements, which is why hairline cracks often appear first on the sunniest elevation. Understanding the mechanism is the first step to choosing a fix that does not compromise the wall.
| Surface | Orientation | Typical peak surface temperature | Main heat driver |
|---|---|---|---|
| Dark tile roof | South, 35 degree pitch | Often 60-70 C | Steep angle, ventilated cavity below |
| Rendered wall, light colour | South, vertical | Often 45-55 C | Direct sun for most of the day |
| Rendered wall, dark colour | South, vertical | Often 65-75 C | High solar absorption |
| Shaded north wall | North, vertical | Often 25-30 C | Little direct sun |
Why Drilling Is the Wrong Answer for Most South Walls
The instinctive response to a hot wall is to add a shading structure, a pergola or a bracket system, and bolt it straight into the facade. This is where many owners create a new problem. Every mechanical fixing is a penetration through the vapour control layer and the insulation. Water tracks along the fixing, cold bridges form, and within a few seasons you have staining, efflorescence or worse.
Where a fixing is unavoidable, use a fixing that bears on the structure behind the insulation, seal it with a compatible membrane, and detail the drip above. But for most surface-level protection, there is no reason to penetrate the envelope at all. Freestanding supports, adhesive-bonded elements and climbing planters set in the ground all work without touching the wall.
Reflectance First: Choosing the Right Surface Finish in 2024
The fastest measurable gain comes from the finish. Solar reflectance, expressed as the Solar Reflectance Index (SRI) or as a solar reflectance value between 0 and 1, tells you how much incoming sunlight the surface sends back. A pale mineral render with high reflectance can stay many degrees cooler than a dark acrylic in the same sun.
Check the technical data sheet from your system supplier before you specify a colour. Manufacturers such as Sto, Weber and Caparol publish reflectance figures for their coatings, and many offer cool-colour pigments that hold a darker appearance while reflecting more near-infrared energy. This is a meaningful option if you want a heritage tone on a sunny elevation.
Paint choice interacts with the substrate. A high-performance breathable coating over a sound render costs roughly 15 to 30 per square metre for materials in many markets, and the labour is usually the larger share. It is among the cheapest interventions available, and it reduces thermal stress on everything else on the wall.
Shading the Surface Without Anchoring Into It
Shading is the second lever. Anything that intercepts sun before it reaches the render reduces the heat load. The key is to keep the shade off the envelope or to fix it in a way that does not penetrate it.
Freestanding pergolas, trellis systems on steel posts set in concrete footings, and deciduous climbers on wires held off the wall all cast shade without touching the facade. A climbing plant on a support leaves an air gap between foliage and render, which also cools the surface through evapotranspiration and ventilation. Within one or two growing seasons a well-established vine can reduce wall surface temperatures noticeably on the sunniest elevation.
Decorative elements can contribute too. Recessed window surrounds, deep cornices and pilasters create self-shadowing in the reveals. This is a useful design principle: the more depth you introduce on a south wall, the more the wall shades itself in the hours when the sun is lower. Foam moulding systems are a practical way to introduce that depth without structural work. For example, the decorative foam exterior cornices create a projecting shadow line that breaks up direct sun across the upper wall, and decorative window sills add a horizontal overhang above each opening that shades the glazing and the render beneath it.
A word of caution on EPS elements. Foam is an excellent decorative carrier, but it is not a thermal shield. Its value on a south wall is in shading and in visual character. It must be adhered to a sound, primed substrate and finished with a compatible system, or the sun will eventually expose its joints. Improper adhesion is a common source of failure, as explored in why budget EPS facade adhesive causes most molding failures.
Ventilation and the Air Gap Strategy
Where a ventilated rainscreen or a cladding with a drained air gap is part of the design, the wall performs much better in heat. Air moving through the cavity carries heat away before it reaches the insulation. This is standard on many new builds and can be retrofitted in some cases, though retrofit works involve detailed planning and usually consent.
For most existing houses, a simpler step helps: keep the wall free of trapped debris, ensure gutters and downpipes do not dump water in the same spot repeatedly, and make sure the lowest courses of render are not held tight against soil or paving that stores heat.
Sequencing the Work Over a Realistic Timeline
A practical plan for a 2 to 3 year horizon looks like this. In the first season, survey the south elevation, record cracks, and check the paint reflectance. In the second season, repaint with a higher-reflectance system if needed, and install freestanding shading or plant supports. In the third season, add decorative depth through moulding elements, once the substrate is confirmed sound and the air gap strategy is settled.
Keep an eye on details that tend to fail first. Sealant joints around window frames and at the junction of new elements with the render are where moisture gets in. Surface prep before any decorative element is applied matters as much as the element itself. The principles in why EPS moldings fail on plaster when surface prep is skipped apply directly here.
What It Costs and What You Actually Gain
Costs vary by market and specification. A repaint with a reflective system is usually the most cost-effective single step, often a modest fraction of the cost of new cladding. Freestanding shading structures and plant supports cost more upfront but carry no envelope risk. Decorative depth through moulding systems adds visual value and some self-shading, and it should be budgeted as an aesthetic upgrade with a secondary thermal benefit rather than as a primary cooling measure.
The realistic outcome is a wall that stays noticeably cooler at the surface, cracks less from thermal cycling, and keeps its finish longer, all without a single penetration through the insulation. That is the target. Protecting the south facade is less about fighting the sun head-on and more about giving the wall the right colour, the right shade and the right depth, then leaving the envelope intact.