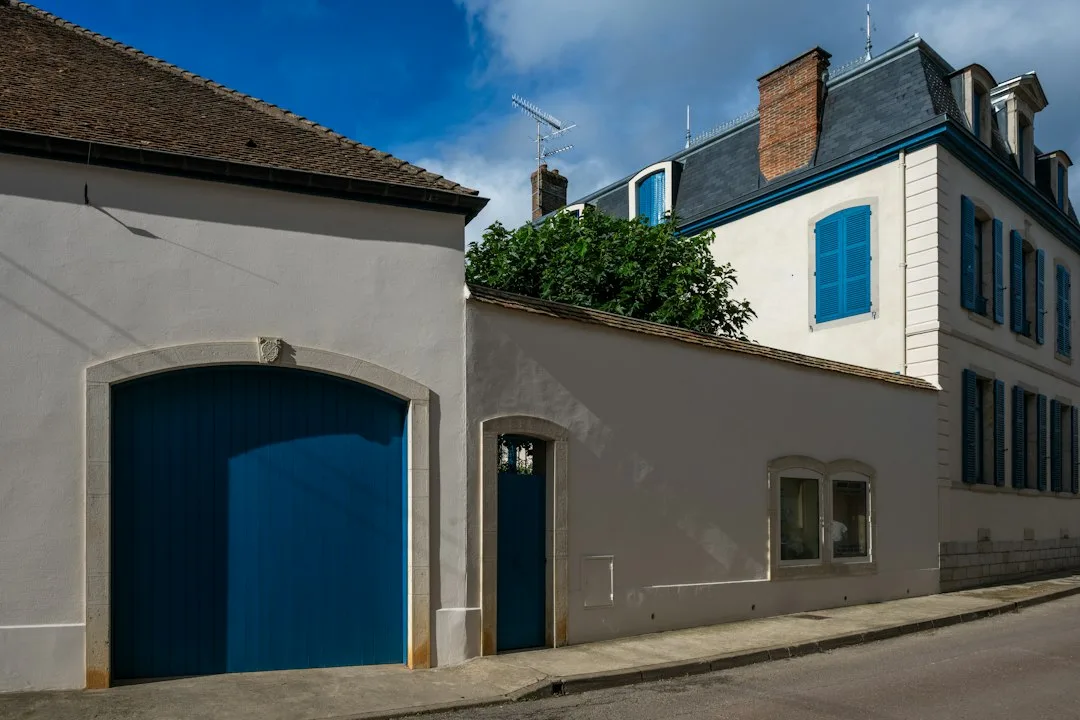
Your 1970s facade can look sound from the street while the wall behind it quietly loses performance, because most of the failure happens at the interface between the cavity, the structure and the finish. Field experience shows that owners who call a painter first often pay for the same problem twice. The diagnosis that changes the outcome is almost never done.
Why the Interior Tells the Story First
Houses built in the 1970s were often designed with a cavity wall or a solid masonry wall with thin or no insulation, and building regulations of that period assumed lower energy standards than today. Over fifty years, mortar joints weather, wall ties corrode in some cases, and sealants around windows harden and split. Water that enters at the top of a wall usually shows up first as a stain or a cold patch on the inside face, not as a visible crack outside.
The interior surface is also a thermometer. When an internal corner or the junction between a slab and an external wall runs several degrees colder than the room, you are looking at a thermal bridge. Condensation forms there whenever warm, moist indoor air meets that cold surface, and the mould and blistering you see are symptoms of that temperature gap. Repainting the corner in mould-resistant paint treats the sign, not the cause.
The Four Checks That Reveal the Real Condition
A useful diagnosis starts indoors on a cold, windy morning, before the heating has warmed the walls. An infrared camera shows surface temperature differences of a degree or two that the eye cannot see, and it highlights lintels, floor junctions and the perimeter of old windows. Follow it with a surface moisture meter on plaster and a hygrometer in the room, because relative humidity above roughly 60 percent sustained through winter is enough to drive condensation on cold walls.
Next, check the cavity. A borescope inserted through a small inspection hole reveals whether the gap is empty, bridged by mortar droppings or filled with settled mineral wool that has lost its loft-like performance. Cavity debris is a common cause of damp showing across a wall, because it carries water across the cavity to the inner leaf. A drilled test point is the most direct way to find out what is there, and it costs little compared with the remedial work it prevents.
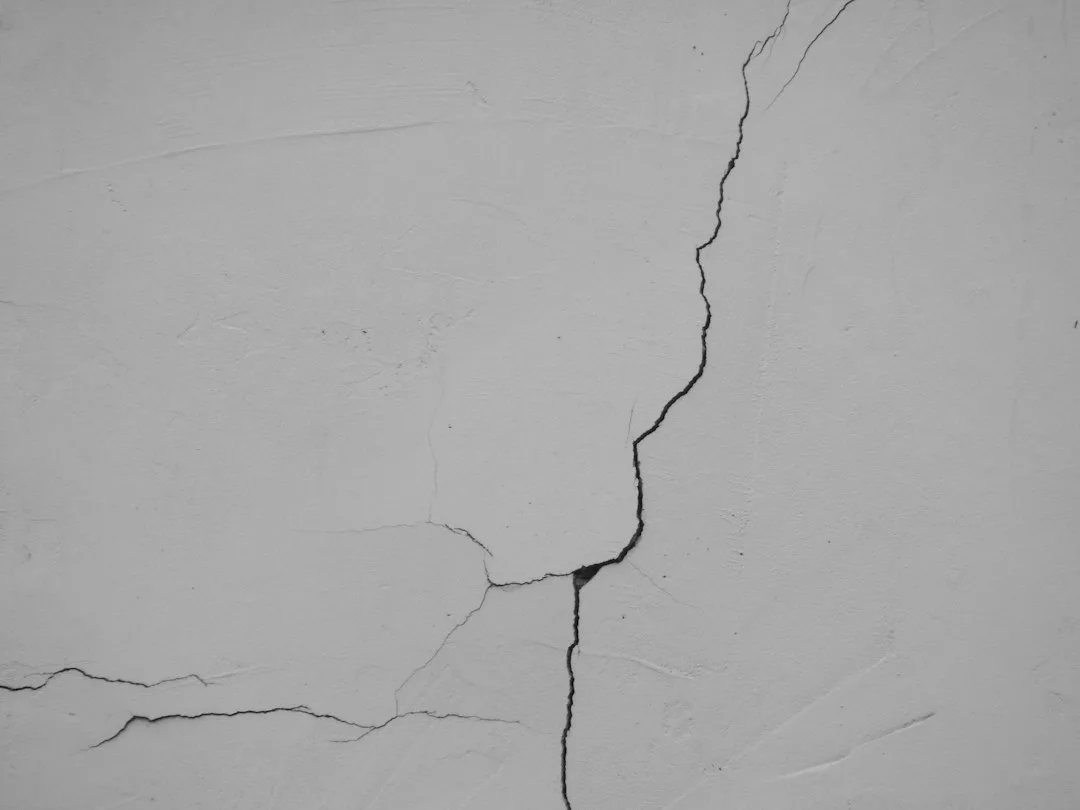
Then measure movement. Cracks at window heads, above door openings and along the line of a lintel often signal movement or differential expansion between materials. A simple crack gauge fixed over three months tells you whether the crack is active or historic, which decides whether it needs structural attention before any cosmetic work. The final check is the roof-to-wall junction and the parapet, where failed flashings and blocked outlets feed water straight into the top of the wall.
| Symptom | Likely interior cause | First check |
|---|---|---|
| Damp patches on inner wall corners | Thermal bridge at slab or lintel | Infrared survey on cold day |
| Peeling paint on north wall | Vapour condensing in cavity | Hygrometer readings in room |
| Hairline cracks at window heads | Lintel movement or differential expansion | Crack gauge over 3 months |
| Musty smell after rain | Failed cavity tie or damp-proof course | Borescope from inside |
| Blistered render, dry interior | Trapped moisture from old sealants | Surface moisture meter |
How to Read Your Findings in the Next 30 Days
Once the four checks are done, the findings sort into three groups. Interior-driven problems, such as condensation at cold corners and humidity above the comfort range, call for ventilation and insulation changes on the inside face or on the outside wall. Cavity-driven problems, such as bridged debris or an empty cavity exposed to wind-driven rain, call for cavity treatment after inspection. Surface-driven problems, such as sealant failure or render cracking, call for repair of the envelope itself, usually within a few weeks of the survey.
Plan the sequence carefully. Repainting, re-rendering or fitting new cladding before the interior diagnosis is complete locks moisture inside the wall and often produces blistering within two winters. A common pattern among contractors is that the wall that looked worst from outside was in fact the driest, while the apparently quiet north elevation carried the real condensation load. The survey reorders priorities.
When External Insulation Makes Sense
For a 1970s wall with a poor thermal profile, external insulation is often the most effective fix because it lifts the whole wall above the dew point and removes most thermal bridges in one operation. An ETICS system with mineral wool or EPS insulation, a suitable base coat and a breathable finish turns the existing wall into a warm, dry structure. The trade-off is that window reveals, sills and eaves must be re-detailed, and the building’s appearance changes. This is where decorative detailing becomes part of the solution rather than an afterthought. Replacing a worn sill with a new decorative window sill lets you correct the drip detail and the water shedding at the same time, while the facade line gains definition. Heavier profiles such as architectural corbels can carry a renewed eaves line over insulated walls without penetrating the insulation layer.
Do not insulate over a wall with active moisture ingress until the source is fixed. Insulation applied to a wet wall traps water and can cause the adhesive or mechanical fixings to fail. The sequence matters more than the material.
Budget and Timeframes to Expect
A diagnosis of this depth usually takes one to two days on site plus a week for reporting. Basic infrared and moisture survey costs a few hundred euros or dollars depending on house size and region, and a borescope cavity inspection adds to that. Remedial costs vary widely: sealant and flashing repair is modest, cavity treatment is moderate, and full external insulation runs to several thousand per elevation. The diagnosis is the cheapest step in the whole sequence, and it prevents the most expensive mistake, which is paying twice for the same wall.
Schedule remedial work in dry weather, ideally late spring or early autumn, when substrates can dry before the next cold season. Render and coating manufacturers specify minimum application temperatures, and rushing work in damp or frosty conditions produces failures that look like product defects but are installation errors.
What Sound Repair Looks Like Over the Next Decade
A properly diagnosed and repaired 1970s facade shows its quality in what does not happen. Condensation stops forming at corners, paint lasts several seasons longer, cracks stay stable, and heating bills fall as the wall holds heat. These results are slower to notice than a fresh coat of paint, which is why owners often underestimate them. Keep a simple log of surface temperatures, humidity readings and crack-gauge results so that changes are measured rather than remembered.
If the decorative character of the house matters to you, treat the repair and the detailing as one project. Reinstating a cornice with an exterior cornice or framing an entrance with decorative columns restores the proportions that many 1970s houses lost, and the lightweight foam elements do this without adding structural load. For the wider context on how a single elevation can carry more solar and moisture stress than the rest of the house, see our analysis of south walls running hotter than roofs, which explains why orientation belongs in every diagnosis.