Anchor depth determines whether your EPS moldings stay on the wall for 25 years or peel away in 18 months—and most installers get it visibly wrong, hiding the error until load-bearing failure becomes inevitable. The problem isn’t glue or primer; it’s the depth of mechanical fasteners into the substrate, a specification that vanishes from many contracts and installation drawings.
Why Anchor Depth Matters: Load Transfer and the Thermal Cycle
EPS moldings—whether exterior foam moldings or structural elements like cornices—carry dead load (their own weight), wind load, and thermal stress. A 12-inch-long cornice section weighs 8–18 pounds; multiply that across a 40-foot facade run, and fasteners must distribute forces across the substrate without relying on surface adhesion alone. When a fastener penetrates only 1 inch into concrete or stucco, the surrounding material acts as a weak lever point, concentrating stress in a thin ring of substrate rather than distributing it through the mass.
Thermal cycling—the freeze-thaw or heat-cool cycle that repeats 30–50 times annually in North American climates—creates differential expansion between the EPS (which moves 2–3 times more than concrete or brick). Shallow anchors allow the molding to rock micro-millimeters under each cycle, degrading the fastener hole and the surrounding substrate bond. After 18 months (roughly 600–1,000 thermal cycles), the cumulative wear creates a gap where water and air infiltrate, accelerating delamination.
Anchor Depth by Substrate: The Field-Proven Minimums
| Substrate Type | EPS Molding Class (lbs/linear ft) | Minimum Anchor Depth (inches) | Fastener Spacing (inches) | Failure Risk if Undersized |
|---|---|---|---|---|
| Concrete block / CMU | 8–12 | 2.5–3.0 | 12–16 | High delamination by 12 months |
| Brick veneer | 6–10 | 2.0–2.5 | 10–14 | Moderate peeling at stress points |
| Cast-in-place concrete | 10–18 | 3.0–3.5 | 16–20 | Low if code depth met |
| Wood frame / stucco base | 4–8 | 1.5–2.0 | 8–12 | Catastrophic failure in high wind |
| EIFS substrate | 5–9 | 2.25–2.75 | 12–16 | Progressive debond behind coating |
| Steel studs + sheathing | 6–11 | 2.5–3.0 | 14–18 | Fastener creep under thermal cycling |
Concrete and CMU require 2.5 to 3.5 inches of fastener penetration—measured from the substrate surface to the fastener tip or anchor seat. Industry standards like ASTM C1184 and regional building codes specify this range, but field experience shows most installers target 1.5 to 2 inches, a shortcut that creates a delamination time bomb.
Brick veneer is thinner and more brittle; penetration deeper than 2.5 inches risks cracking the unit itself. However, many installers stop at 1 inch, anchoring only into mortar joint, a no-load scenario where the molding hangs from a powdery substrate interface. Within 18 months, wind-induced rocking breaks the mortar bond, and the molding begins its retreat.
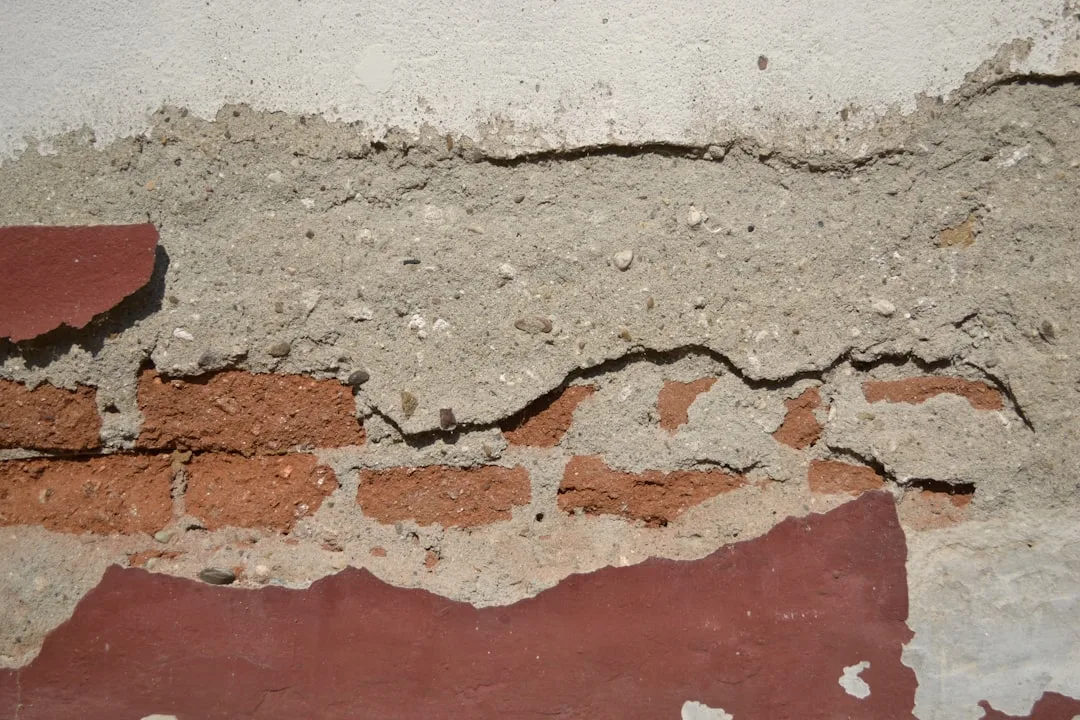
EIFS (exterior insulation and finish systems) demand 2.25 to 2.75 inches because the target is the rigid foam base layer beneath the mesh and finish coat. Fasteners that stop in the soft EPS foam of the insulation layer create a fail zone where the molding rotates under load, cracking the finish coat and propagating water ingress. This scenario is so common that water creeping behind EPS moldings becomes inevitable because sealing was done on a moving substrate.
Wood-frame substrates (including stucco over wood) need only 1.5 to 2 inches because wood is softer and fasteners grip through friction across a larger bore surface. However, wood is also prone to rot and settlement; deeper fasteners (2 to 2.5 inches) provide insurance against fastener pull-through if the surrounding framing weakens.
How Installers Cheat on Depth (And Why It Costs 18 Months of Warranty Claims)
Shallow anchor installation happens for three reasons: speed, tool limitation, and misunderstanding of structural requirements. A crew drilling 100 linear feet of cornice detail with a cheap hammer drill can achieve 1.5-inch depth in half the time of 3-inch depth; no site supervisor measuring with a depth gauge, the shortcut goes undetected. Once the primer and basecoat hide the fastener pattern, visual inspection is impossible.
Tool choice matters. Standard expansion anchors (lag shields, plastic toggles) perform predictably only when fully seated, which requires the full specified depth. A 1/4-inch lag shield rated for 2.5-inch penetration becomes a loose fit at 1.5 inches, losing 60% of its pullout capacity. Powder-actuated anchors and adhesive anchors require even stricter depth control; a short hole traps the fast-setting compound before it reaches substrate density.
Cost pressure drives corners. High-quality structural fasteners (grade 8 bolts, stainless heavy-duty toggles) cost $0.75–$1.50 each; cheap plastic anchors cost $0.10–$0.20. Multiplied across 500–1,000 fasteners per facade, the temptation is real. Cheap fasteners also require shallower holes to seat properly in their weakly designed bodies, creating a vicious cycle of cost-cutting and delamination.
The 18-Month Failure Window: Why It Happens on Schedule
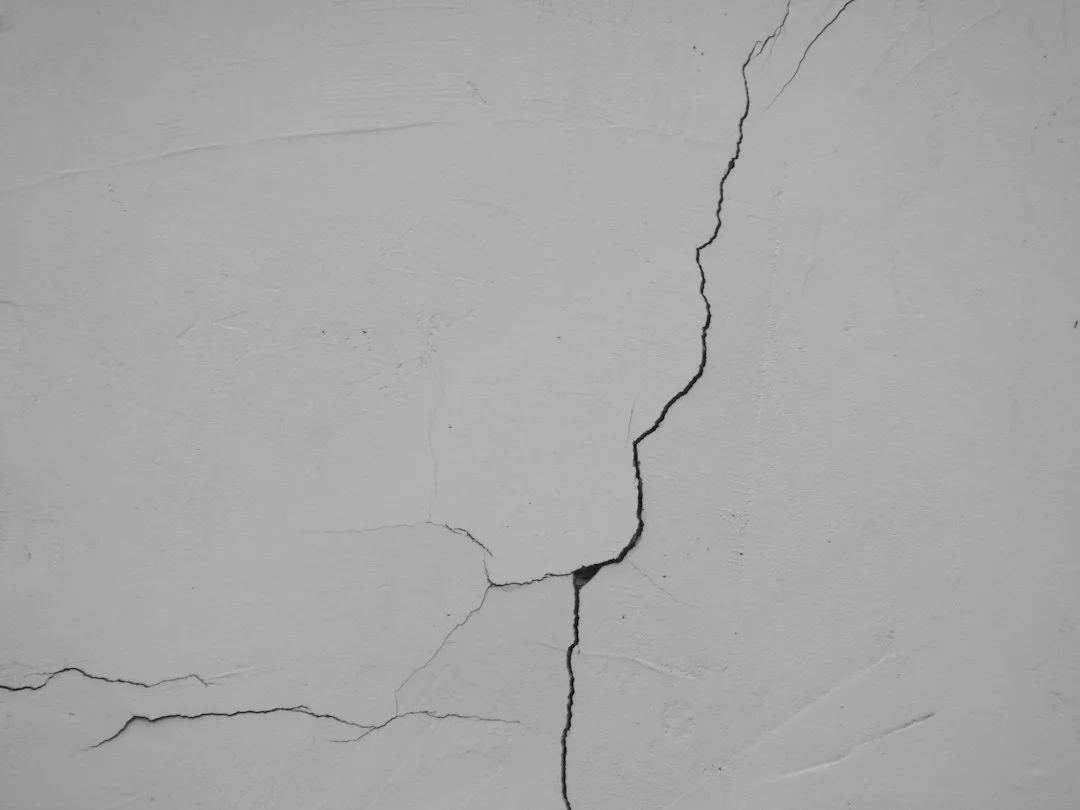
Eighteen months is not random; it aligns with 600–1,000 completed thermal cycles and the time required for micro-damage to accumulate into visible gaps. The first 6 months are invisible: the molding seats and minor substrate settling occurs. Months 6–12 see the onset of thermal-induced rocking as the fastener hole enlarges fractionally with each cycle. By month 12–15, hairline cracks appear in the finish coat above or below the molding, signaling imminent delamination. By month 18, the molding begins separating from the wall, water pools behind it, and homeowners or facility managers call with warranty claims.
This timeline creates a window where the installer is often still in warranty (typically 1 year) or just outside it (18-month failure happens after the manufacturer or contractor has moved to the next project). Callbacks at month 18 are expensive: crews must remove the molding, chop out damaged substrate, re-anchor at correct depth, re-prime, re-coat, and re-finish—costs that dwarf the original labor savings from shallow fastening.
Specifying and Verifying Anchor Depth: Practical Steps
Anchoring EPS moldings correctly requires three site controls: fastener schedule, depth verification, and substrate sampling. Before installation begins, create a fastener schedule that specifies anchor type, diameter, length, spacing, and required penetration depth for each substrate condition present on the project. This schedule must be signed by the structural engineer or a qualified building science professional familiar with EPS facade systems.
Depth verification happens during the first 10–20 fasteners installed. Use a depth gauge (a simple machinist’s ruler or digital caliper works) to confirm that the fastener has penetrated the specified distance into the substrate, not just seated flush with the EPS surface. Measure from the substrate face (concrete, brick, or EIFS foam) to the fastener tip or anchor seat. Document three passes per location: beginning, middle, and end of each molding run.
Substrate sampling involves small test holes drilled ahead of the main installation, using the same fastener type and depth intended for the molding. Install a test fastener, wait 24 hours for any adhesive-based anchors to cure, then conduct a pullout test by hand or with a simple load cell. If the fastener extracts under moderate force, depth is insufficient; deepen the specification and re-test. This costs $50–$150 per location but prevents $2,000–$10,000 in failure callbacks.
Material Selection and Fastener Types for Different Depths
Not all fasteners perform equally at different depths. Expansion anchors (plastic toggle anchors, lag shields) rely on mechanical spreading behind the substrate to create pullout resistance; shallow penetration (under 1.5 inches) prevents full expansion, reducing holding capacity by 50–70%. For depths under 2 inches, consider adhesive anchors (epoxy or polyurethane) which bond across the fastener surface and perform adequately in shallower holes—but only if hole depth is strict and the bond is fully cured (typically 24 hours in cool conditions).
For 2.5–3.5-inch depths in concrete, heavy-duty mechanical anchors (grade 8 stainless bolt with molly expansion or swing bolt) excel, offering 200–400 pounds of pullout capacity per fastener. Powder-actuated anchors (shot into concrete with .22 caliber powder loads) achieve depth quickly and reliably if the operator is trained; they cost $0.50–$0.75 per fastener and perform well in hard concrete where drill-and-tap is slow.
EIFS substrates require specialized anchors designed to grip the foam base without shredding the mesh or finish coat. EIFS-rated fasteners (like the Spirafix or similar adhesive-mechanical hybrids) are engineered for this environment and should always be specified when anchoring EPS moldings to EIFS walls. Standard anchors in EIFS often fail because they grip only the outer coating layers, not the structural foam.
Wind Load and Spacing: Why Depth Alone Is Not Enough
Anchor depth solves pullout resistance; fastener spacing solves distributed load transfer. A single anchor rated for 300 pounds of pullout is worthless if it’s spaced 24 inches apart on a 12-pound-per-foot molding in a 100 mph wind zone. The section between anchors acts as a cantilever beam, flexing under wind pressure and eventually cracking at stress concentration points near each fastener.
Spacing formulas depend on molding weight, wind speed, and anchor capacity: typical spacing for 12-pound moldings in 90 mph wind is 12–16 inches on center. Heavy decorative elements (24-pound architectural corbels, 18-pound decorative keystones) require 8–12-inch spacing or heavier fasteners. Always cross-reference anchor capacity (from manufacturer data), molding weight, local wind speed, and required safety factor before finalizing spacing.
Documentation and Long-Term Monitoring
Proper anchor depth requires paper trail. Installation photos taken during fastening (before primer application) should show fastener location and type. Depth gauge readings logged on a one-page sheet per molding run create a record if future delamination occurs; it proves that depth was met or indicates where shortcuts were taken. This documentation is also valuable for facility managers monitoring the facade over 20+ years, providing a baseline for scheduled inspections at years 5, 10, and 15.
Long-term monitoring means visual inspection every 3–5 years, checking for gaps between molding and substrate, cracks in finish coat above or below moldings, and signs of water staining. Early detection of delamination (hairline cracks, minor separation) allows repair before the full section fails. If inspection reveals shallow anchoring, supplemental fasteners can be added at deeper penetration without removing the failed molding.
EPS molding systems excel when installed with discipline. Anchor depth is the invisible control that determines whether your facade stays intact for 25 years or generates expensive callbacks 18 months after handoff. Specify it, verify it, and document it—every time.