The shutters and front door you chose for their looks may be the first place your facade starts to fail. Openings are where insulation is cut, fixings are driven and water is most likely to find a path. A few hundred dollars of poor detailing around a door can cost thousands in wall repair later.
Why openings are the weak point of any facade
A facade is only as sound as its interruptions. Every window, shutter and door breaks the continuous insulation and weather barrier, and each break needs deliberate detailing. In field experience, most early moisture problems appear within a few centimetres of an opening, not in the middle of a wall. Contractors report that the fixings, not the materials, usually cause the trouble.
The physics is simple. Fixings driven through insulation create thermal bridges where warm interior air meets a cold metal screw, and condensation forms on the cold surface. Over several winters that moisture softens adhesives and encourages mould behind the finish. A common pattern is a clean-looking facade with dark staining running down from one corner of a shutter.
Shutter hinges and pivots: the hidden thermal bridge
Traditional shutter hinges are often fixed with long screws that pass through an insulated wall into the structure behind. In an ETICS system, the insulation board is typically 80 to 200 millimetres thick, so a standard fixing creates a direct conduction path. Use spacer blocks that bring the shutter out to the insulation face, and fix through them into solid masonry or timber with stainless fasteners rated for outdoor use.
Bottom pivots need the same attention. A shutter that sits directly on a sill or lower frame wicks water into the end grain of the timber. The paint lifts first, then the wood swells and splits. Raising the pivot a few millimetres to leave a drainage gap costs little and extends the life of the paint system considerably.
If you are adding decorative elements around the openings, lightweight EPS mouldings from a supplier such as decorative window sills can replace heavy stone sills and reduce the load on the render. Fix them with a suitable adhesive and mechanical support, and seal every joint.
| Detail | Typical failure | Correct approach | Approx. cost to fix |
|---|---|---|---|
| Shutter hinge pins | Screws pierce insulation and create thermal bridge | Use spacer blocks and stainless fixings into masonry | $40-120 per shutter |
| Door threshold | Water pools behind sill, rots wall base | Sloped sill with drip edge and sealed joint | $300-900 |
| Shutter bottom pivot | Water wicks into wood and paint peels | Raised pivot with drainage gap | $25-60 per shutter |
| Door frame fixing | Foam backing crushed, air leakage | Expanding foam with backer rod and sealant | $150-400 |
| Decorative surround | Bonding fails at door head | Mechanical fixing plus polymer adhesive | $200-600 |
Front door thresholds and the 3-step water test
The threshold is where most water-related damage at an entrance begins. A flat or back-sloping sill holds rain against the joint between the door frame and the wall, and that water finds its way into the base of the render or the masonry behind it. Over one or two wet seasons the adhesive bond fails and the finish begins to delaminate.
A reliable detail uses a sill sloped outward at a minimum fall, a drip edge that projects past the face of the wall, and a sealed joint at the back of the frame. Test the drainage by pouring a jug of water along the threshold and checking where it ends up. If it runs back toward the wall, the detail needs correcting before the next rain. This simple check takes two minutes and catches the most common error.
Decorative surrounds and expansion joints
Many owners frame their front door with a decorative surround, often using foam mouldings for weight and cost reasons. Foam expands and contracts with temperature, and a surround that runs unbroken across a sun-exposed face can crack within a few seasons. Plan expansion joints at the corners and at intervals of a few metres, and use a flexible sealant rated for movement rather than a rigid filler.
Corners and head details need the most care. A decorative exterior foam keystone over a door head looks convincing, but it carries load only if it is mechanically fixed and bonded to a suitable substrate. Without mechanical support, a keystone can separate from the wall during a freeze-thaw cycle and take a section of the render with it.
How to inspect and maintain these details each year
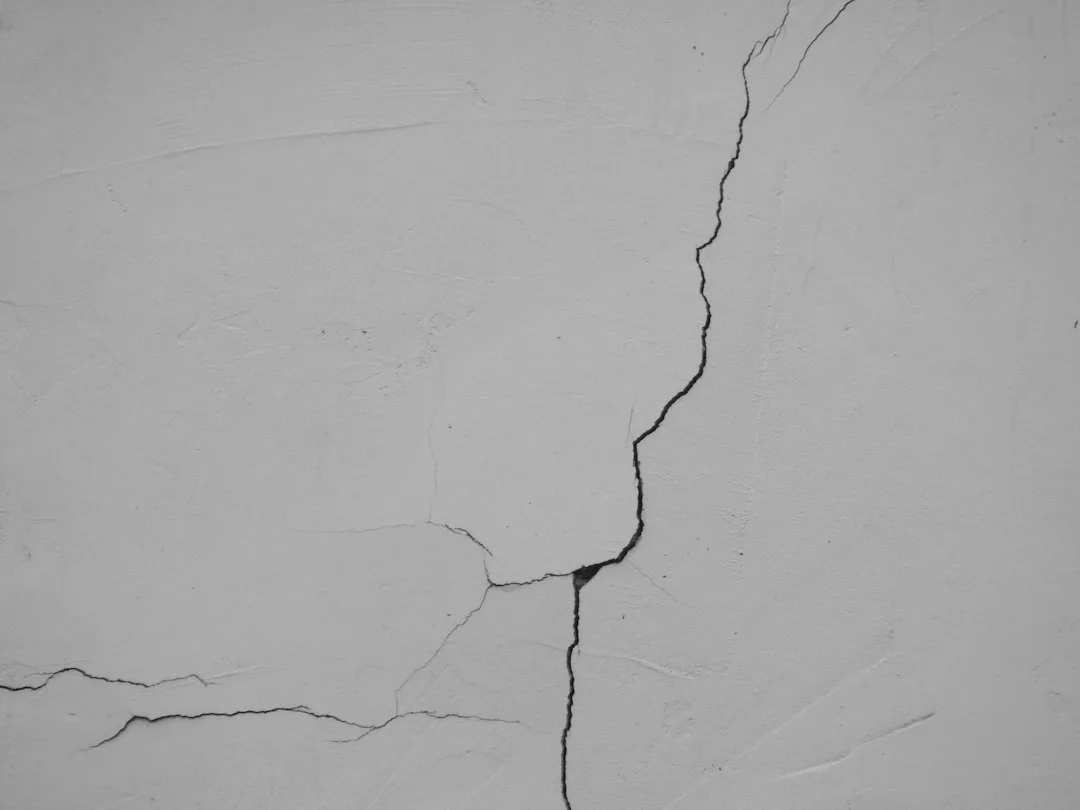
Set a routine check at least once a year, ideally in spring after the winter has tested the detailing. Look for cracked or shrunken sealant around the frame, loose or rusting fixings on shutters, paint blistering at pivots and staining or efflorescence below thresholds. Note any hairline cracks running from the corners of openings, as they usually indicate movement that will widen if untreated.
Repairs are far cheaper when caught early. Re-sealing a joint may cost under a hundred dollars, while replacing a section of damaged render and rebuilding a wall base can run into the thousands. Keep a simple log with dated photographs so you can see slow changes that are easy to miss from day to day.
Planning a renovation so the openings do not undo the work
If you are upgrading the facade, treat the openings as part of the system rather than an afterthought. Specify the threshold, shutter fixings and surround details before you order the insulation or the finish coat. Ask your installer to show how each opening is sealed, flashed and fixed, and check that the drawings match what will be built.
Coordinate the trades early. The render crew, the carpenter fitting the shutters and the door installer often work in sequence without talking, and each assumes the others will make the joint watertight. A short site meeting at the start of the job prevents most of the disputes that surface years later. For more background on how these openings interact with the wider wall, see why EPS support ledges fail when the depth is wrong, which covers the same water-path logic in a different detail.
A well-detailed entrance is one of the most visible signs of a sound facade. The shutters swing freely, the door sits square and dry, and the base of the wall stays clean after every storm. Getting these details right is less about expensive materials and more about small, deliberate decisions made at the right time.