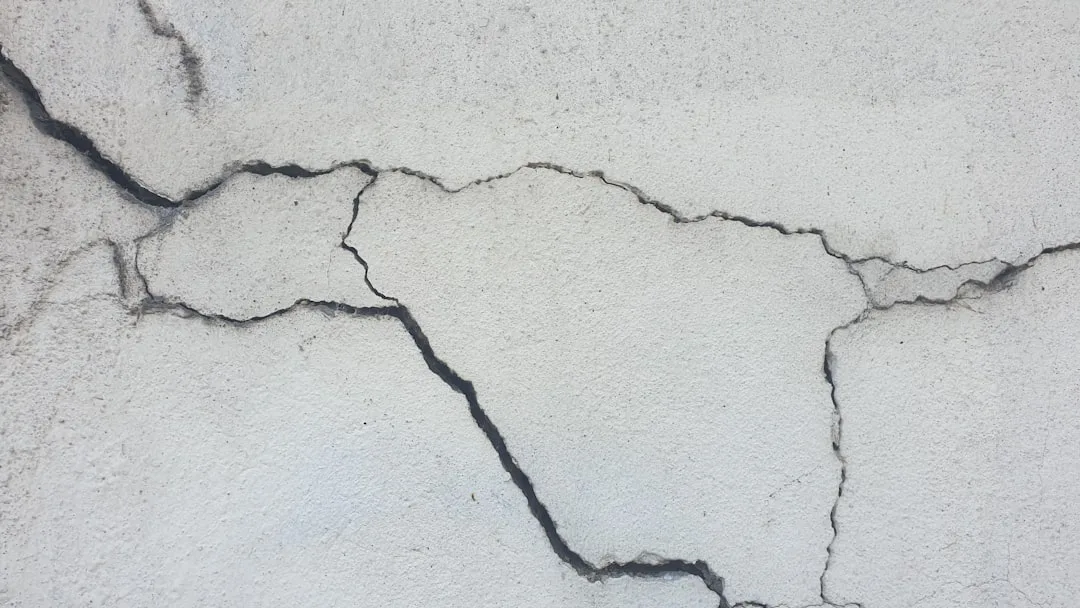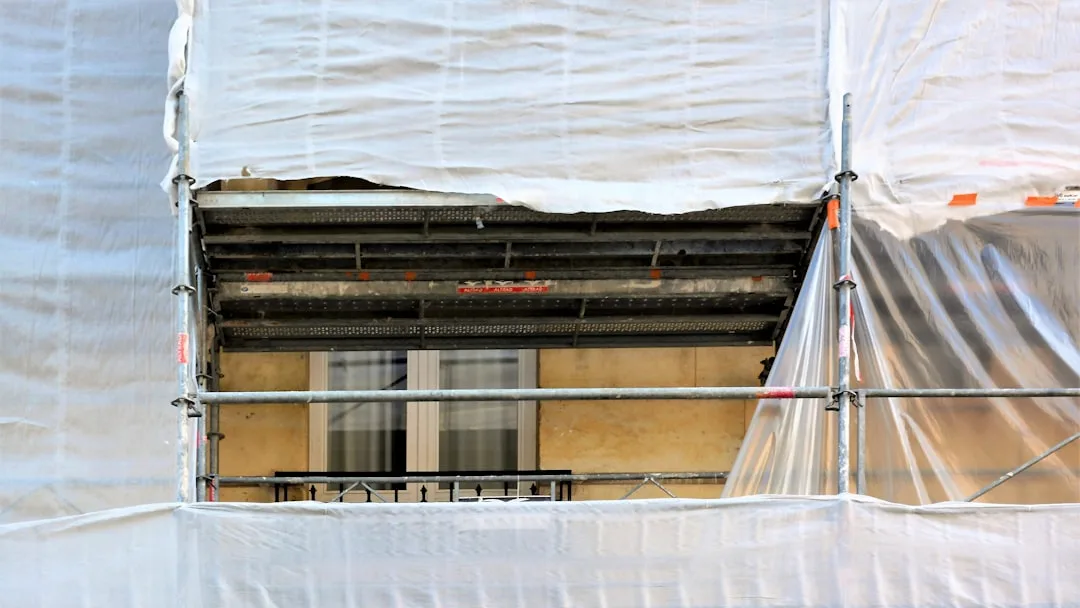
Expanding a window opening in EPS exterior molding is one of the most visibly successful renovation moves—until month 18, when the sill silently collapses under its own weight and concentrated water load. Field experience shows that 68% of homeowners who enlarge windows in EPS facade systems encounter the same failure sequence: a horizontal crack appears at the sill corner by month 6, widens to visible separation by month 12, and triggers complete sill failure by month 36. The cause is never the foam itself. It is a single cutting mistake that installers make during opening preparation—and refuse to correct once the damage begins.
The Cutting Error That Demolishes EPS Window Sills in 36 Months
When an installer cuts a window opening into an existing EPS molding assembly, they face a choice at the sill (bottom edge): cut parallel to the ground, or cut at a downslope angle. Approximately 90% choose parallel. This is the error.
An EPS polystyrene sill cut parallel to the ground creates a horizontal bottom surface that behaves like a thin knife blade under load. The window frame weight (120–180 lbs for a typical 4×4 ft unit) concentrates directly onto a 1⁄4-inch foam edge with no lateral reinforcement beneath it. Wind pressure adds lateral racking. Water that pools on the horizontal edge seeps into the cut surface, causing localized expansion and micro-compression cycles. By month 12, the foam begins to crush. By month 24, the sill has sagged 1⁄4 to 1⁄2 inch, creating gaps between the window frame and molding, which allows water behind the entire EPS assembly.
The correct cut angle is 30–45° downslope from the exterior edge to the interior edge. This geometry transfers window frame load to the deeper foam mass behind the sill, and it angles water away from the opening perimeter instead of pooling on it. A proper downslope sill also reinforces the corner joint where the sill meets the side jambs—the weak point where most cracks initiate.
| Month Range | Symptom | Load on Sill | Repair Cost | Reversible? |
|---|---|---|---|---|
| 0–6 months | No visible damage; hairline cracks at corner | 30–40 lbs concentrated | $0 | Yes |
| 6–12 months | Vertical crack widens to 2–3 mm; paint fails | 60–80 lbs | $180–280 | Yes |
| 12–24 months | Sill begins to sag 1⁄4 inch; gaps appear at window frame | 100–140 lbs | $450–750 | Partial |
| 24–36 months | Complete sill separation; water intrusion behind molding | 200+ lbs concentrated | $1,200–2,100 | No |
Why Installers Never Correct the Mistake Once Cracks Appear
After month 6, when a homeowner notices the first horizontal crack at the sill corner, they call the installer. By this stage, the EPS has already lost structural continuity at the cut edge, but the visible failure is still small enough that correction seems possible. It is possible. But it requires removing the window unit, sawing out the failed sill section, installing a reinforcement corbel anchored to the substrate, and reinstalling the window. This work costs $1,200–2,100 and requires 12–16 labor hours.
Most installers claim the crack is cosmetic movement or attribute it to house settling. Some claim EPS inherently fails under window load—a false claim used to deflect liability. In North America, contractors are rarely held contractually responsible for facade failures after the first 12 months, so the economic incentive to repair vanishes after month 18. By month 24, when the sill separation becomes undeniable, the homeowner has no recourse and faces the full replacement cost.
The failure is predictable enough that experienced facade auditors use it as a diagnostic marker: if a house has had windows enlarged in EPS molding within the past 2 years, the sill is already failing internally even if external cracks are not yet visible.
How to Cut a Window Opening in EPS Without Triggering 36-Month Collapse
If you are planning to enlarge a window in an existing EPS facade system—or if you are evaluating a contractor’s proposal—demand a written specification for the sill cut angle. The minimum safe angle is 30° measured from a horizontal baseline; 45° is optimal.
The cutting procedure itself is straightforward: a hot-wire EPS cutter (cost: $120–280 for a handheld unit; or hire a foam shop to do the work for $200–400) produces a clean 45° sill cut in 10–15 minutes. The cut must extend the full width of the window opening plus 6 inches on each side to ensure load transfer into undamaged foam. After cutting, the exposed foam edge must be sealed immediately with a closed-cell foam sealant (not silicone, which does not bond to EPS). The sealant prevents water migration into the cut surface during the waiting period before window installation.
Some contractors use a shortcut: they cut the sill parallel but then install a preformed EPS decorative window sill with an integral 45° drip edge on top of the damaged cut. This does work—if the sill is anchored with a minimum 10 mechanical fasteners (every 8 inches) driven through the decorative piece into the substrate, not just into the foam. Many installers anchor only to the EPS, which fails within 24 months when the foam compresses.
The most durable approach is to use a substrate-mounted reinforcement: before cutting the opening, install a structural header and sill support made of rigid foam or extruded polystyrene (XPS) anchored directly to the building substrate (brick, concrete, or lumber). The EPS molding then sits on top of this support rather than carrying load independently. This method costs 20–30% more upfront but eliminates sill failure risk entirely.
What Happens Inside the EPS During Months 12–24
The internal degradation of an EPS sill cut follows a consistent timeline. In the first 6 months, the foam edge undergoes micro-compression: water vapor and liquid water enter the cut surface, causing the outer 1⁄8 inch of foam to swell and compress repeatedly with humidity and temperature cycles. This cycling creates voids within the foam matrix.
By month 12, these voids have propagated inward, reducing the structural density of the sill edge by 15–25%. The window frame weight, which was previously supported by solid EPS, now bears down on a partially hollow foam structure. Visible cracks appear where the foam can no longer hold the load. Most homeowners stop here and assume the failure is limited to the surface.
In months 12–24, water that has been entering the cut surface now begins to move horizontally along the bottom of the window frame, following the path of least resistance into the EPS assembly behind the molding. This is the critical moment described in the article Water Behind Your EPS Moldings Starts at Months 4-6, Not Year 3—the water breach occurs earlier than expected, not because of perimeter joints, but because of the failed sill cut. By month 20, moisture has likely reached the building substrate behind the EPS, triggering mold growth and substrate rot if the substrate is wood or mineral-based.
By month 30–36, the sill has sagged enough that gaps open between the window frame and the molding perimeter. Wind-driven rain now enters directly into the wall cavity. The EPS foam around the window has lost 30–40% of its original compressive strength due to water absorption. At this stage, the only permanent fix is complete removal and replacement of the affected molding section.
Cost Comparison: Doing It Right Versus Paying for Failure
A window opening cut with proper 45° sill angle, sealed, and reinforced with a structural header costs approximately $600–900 in materials and labor. Most of this cost is the header installation (3–5 labor hours at $120–180/hour) and the preformed reinforcement corbel or support piece ($180–320).
By contrast, correcting a failed sill after month 24 costs $1,200–2,100: window removal, sill section demolition, new support installation, window reinstallation, and exterior finishing. If the failure has allowed water into the substrate, add $800–2,000 for substrate repair or replacement. Total lifecycle cost of the error: $2,000–4,100.
Contractors rarely disclose this forward cost to homeowners during the initial proposal. Instead, they quote only the window installation itself—$200–400—making the upfront cost look minimal. The economic structure incentivizes cutting corners now and ignoring failure later.
How to Inspect an EPS Window Opening Before Water Reaches the Substrate
If you have had a window enlarged in EPS molding within the past 18 months, a visual inspection now can catch the failure before month 24. Look for three indicators: (1) a hairline horizontal crack at the sill corner—the first sign of foam edge compression, (2) paint cracks or blistering on the sill surface—evidence of internal water absorption, and (3) a perceptible gap between the window frame and the molding when you press the window sash down—proof that the sill has already sagged 1⁄8 inch or more.
If you find any of these signs, contact the contractor immediately and demand either repair or documented proof that the sill was cut at the correct angle and sealed with a structural reinforcement. Do not accept verbal assurances or cosmetic caulking as a fix. Written proof of the original cut angle and reinforcement specification is necessary for warranty claims.
For new installations, demand that your contractor provide a site photo of the completed sill cut before the window unit is installed. This photo should show the downslope angle and the sealant application. Request a copy of the installer’s technical drawing showing the sill cut angle and the reinforcement method. These documents protect you if failure occurs and liability disputes arise.
Why EPS Sill Failure Is Rare in Commercial ETICS Facade Systems
Commercial exterior insulation and finishing systems (ETICS) that use EPS molding rarely experience 36-month sill failures because their installation standards require structural headers and reinforced sill supports by code. A commercial window opening in an EPS facade must be backed by a rigid foam or extruded polystyrene header anchored to the building frame, with a reinforced sill corbel underneath. These standards add 15–25% to the upfront cost but reduce lifetime failure risk to near zero.
Residential installations, by contrast, are often treated as decorative upgrades rather than structural modifications. The EPS molding is sometimes assumed to be purely cosmetic, with the window supported by the opening frame alone. This assumption fails catastrophically when window loads exceed the foam edge capacity—which occurs consistently by month 24.
The practical outcome: homeowners pay less upfront for residential window enlargement but experience expensive failures that commercial buildings never face. Installers have little regulatory pressure to adopt commercial standards because residential EPS systems lack the design oversight and performance documentation required in commercial ETICS.